

A projector based home theater system is the best home entertainment unit to use to get the big screen experience in your own home. A home theater system must have a projector to enable you to realize an even much larger image than the HDTV. Today’s projectors can go very high, such as, 4k, so for your home theater needs we have a great solution in the projectors.
When it comes to home theater system with a projector, few things are as difficult as figuring out how to set it up. This is so because they involve more preparatory arrangements and inconvenience than TVs do. You have to learn what settings, the dial-in focus, and so on.
Indeed, it is possible to setup a home theatre system with the use of a projector; however it requires some planning. The way to ensure that you get the right result is by taking sometime to design your project to understand where to spend your buck and make your room the ultimate home theater.
For those who are interested in home theater setup, this article will give you the guide on how to proceed.
The Right Space
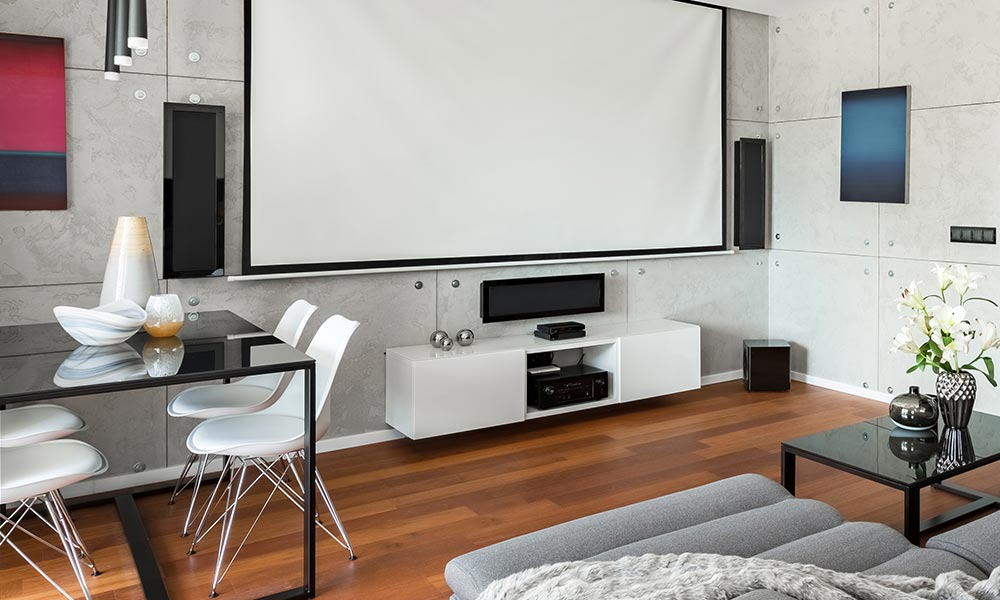
Image Credits: Iquarters.net
You have to look at where you can place the device when changing from a TV to a video projector. For this you will need sufficient space where the projection is to happen – be it screen or a piece of a blank wall. It’s quite likely that you will have to reposition some of the furniture in your living room in order to accommodate for the screen and projector adequately.
Think also about your lights, those opening facing the window and the door. Filter out the light from reaching the projector lamp and screen to get better and clearer images. For larger images you will need to reset the projector to this position.
Depending on how the screen is arranged and distance between the projector and the actual screen you will be able to have various image sizes. According to the type of the projector, images can range from 40 inches-300 inches. Larger screens require more space between the projector and the screen. The images will also be even more vulnerable to the danger of light pollution.
Another factor is the space that you are likely to be seated in. Lighting with projector must be capable of directing beam of light to the intended screen. Many projector manufacturers provide some kind of screen size calculators to tell you how far you would want to position your projector for the size of your preferred screen.
As for projector placement where your seating couch is in-between the projector and the screen – simply ensure that you move the projector position such that the projector beam passes over your head. When planning for long term installations one should use ceiling-mounting or tall shelves as well as other pieces of furniture.
Get The Right Screen
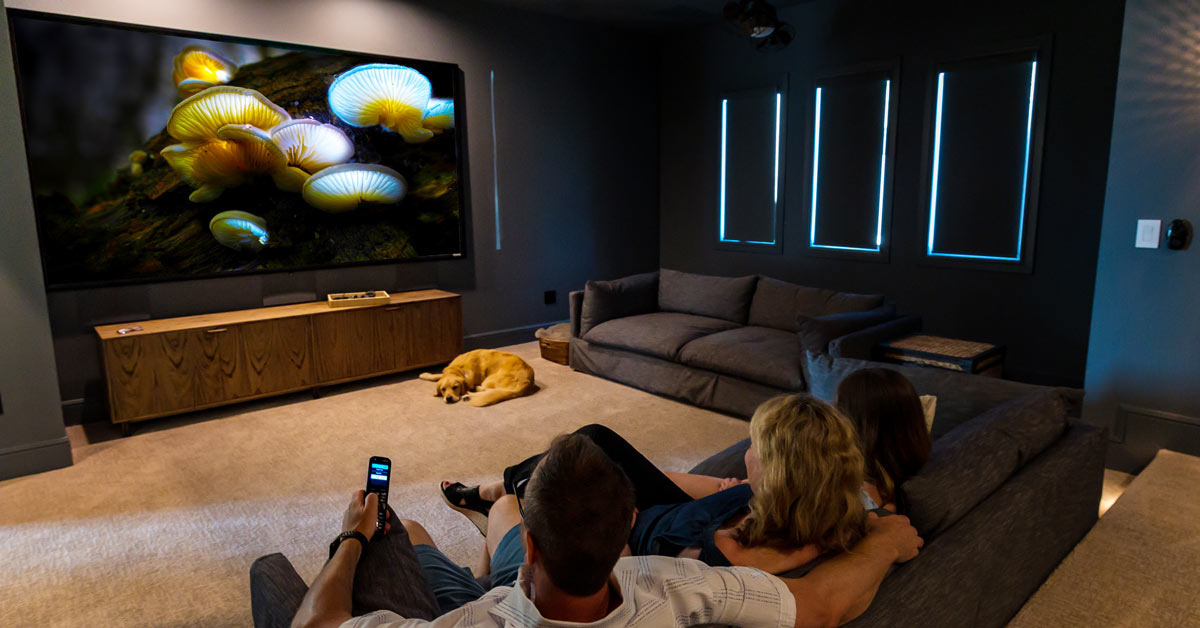
Image Credits: Crutchfield.com
You can either; project images directly to the wall or simply use a white cloth sheet to cover the whole wall. But if you want a more permanent high quality home theater a better screen is something to consider. A screen has an uniform plane that can reflect and enhance the light from the projectors more than a wall.
They are also bright than other screens in providing images. Almost all projector screens are designed to either increase the degree of contrast or the quality of the pictures. Some have holes at the back of the screen where you can place speakers for a real theater surround sound system.
If you plan on installing anything permanently onto the wall you should first test the projector and the screen to see if your size and distance are right.
Find The Right Height
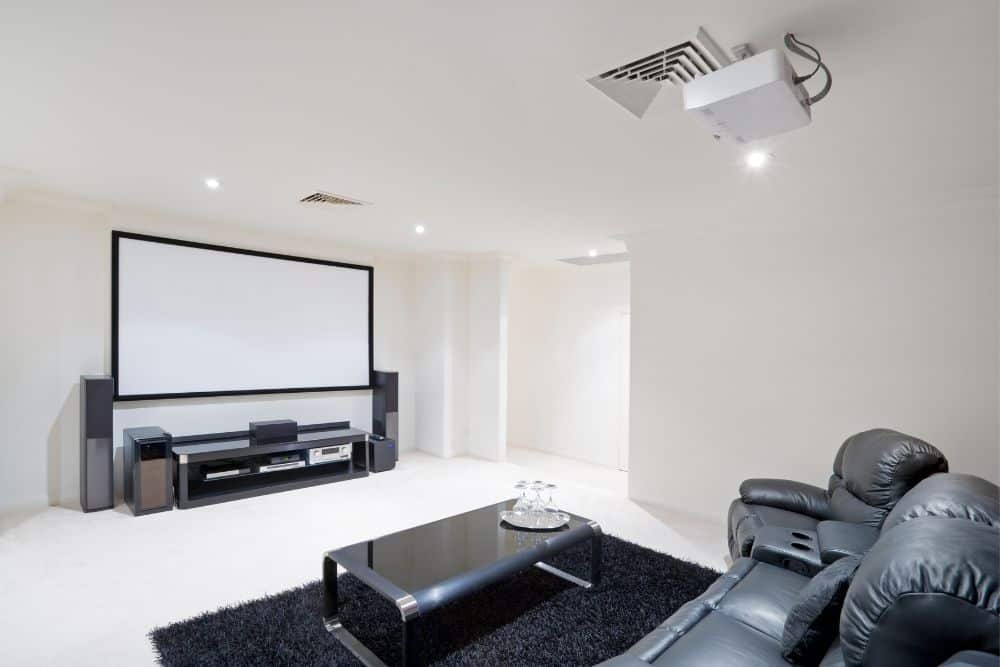
Image Credits: pointerclicker.com
Manufacturers usually indicate a specific height that the projector should be placed for it to produce the best size image. This height is from either a floor or a ceiling. This is where you might see that the image is tilted if you didn’t set the height appropriately.
Most projectors have displayed images above the centroid of the lens. The height differs according to the model. These projectors should be placed on a table or on the ceiling because most of the images will appear in the middle of the screen. This is so even though the projector it self may be nearer to the floor or ceiling of the building.
Check Content Input
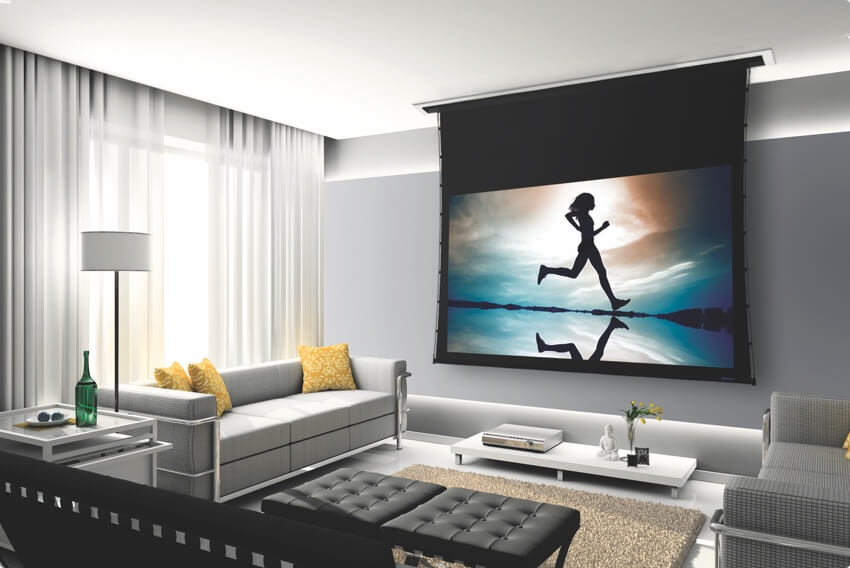
Image Credits: Avidiaonline.com
Select a projector depending on how you intend to enjoy your shows, and stream or movies. You should ensure that every thing is in proper order before fixing your projector. In the case of the streaming stick, gaming console or a set-top box, try the HDMI cables provided in almost all home theater projectors.
In our opinion, these cables are perfect compared to a cable-less connection or to connect several sources to the projector. It offers you the highest freedom and quality results than any other method that you may come across.
Features such as VGA, MHL or wireless streaming that other home theater kits have may be missing in other kits. If you require any of these options, you must look to see if they are being offered and if so, buy them as extras.
Consider Your Sound Options
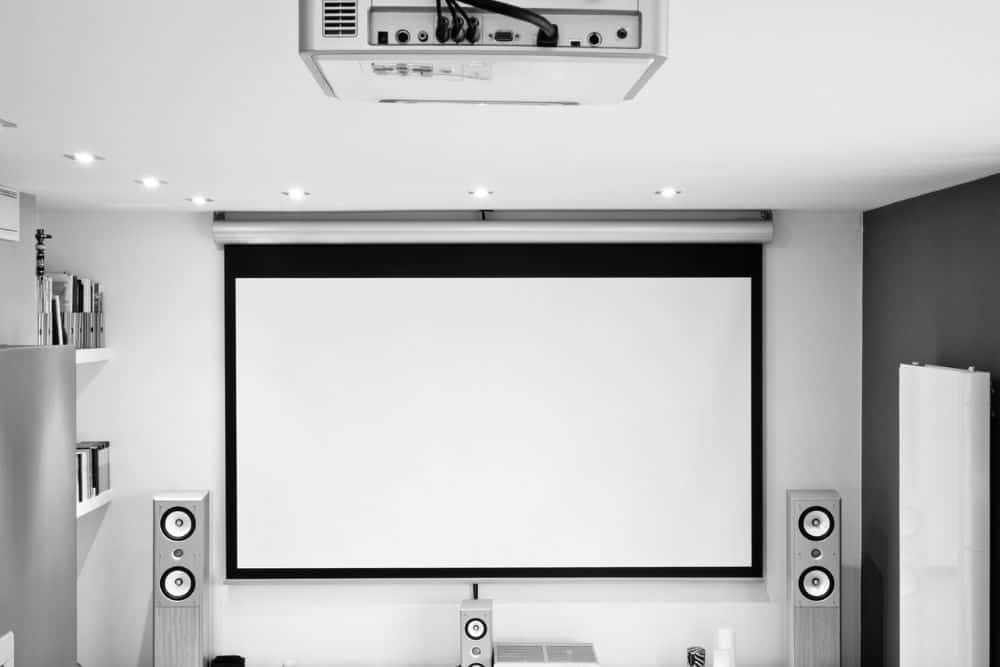
Image Credits: Pointerclicker.com
The projector has very few watts for the speakers and these small speakers are inside while the sound is expected to come from the screen. The heat lamps in projectors have fans that cool them, and they produce noise.
If you have the space, you can hook up to a sound system but if you don’t, plug into the nearest decent Bluetooth speaker. This will need a second input, a Bluetooth compatible projector, or additional Bluetooth transmitter. You will install surround sound that you will use to complement the sound effects in your home theatre system.
You can make use of any sort of powered speakers to help with your sound boost. Almost all the external speakers have an audio output that can connect to these speakers. The only thing that we are certain about is that you should make sure that the projector you purchase supports your speakers. Almost every single video projectors will give you a minimum of 3.5 mm audio output.
Choose The Correct Picture Mode
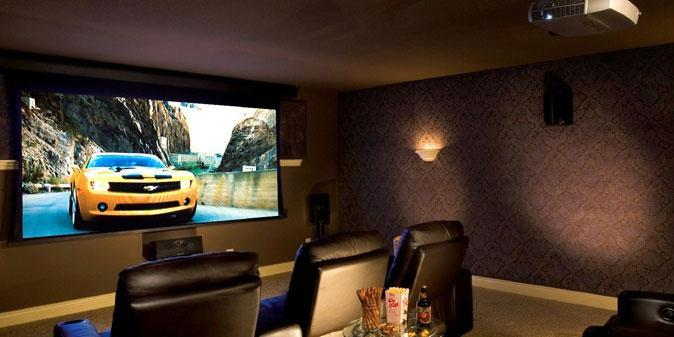
Image Credits: Virily.com
Most projectors are designed with factory pre-set picture modes. You’ are going to have to make a decision as to which is the best for you. In an ideal world, the home theater location is a dark room, and the overall picture quality is “Movie” or “Cinema.”
In case your living room is relatively lighter, there is a need to select a mode, which has a brighter level to include “Vivid” or “Dynamic.” However, these lights are often skewed blue, green, or both; or do not respond at all.
Within almost all projectors lies a lamp- some fantastic light bulb. Some of the home theater projectors do not use LED or lasers although there are projectors today that apply these.
The lamp of your projector will also last longer, insofar as the environment it is used in is relatively darker. However, its images will look best on bright Lamps lamp settings, which will drain the projector in a second. The fan noise will also be louder when using the projector. Select the “Dynamic” settings, this setting will adjust the lamp power to the current screen content.
Many projectors are rated 4000-5000 hour lamp life using the normal mode of operation. This means if you spend not more than 4 hours a day, it will take about several years.
Cast an Alignment Image
Image Credits: Gadgetreview.com
An alignment image, such as the one shown above, will help the width/height ratio of your image to be put in order. The alignment image will also act as the setup disc for several other steps as well. What you can do, instead, is to switch off the lights, and determine where the margins of the images are. See to it that you make use of real videos.
If you realize that your image orientation is not rectangular, that is to say, it is rotated with respect to the screen at certain degree. Make sure to measure the distance from everything and try to get as much aligned with the projector as possible.
Do not adjust the projector keystone correction because it actually adjusts the image electronically to a rectangle. This will result into lower graphical resolution and image quality.
Lens shift will change the angle of the lens mechanically turning or moving the lens with nominal impacts on the image. Update focus until high pixel makes clear definition. It is necessary to pay attention to the lens shift limits in order not make the images too excessive. Some projectors have a built-in wizard for settings, sound and picture that can help set them up.
Image Credits: pointerclicker.com
Put All Pieces Together
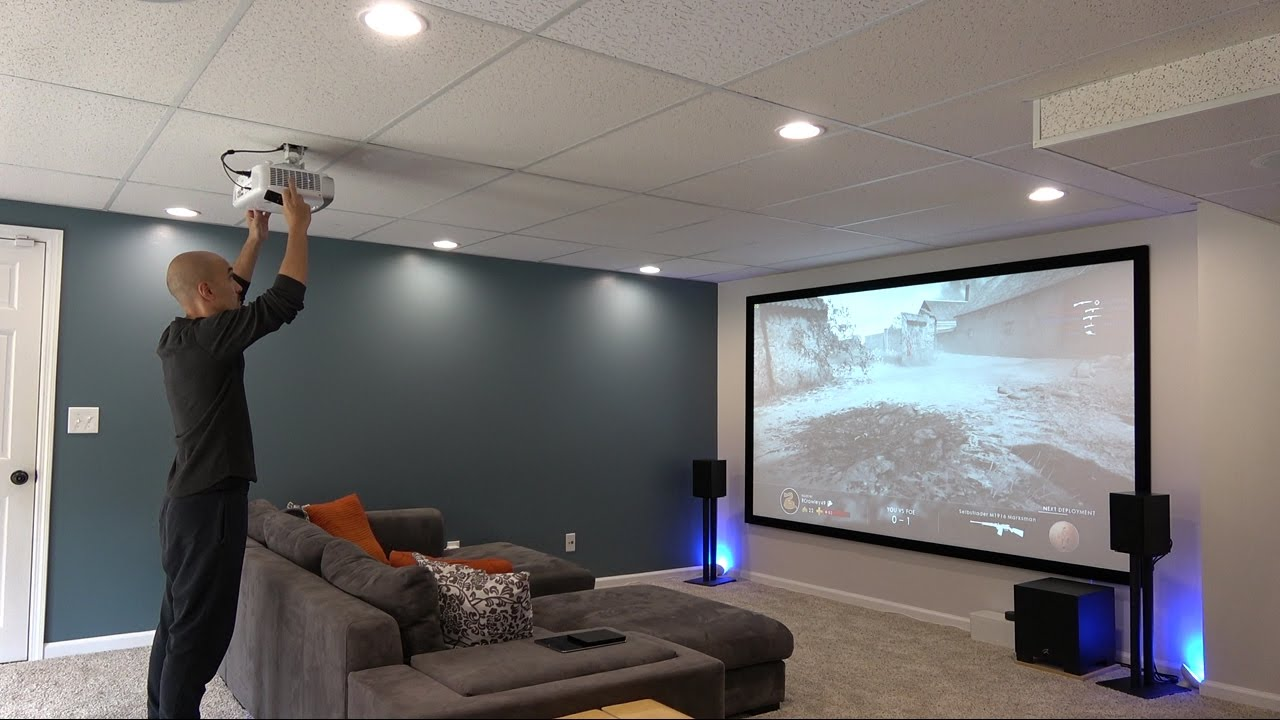
Image Credits: Projectortop.com
Once everything works perfectly, it is about time to install the screen and video projector more or less permanently. Ensure that every component has been bought and put together before you begin the real process. It is also important before you start your project that you have all the necessary cables screws and other tools at hand.
Just ensure that any HDMI cables you have laid down are tacked away so no one gets to stumble on them. If you’re going to pull the HDMI cable through the wall, make sure that it’s allowable to do so and check the local building codes. Look at the projector user manual to check that you connect things in the correct manner. This will ensure that all components are well functioning once there is power to the system.
Conclude Your Installation
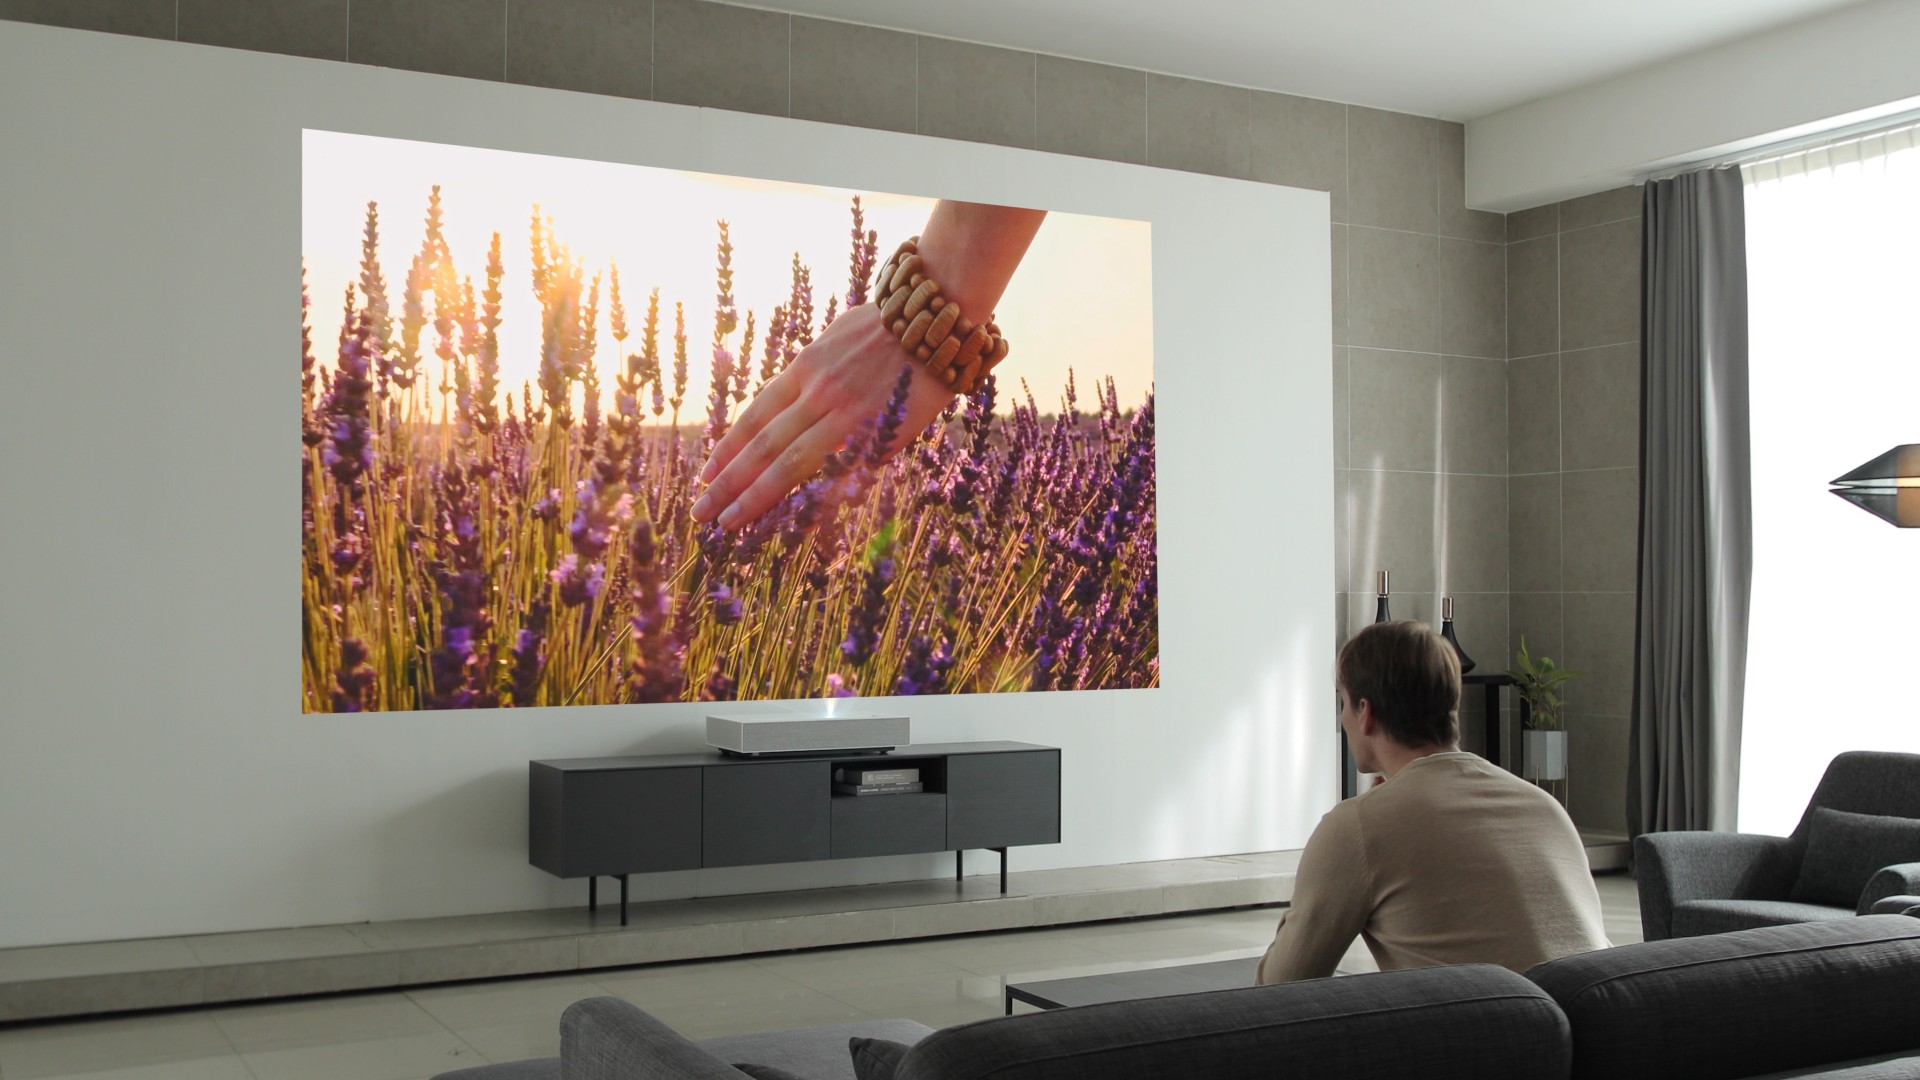
Image Credits: Techradar.com
Hang your screen permanently, install your projector and firmly position your speakers. Triple check to be safe and make sure that no cords where loose or some wire had formed a web like structure over the walls.
Double check to ensure that all the connections have been made rightly. Ceiling mounts are tricky to fix correctly and even more challenging to remove as soon as they are mounted. It is much better to address any issue on the setup before you relax and watch your favorite theater movies. Check sound and picture to see if they will play well on all the rest of the channels.
Turn off the lights and enjoy!
Conclusion
Setting up a home theater system with a projector will make you enjoy theater like experiences right from the comfort of your homes. The above guidelines will help you make a successful installation.
Featured Image Credits: Community.thriveglobal.com


