Making a poster is a difficult task in and of itself, but designing a poster for printing is even more challenging! However, you don’t need to be afraid of that. If you go to Create Vista, you can find thousands of templates, pictures, and other tools to help you make an excellent poster for your campaign.
That said, the biggest problem arises when the physical copies of the poster do not look as good as the digital ones. This is because you need to follow many guidelines to print a picture-perfect page. People have trouble formatting their work for print because they are used to making content only for digital consumption.
However, it is essential to know this skill as posters are a form of advertisement that will never go obsolete. You never know when you might need to print a poster!
Therefore, we have devised the steps on how to print a poster and the list of things you should keep in mind so that the tangible copy of your poster is as great as the digital one.
5 Guidelines to Follow for Picture-Perfect Physical Poster
1. Work with the Right Color Space
The print version of the poster does not usually have the same vibrant colors as the digital one. This is because computers use the RGB (red, green, blue) color space since they are backlit, in contrast to printers that use the CMYK (cyan, magenta, yellow, black) color system for their inks.
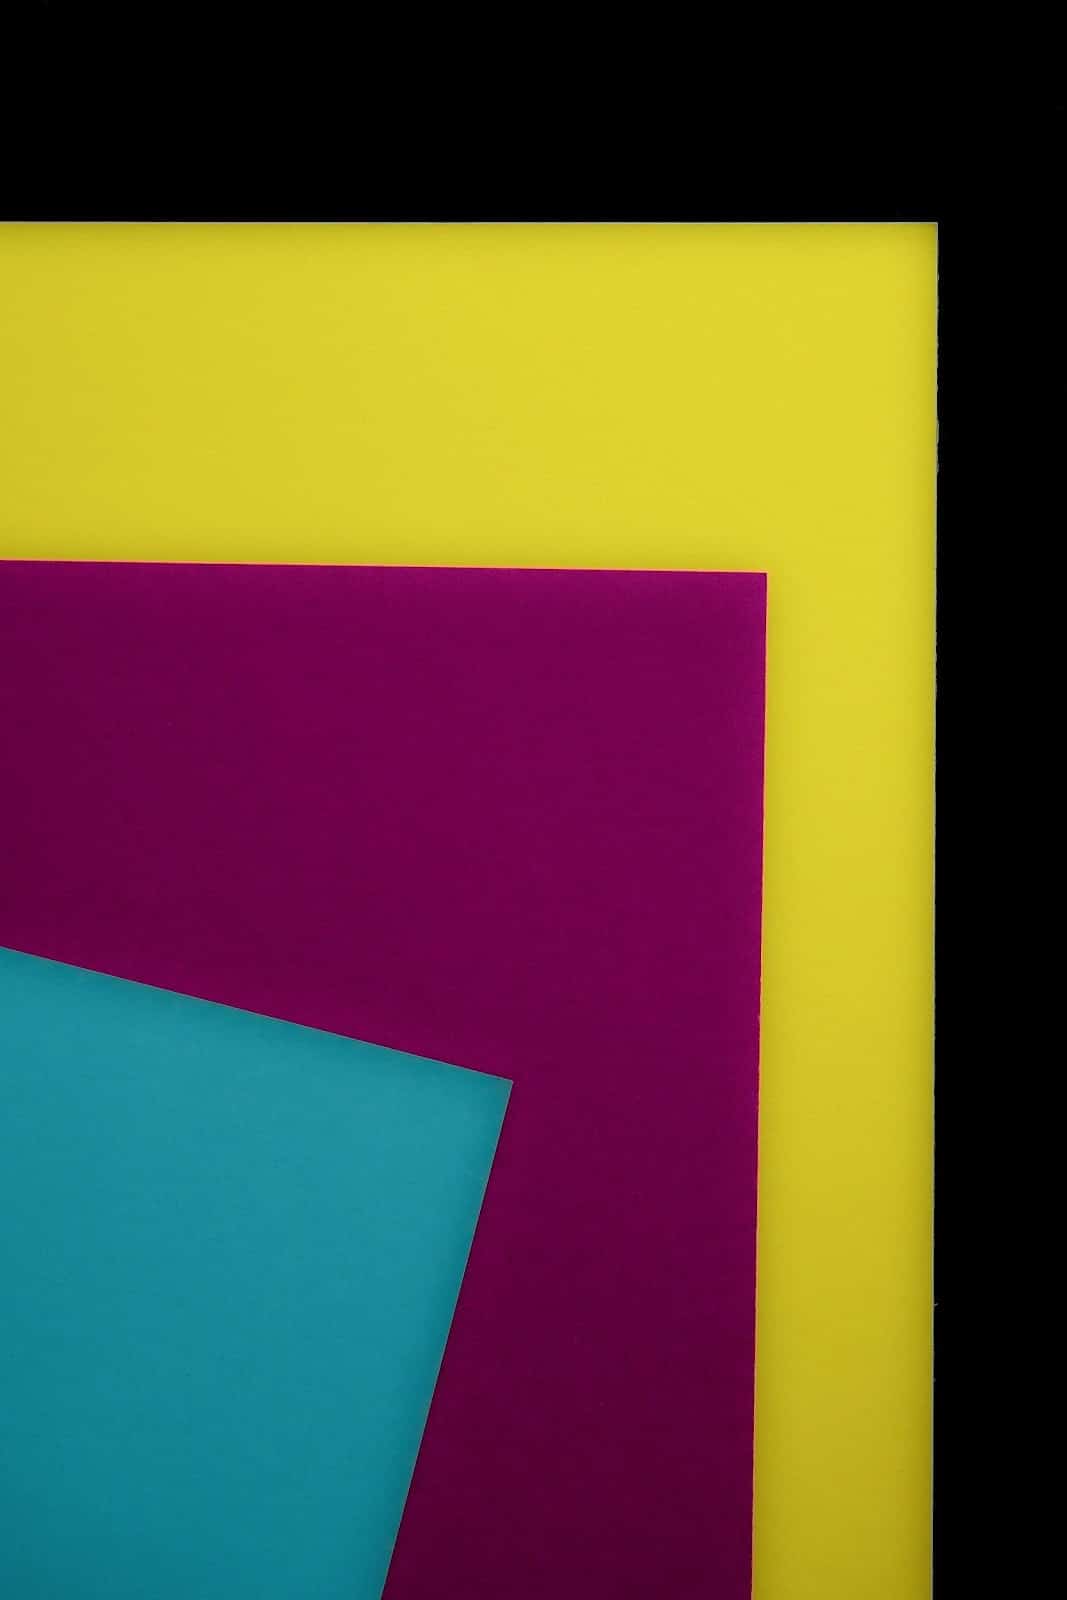
So, to avoid any disappointments, employ the CMYK color scheme while designing your posters and enjoy the exact colors you imagined while creating.
Alternatively, you can change the file into a CMYK document to get an idea of what the poster will look like in its physical form. Also, a sepia-like hue will appear if you don’t convert the black-and-white photos on the poster to grayscale. Hence, do not overlook that step!
2. Allow Space For Bleed
Bleed is the area of your artwork that extends past the point at which the paper is trimmed. It is essential to allow space for bleeding to ensure no white outlines, as they can make your poster look messy and unprofessional.
Plus, since no cutting apparatus or guillotine can be acutely precise in cutting along the trim line, there must be some space for error, and bleed helps achieve that.
3. Design Your Poster In 300DPI
Images used for digital purposes have a low resolution, so the result is pixelated when the same pictures are used for printing.
Also, since digital files are typically huge, the image resolution appears fine on screen. However, the outcome is entirely different when the same document is printed on paper.
Therefore, it is important that you set all your files to a resolution of 300 dpi (dots per inch) to ensure the best printing results.
4. Use The Right Format To Share Your Document File
If the file is sent in the wrong format, the printer won’t accept it, so you need to re-send it. However, sometimes the printer accepts the file, but a botched print run renders your posters useless, causing you to lose time on top of losing money.
Your file must, therefore, have a specific size and format so that the printer can read it accurately. Hence, to avoid any hassle or unfavorable results in bad prints, make sure your new document is in PDF file format.
5. Select The Right Paper

Paper quality is the most important thing to consider when printing your poster. However, with so many options available, it can be challenging to settle on one. Therefore, before making a decision, you should ask yourself the following questions:
- Where are you going to put your poster?
- How do you want it to look?
- How long should the poster last?
- Is the paper displaying your design correctly?
- Does it fall within your price range?
Remember that a high-quality piece of paper and the best printer for art prints can bring your artwork to life and affect how your audience will react. Hence, it would be best if you chose wisely.
6. Bonus Tip!
Never hesitate to ask your printer for help! You will find yourself getting stuck a lot, especially in the beginning, so it is always a good idea to ask the experts at the printing press themselves for any assistance you may require.
Also, ensure you work with people who offer reliable printing services and prioritize quality.
How to Print a Poster
Posters are a great way to grab attention and convey a message. They can be used for advertising, events, and presentations. However, printing them professionally can be expensive, and sometimes you need them urgently.
That’s where printing posters yourself comes in. Printing a poster yourself can be a cost-effective and convenient way to communicate the message. Here are the steps you should follow when it comes to poster printing.
Step 1: Pre-Printing Preparation
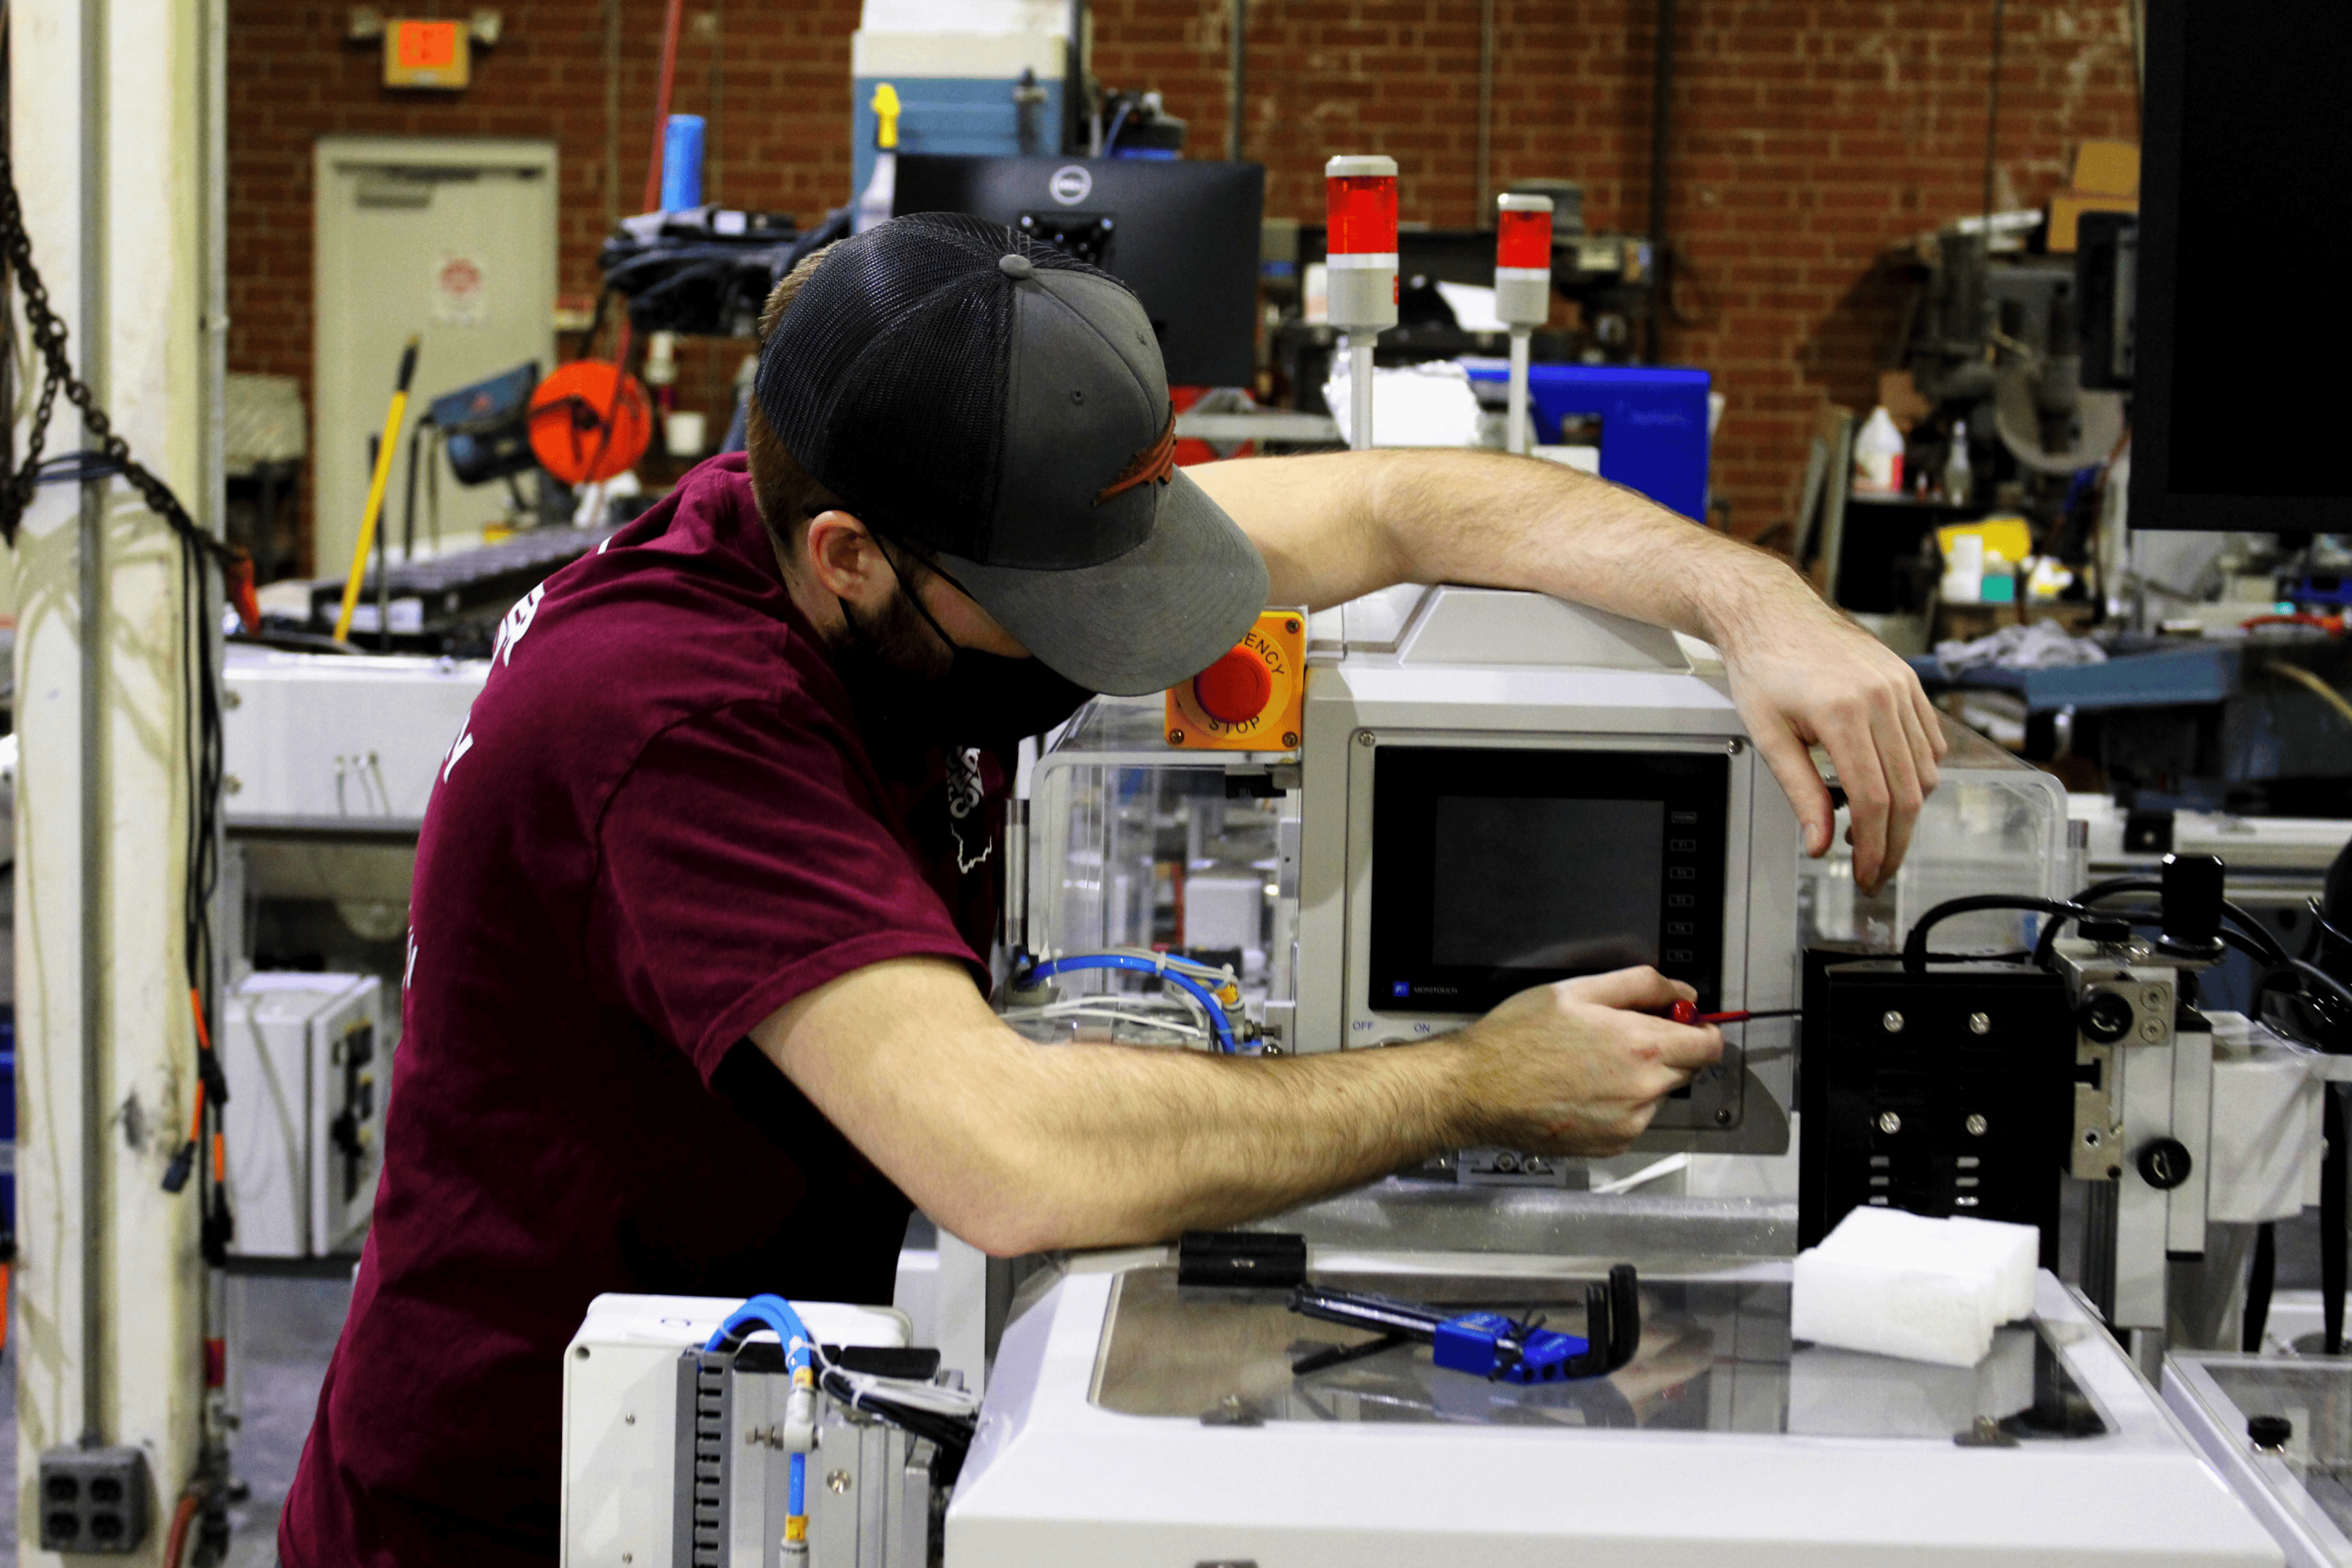
Pre-printing preparation is an essential first step in printing a poster as it ensures that the poster design is ready for printing and that the printer is set up correctly. The following are some crucial things to consider during pre-printing preparation:
- Choosing a design- Use an online design tool, graphic design software, or a ready-made template for your poster. Ensure that the design is in the correct size and format for printing.
- Choose the appropriate size- Check the printer specifications to ensure it can handle the size and type of paper you plan to use. Adjust the print settings for the best quality print, including color and resolution.
- Paper selection- Select a high-quality paper stock suitable for your poster design. You may choose between glossy or matte finishes and different weights depending on your preference.
- Preview the design- Preview the poster design to ensure that it’s free of errors and that the layout and alignment are correct.
- Proofread the content- Proofread the text to ensure no spelling, grammar, or punctuation errors.
- Save the design- Save the poster design in the correct file format, such as PDF, to ensure it’s ready for printing.
Step 2: Printing the Poster
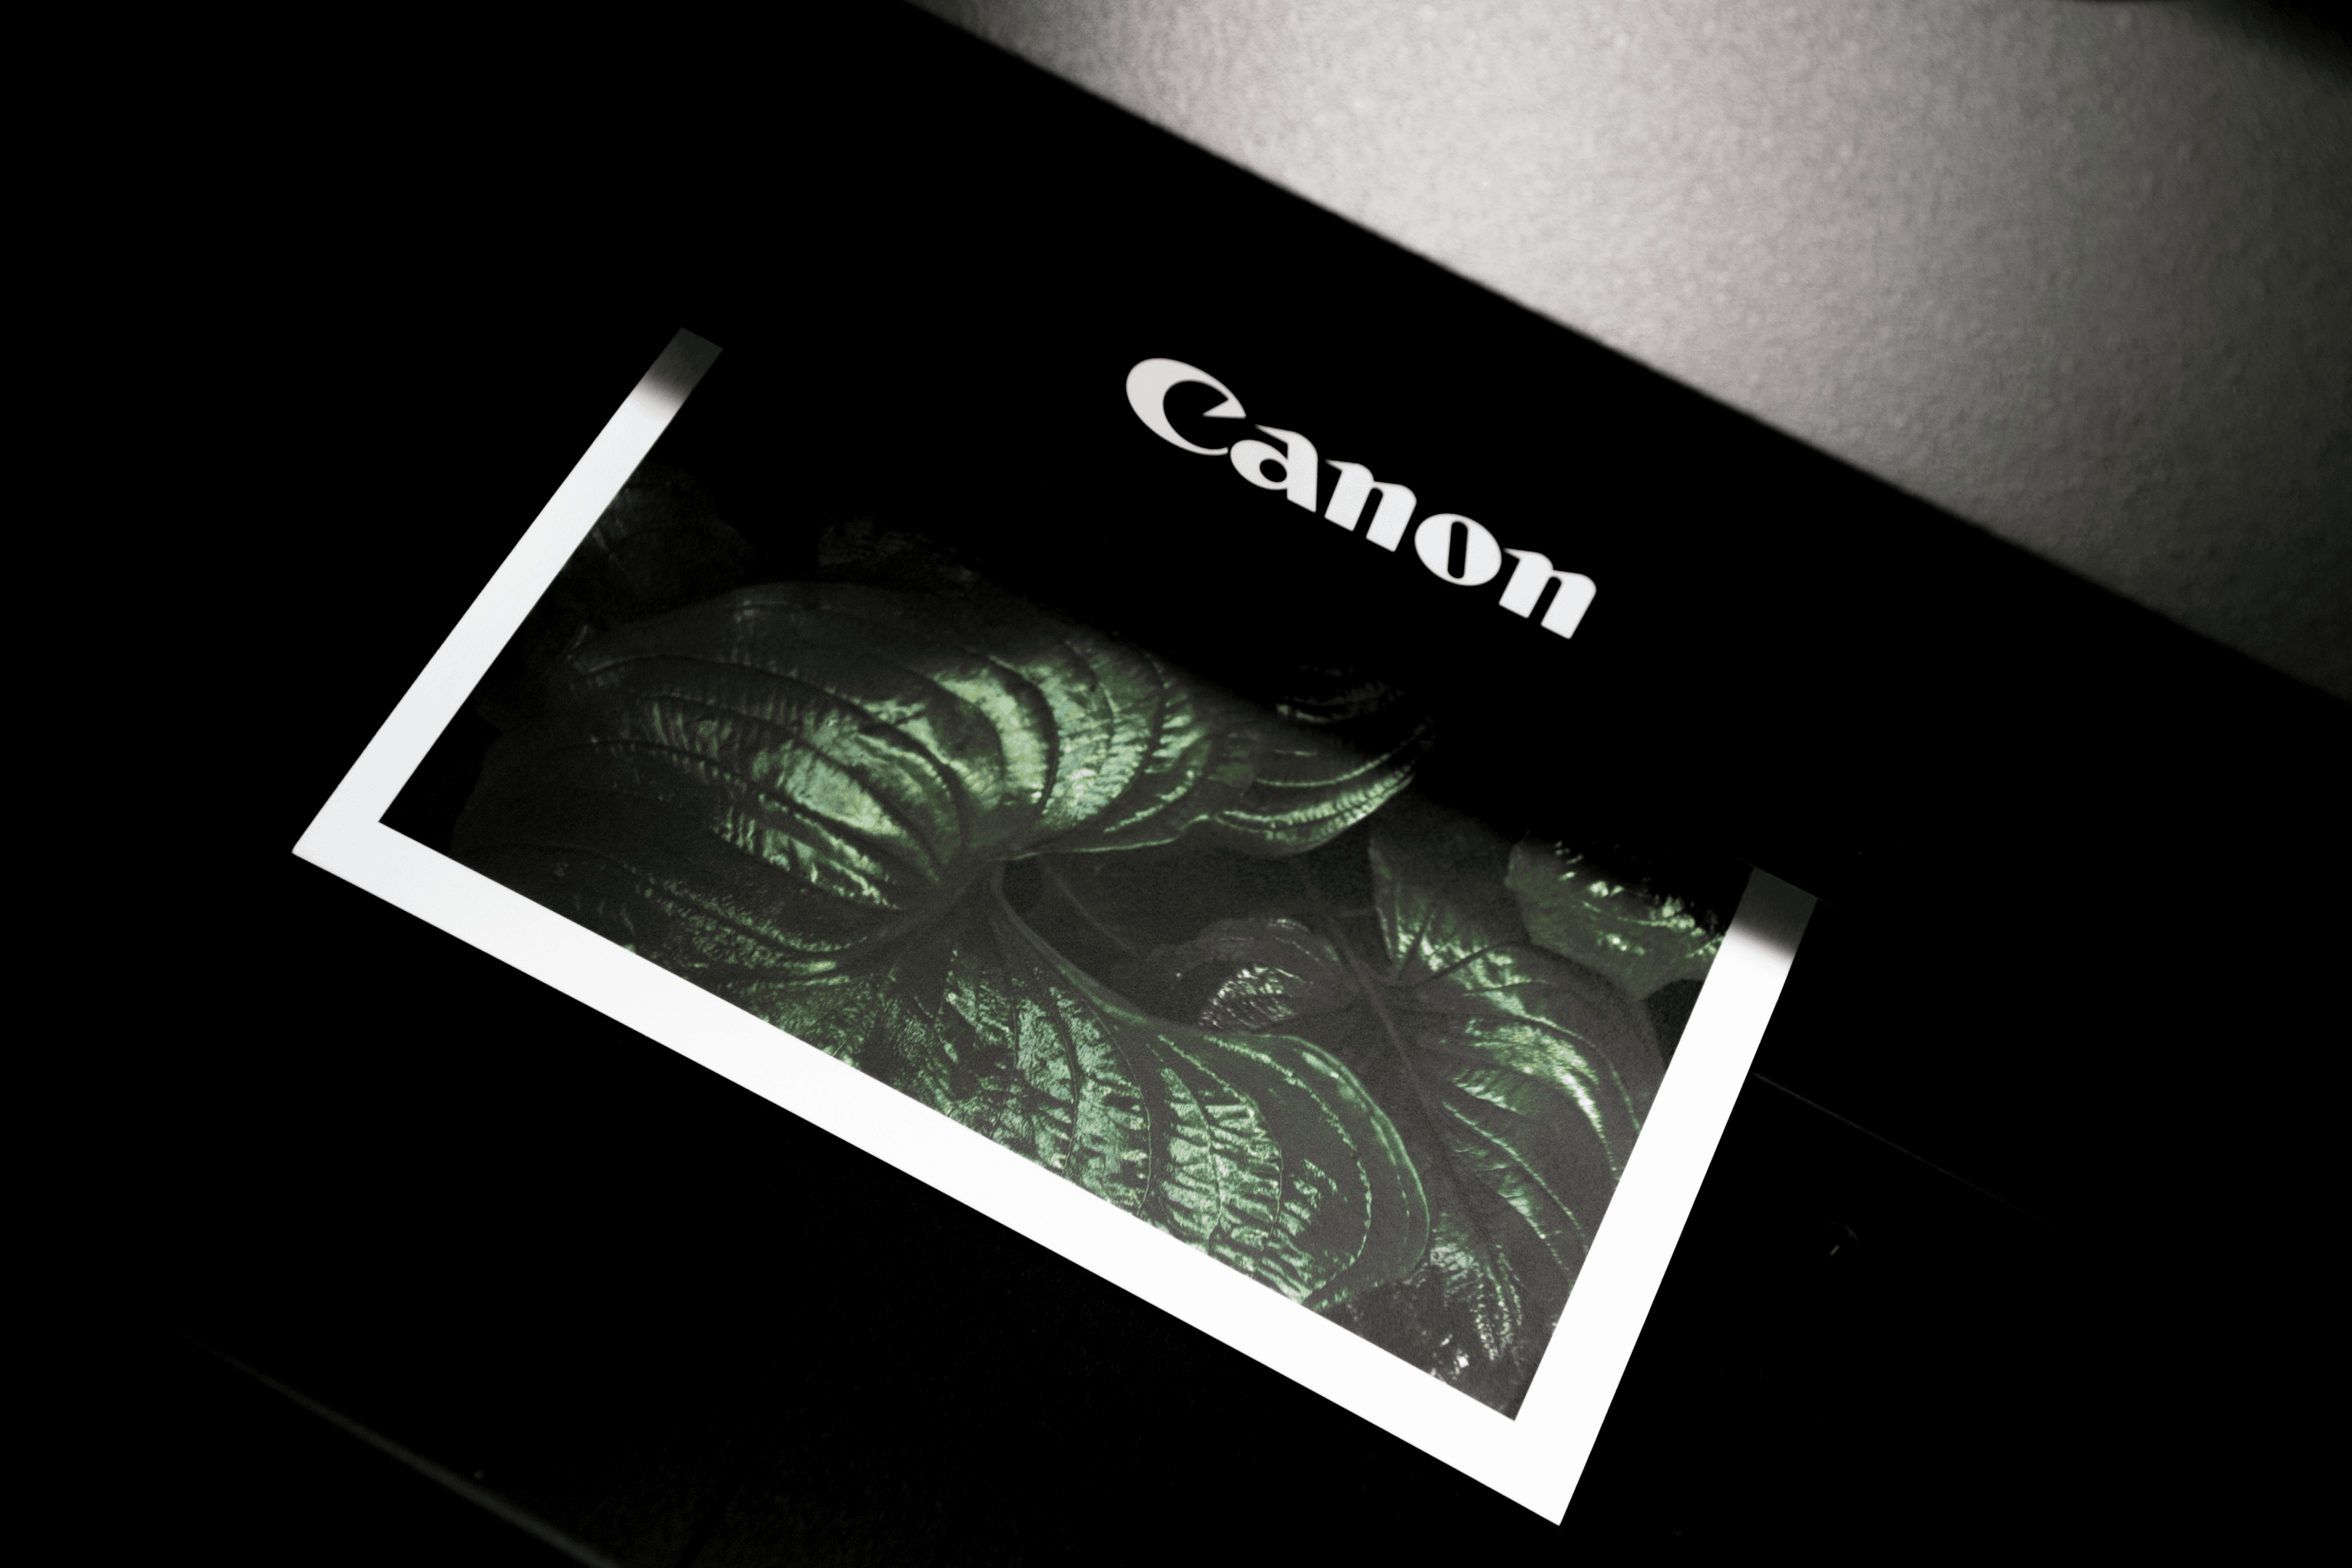
The second step is printing the design you have created or chosen. Here are the things to consider:
i. Printing Method
Choose a printing method suitable for your needs, such as digital or offset printing. You can also print the custom posters at home using your printer, but make sure it can print in large formats and has high-resolution printing capabilities.
ii. Setting Up the Printer
Set up your printer by ensuring it is connected to your computer and the printer driver is installed correctly. Adjust the printer settings to match the paper size and type you use.
iii. Printing and Checking for Quality
Load the paper into the printer and start the print job. Monitor the printing process to ensure the colors, text, and images are correctly printed. Once the printing is complete, check the poster for quality, ensuring it meets your expectations.
iv. Dealing with Printer Errors
If you encounter errors during printing, troubleshoot the printer, check the printer settings, and try again. If the printer doesn’t work, seek technical support or a professional printing service.
Step 3: Finishing the Poster
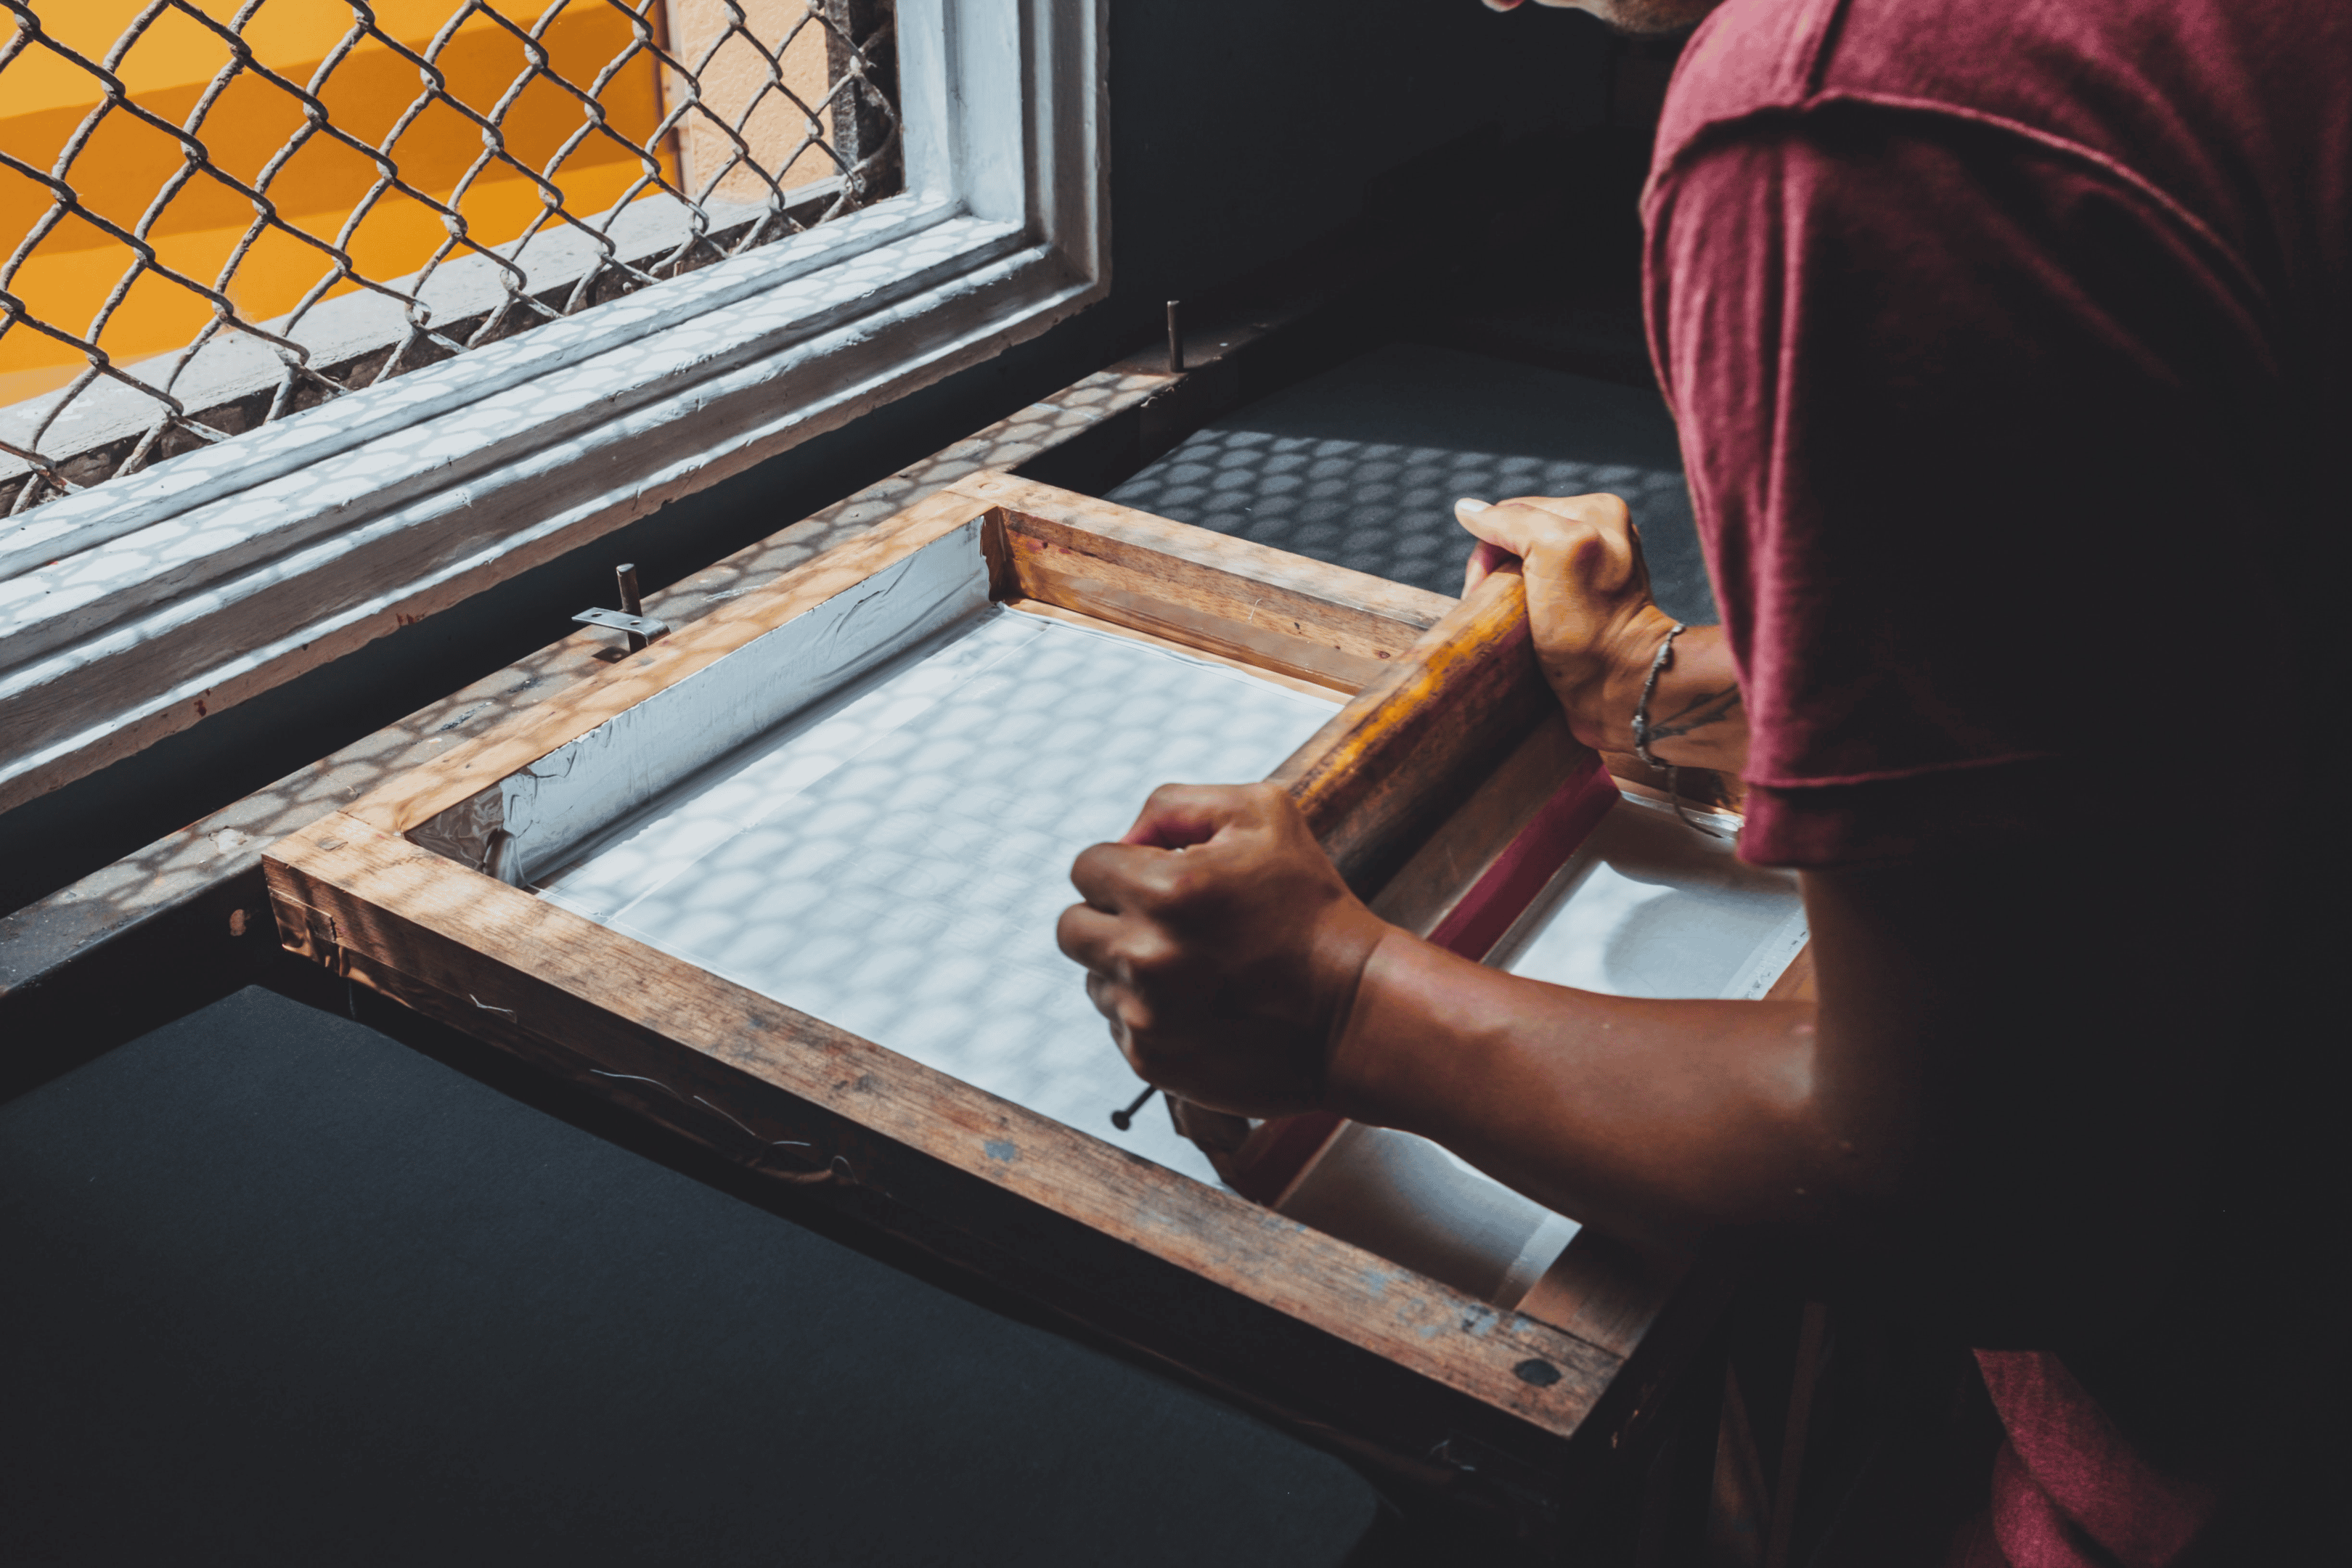
Finishing the poster is the last step of printing a poster after the actual printing is done. The second step would be preparing the design and printer settings. The following steps to finishing the poster are:
- Trimming the poster- Cut off any extra or uneven edges to make it look neat and professional. Use a paper cutter or scissors to trim the poster to the desired size.
- Mounting the poster- If you plan to hang it on a wall, mount it on a backing board or foam board for added stability. Double-sided tape or adhesive can stick the poster to the board.
- Displaying the poster- Finally, you can display the poster using tape, pins, or a poster frame. Choose a location where the poster is visible and protected from damage. You can also use poster hangers, poster rails, or a plastic sleeve to display the poster.
Poster Prints on Multiple Pages
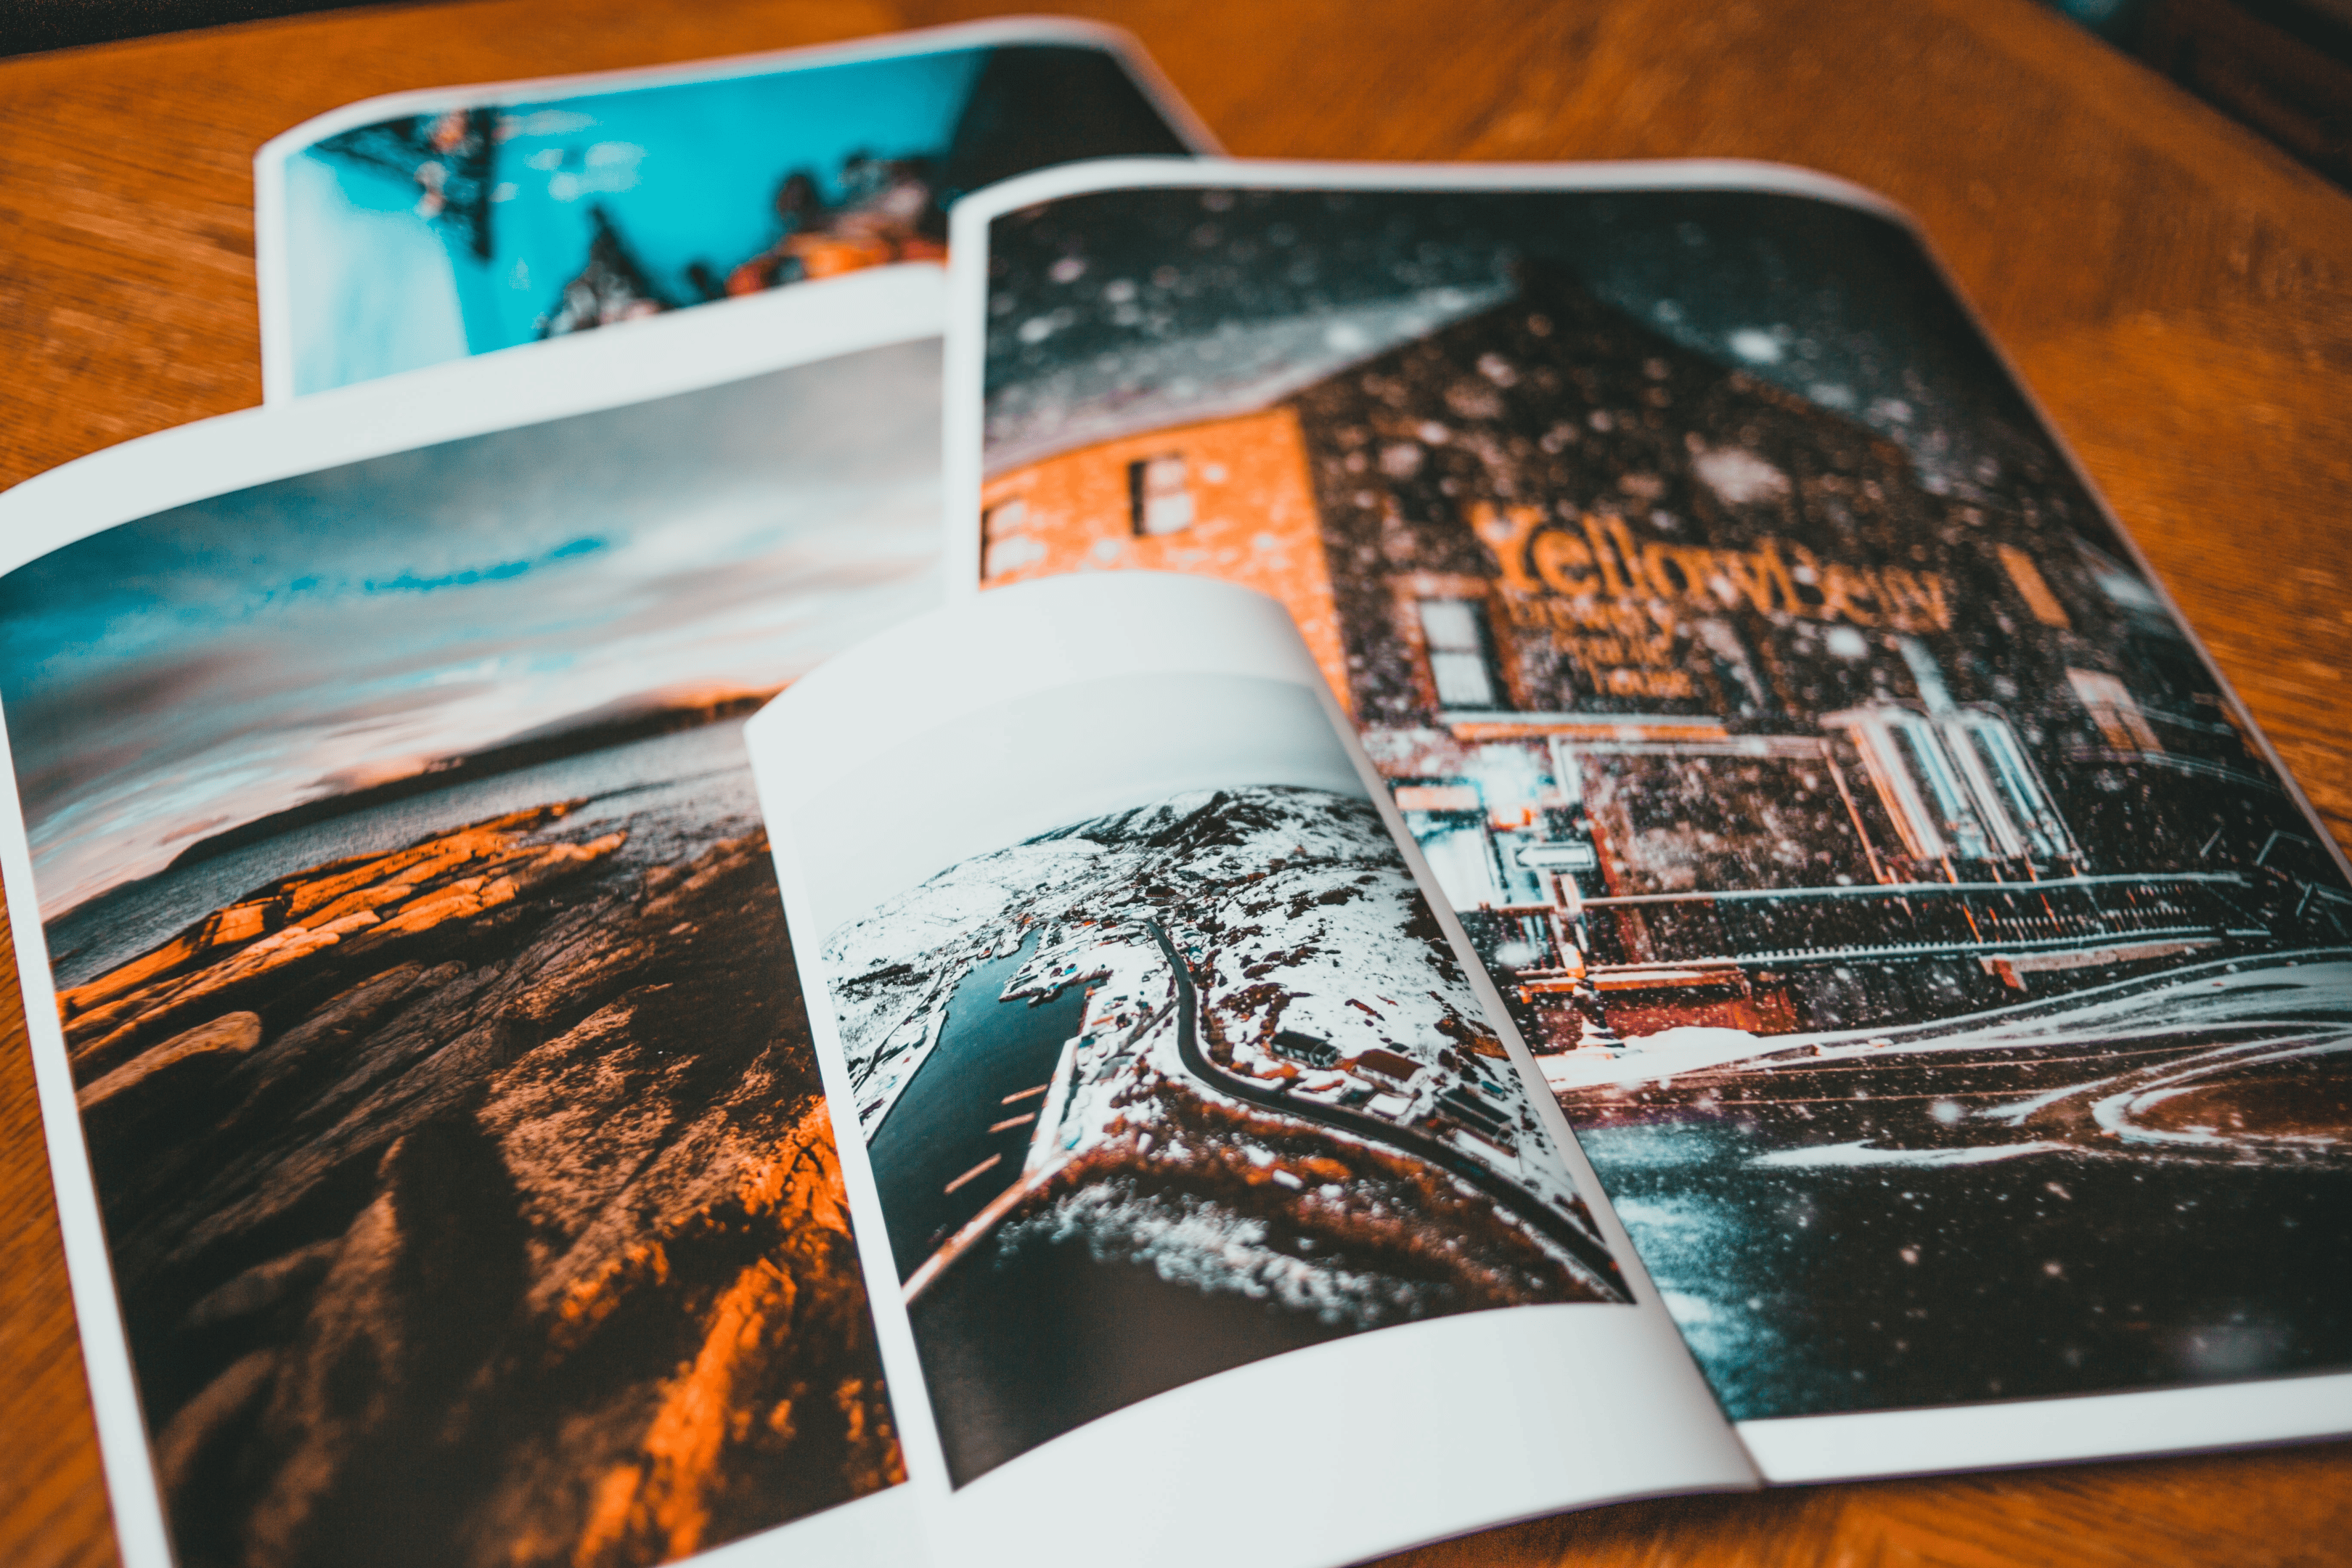
Printing posters on multiple pages involves dividing them into sections that fit on standard-sized paper, printing each section separately, and then piecing them together. Here are the steps to follow:
Step 1: Choosing the Software
You can use software or an online tool to divide your poster into sections and print them on multiple pages. Adobe Acrobat Reader, Microsoft PowerPoint, and Canva are popular options.
Step 2: Dividing the Poster into Sections
Once you have the software, import your poster design into the program and divide it into sections that fit onto a standard-sized paper, such as A4 or letter size. You can use the software’s grid or ruler function to help you place the sections.
Step 3: Printing the Sections
Print each section separately on a standard-sized paper, ensuring you have chosen the correct orientation and page size. You can also adjust the print settings to achieve the best quality print.
Step 4: Piecing the Sections Together
Once all the sections are printed, lay them on a flat surface and align them properly. To attach the sections, use a glue stick, scotch tape, or double-sided tape. Make sure the sections are properly aligned before attaching them.
Frequently Asked Questions on Poster Printing
1. What size should I print my poster?
The size of your poster depends on the purpose and location of the poster. Common sizes for posters include 11×17 inches, 18×24 inches, 24×36 inches, and 27×40 inches. Consider the space where your poster will be displayed, and choose a size that will fit and be readable from a distance.
2. What file format should I use for my poster design?
The best file format for printing a poster is PDF (Portable Document Format), as it preserves the layout and resolution of the file. You can also use other file formats like JPEG or PNG.
3. What resolution should my poster be for printing?
The resolution of your poster should be at least 300 DPI (dots per inch) to get a clear and sharp print.
4. What printing method is best for printing a poster?
The best printing method for printing a poster depends on the quantity and size of the poster. Digital printing is suitable for small quantities, while offset printing is ideal for large quantities of posters.
5. What kind of paper should I use for my poster?
The type of paper you should use for your poster depends on the purpose of your poster. For general use, a semi-gloss or gloss-coated paper is a good choice. The matte paper may be a better option for a more professional look. Consider the best printer with the cheapest ink cartridges used as well, as some papers work better with specific inks and printers.
6. How do I ensure that my poster is printed in the correct colors?
To ensure that your poster is printed in the correct colors, it is important to use a color profile when designing your poster. This will help ensure that the colors are accurate when printed. Also, use a high-quality printer that can produce accurate colors.
7. Can I print my poster on my home printer?
You can print a small poster on a home printer, but larger posters may require a professional printing service. Professional printers have larger printers and can print higher quality and larger sizes. They also offer a wider variety of paper options and can offer better prices for bulk orders.
8. How long does it take to print a poster?
The printing time for a poster varies depending on the size, complexity, and quantity of posters ordered. Most printing services will provide an estimate of the turnaround time, which can range from a few hours to a few days. Rushed printing services may also be available for an additional fee.
9. Can I order posters in bulk?
Yes, most printing services offer bulk printing services. Ordering in bulk can often result in a lower price per poster. Be sure to check with the printer to see if they offer any discounts for bulk orders.
10. How can I ensure that my poster is designed effectively?
To design an effective poster:
- Consider the poster’s purpose, audience, and location.
- Use a clear and simple design that highlights the main message of the poster.
- Use eye-catching graphics and large images to draw attention to the poster, and use fonts that are easy to read from a distance.
11. Can you print a poster on a home printer?
Yes, you can print posters on a home printer, but you may need to consider the printer specifications, paper size, and print quality.
12. How do I print a poster size on an A4 printer?
You can print a poster size on an A4 printer using software or an online tool that allows you to divide the poster into A4 sections, print each section separately, and then piece them together.
13. How do I print a poster on multiple A4 pages?
To print a poster on multiple A4 pages, you can use software or an online tool that allows you to divide the poster into sections and print each section separately on an A4 sheet. You can then piece the sections together to create the final poster.
14. How do you print posters at home?
To print posters at home, you need to select a design, set up your printer, choose the right paper, print your poster, trim it to size, and display it using tape, pins, or a poster frame. Keep in mind that printing posters at home may not offer the same quality as professional printing services.


