Imagine spending hours choosing the right bathroom fixtures, tiles, and color scheme, only to have moldy walls or water damage wreck your hard work! Worry less; the best drywall for bathroom use comes to the rescue, ensuring you have a sturdy, moisture-resistant bathroom that stands the test of time.
Now, you might be wondering why you specifically need bathroom drywall. Well, drywall usually comes in different types used for different purposes around the house. For example, the drywall in the bathroom and kitchen differs from the rest of the rooms.
What is Drywall?
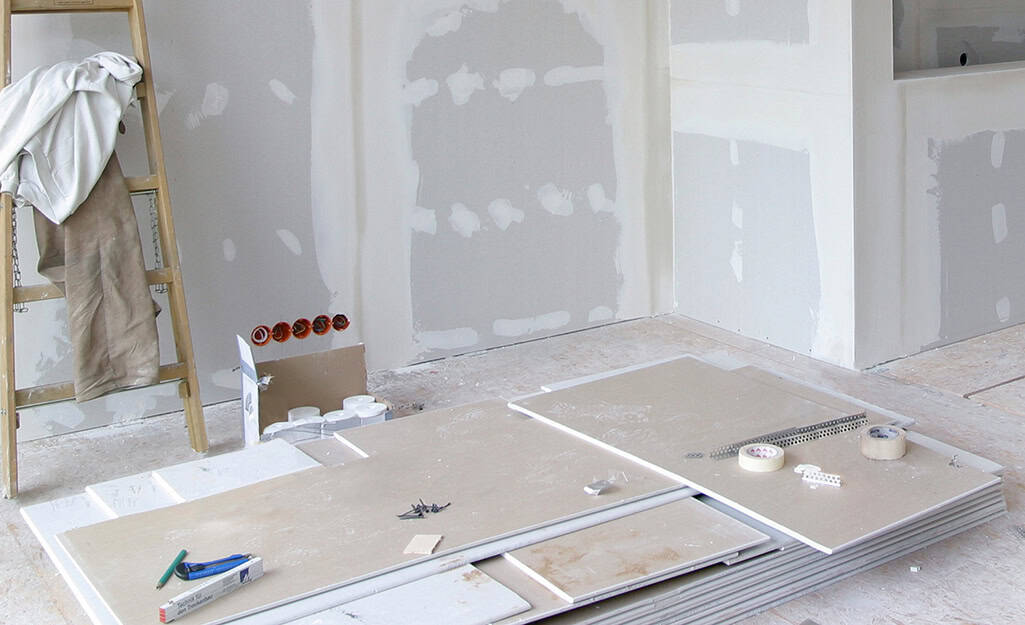
Drywall, also known as gypsum board, plasterboard, buster boards, custard boards, or gypsum panels, is a building material for interior walls and ceilings. It consists of a layer of gypsum rolled between two sheets of paper.

Image Source: evolvinghome.co
Drywall is usually installed on the interior sides of walls and ceilings. The gypsum core is combined with paper-fiber, fiber-glass, a blend of these two materials, a foaming agent, plasticized, or some other material to stress the plaster, minimize flammability, and lower the possibilities of mildew and water absorption.
Furthermore, the gypsum core offers soundproofing and fire-resistance properties, while the paper surfaces provide a smooth and paintable finish.
Now that we understand what drywall is let's check out the best drywall for bathrooms.
1. Green Board Drywall
Green Board drywall is your go-to choice for spaces that see a lot of humidity, like bathrooms. It’s pretty much like regular drywall (aka white board), but with one key upgrade: it has a moisture-resistant paper facing that gives it extra protection against damp conditions. Plus, the green color is an easy giveaway that it’s not your average drywall.

Image Source: builditfine.com
Now, while Green Board does a solid job of handling the typical moisture you get in bathrooms, it’s not meant to be splashed with water—so, no, it’s not ideal for places like shower areas. Even though it’s more resistant to moisture than regular drywall, it’s still not waterproof. So, don’t skip on proper ventilation or adding vapor barriers and tile to ensure everything stays dry.
When you’re putting up Green Board drywall in your bathroom, make sure you’re following local building codes for moisture control and waterproofing. That way, you’ll have a solid, long-lasting setup that can handle the humidity without any problems.
Pros:
Cons:
2. Purple Drywall
Another excellent option for bathroom installation is Purple Board drywall, also known as Purple drywall. This is similar to regular drywall and Green Board drywall, but it's much better than the green board model because it's resistant to moisture, mold, and mildew. The gypsum core of this drywall is fireproof, and the paper facing is treated with additives to improve its resistance to mold and mildew growth.

Image Source: builditfine.com
Purple Board drywall can be differentiated from other types of drywall by its purple color. On the other hand, this drywall is ideal for wet areas since it can contact water without developing any issues. As a result, it is a perfect option for areas that require improved mold and moisture resistance.
This drywall is more expensive than Green drywall. When installing it, we recommend following local building codes regarding moisture and waterproofing control to ensure a long-lasting, mold-resistant, and water-resistant installation.
Pros:
Cons:
3. Cement Board Drywall
If you’re tackling a bathroom or shower project, Cement Board drywall is your best friend. This stuff is tough—like, it’s practically made to stand up to all the water you can throw at it. It’s a blend of cement and fibers, which makes it super solid and moisture-resistant. Not only does it keep mold and mildew at bay, but it’s also the perfect surface for sticking tile to, creating a waterproof barrier that lasts.

Image Source: thespruce.com
Cement Board is usually the go-to choice for areas that get soaked, like around bathtubs or in shower stalls. It’s the ultimate support for tile or whatever other finishes you plan to use. Just make sure you install it right—especially around the corners and joints—so you don’t mess with that waterproofing.
It comes in different sizes and thicknesses, so it’s flexible enough to fit whatever your project needs. People love it for bathrooms because it’s durable, moisture-proof, and can handle the job without breaking a sweat.
Pros:
Cons:
4. Blue Board Drywall
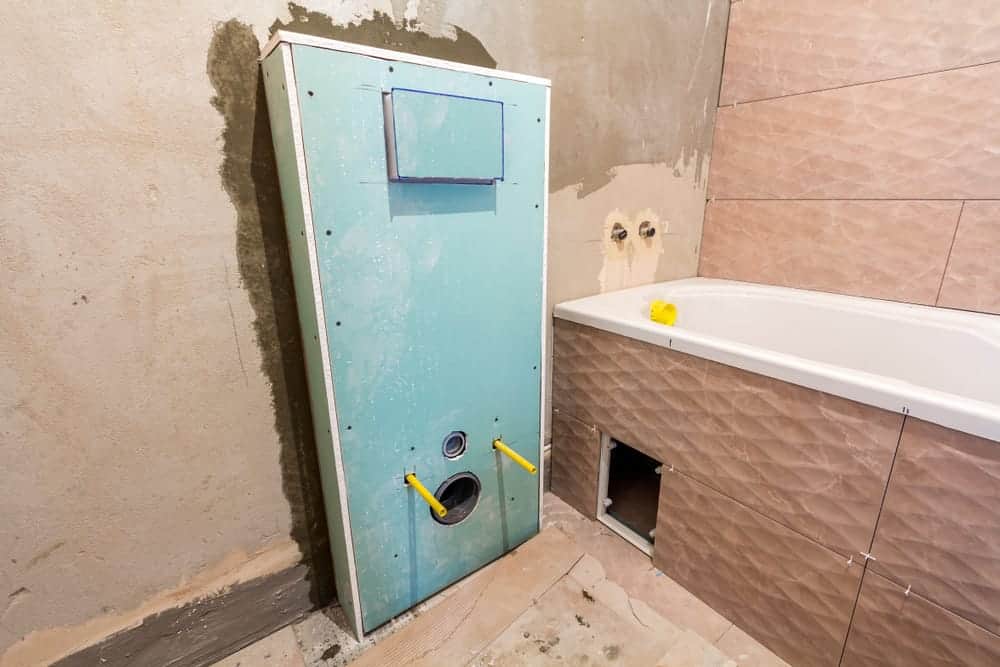
Blue Board drywall, also known as Blue Gypsum Board or Plaster Baseboard, is designed for veneer plastering applications. The paper front is blue, which serves as a visual indicator that sets it apart from regular drywall.

Image Source: popcornremoval.com
This drywall has a blue-colored paper facing and a gypsum core, offering better moisture resistance than regular drywall. However, it's not as water-resistant as Purple Board, Cement Board, or Green Drywall. Its primary purpose is to provide a smooth and durable base for applying a veneer plaster finish.
We recommend considering other drywall options like the Green Board or Purple drywall if you want optimal moisture protection.
Pros:
Cons:
Things to Consider When Choosing the Best Drywall for Bathroom Walls
Picking the right drywall for your bathroom isn’t just about grabbing any old sheet of drywall and calling it a day. There are a few things you’ll want to consider to make sure your bathroom stays in top shape. Here’s what to think about:

Image Source: homedepot.com
1. Moisture and Mold Resistance
Bathrooms are basically humidity central, so moisture- and mold-resistant drywall is a must. This type of drywall can handle the steam and dampness that comes with daily showers and hot baths. But, a heads up: while mold-resistant drywall helps, it doesn’t totally stop mold from creeping in. To really keep it at bay, you'll still need to manage moisture, make sure there’s good ventilation, and stay on top of regular cleaning.
2. Waterproof Properties
Just because drywall is moisture-resistant doesn’t mean it’s waterproof. If you want to go the extra mile, look for drywall that has both moisture-resistant and waterproof features. Alternatively, you can layer on extra protection, like a vapor barrier, waterproof paint, or tile in areas that get the most water exposure (think: shower and tub spaces).
3. Durability
Think about how much wear and tear the drywall will face in your bathroom. High-traffic areas like bathrooms take a lot of hits from moisture, impact, and general use. Go for drywall that’s tough enough to stand up to these conditions without falling apart after a few years.
4. Installation and Maintenance
Some types of drywall are easier to work with than others. For example, cement board needs special installation, so it’s not exactly a beginner-friendly project.

Image Source: homeefficiencyguide.com
While installing drywall might seem like a DIY project, if you’re not confident, it’s a good idea to bring in a pro to make sure everything’s done right.
5. Local Building Codes
Before you buy drywall for your bathroom, check out the local building codes. Certain areas have strict rules when it comes to moisture and waterproofing, so it’s important to know what’s required in your location. Following these building codes and regulations not only keeps you compliant but ensures that your bathroom is safe and structurally sound.
6. Compatibility with Finishes
Lastly, think about what you want to do with the walls once the drywall is up. Whether you’re painting, wallpapering, or tiling, make sure the drywall you choose is compatible with the finish you plan to apply. You don’t want to find out later that your paint won’t stick or your tiles won’t adhere properly.
Steps on How to Install Drywall in a Bathroom

Image Source: rosaleneov.life
1. Prepare the Space
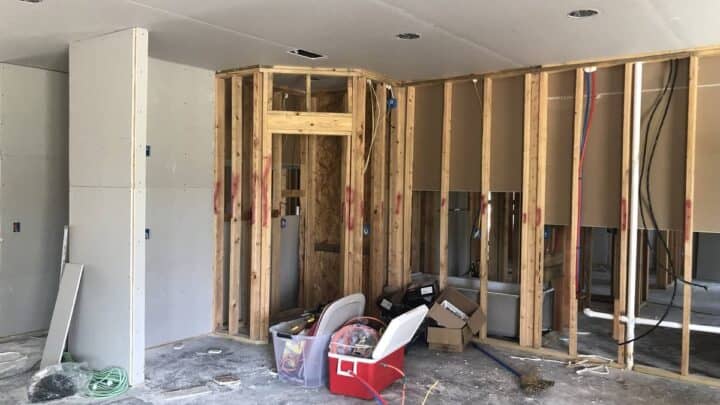
First thing’s first: ensure the bathroom is clean and debris-free. No one wants to work in a messy space. If there’s any old drywall or wall coverings hanging around, now’s the time to say goodbye to them. Make sure the framing’s good to go before you start bringing in the new stuff.
2. Measure and Cut Drywall
Grab your tape measure and start figuring out the dimensions of your walls and ceiling. Once you’ve got that locked in, it’s cutting time. Use a drywall saw or utility knife to cut your sheets to size. And, for those awkward plumbing fixtures and outlets, take your time to measure carefully. For round cuts, a compass will help you get a perfect circle before you make the cut.
3. Install the Drywall
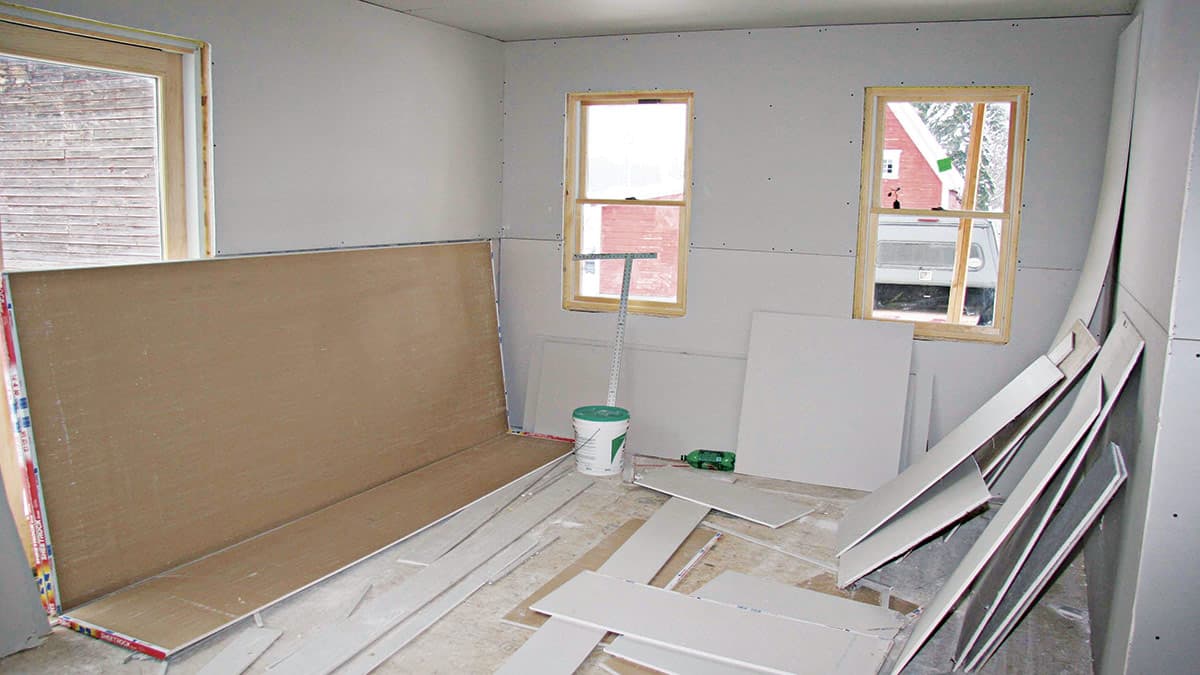
If you’re tackling the ceiling, go for it first. You might want to grab a buddy to help hold the sheets in place while you screw them into the studs. Don’t forget to leave a tiny gap between the sheets—just a little space (like 1/8 inch) for expansion. Work your way around the walls, cutting drywall to fit around all those pipes and electrical bits.
4. Tape and Mud the Seams
Now we’re getting into the messy part. Lay down the drywall joint tape over your seams, then grab your taping knife and spread a thin layer of joint compound (mud) on top. Don’t go crazy, just enough to cover the tape. Smooth it out, feather the edges, and leave it to dry.
5. Sand and Repeat

Image Source: sunrisespecialty.com
Once the mud is dry, it’s time to sand it down. Lightly, though—just enough to make it smooth. After that, add more mud, but make each layer a little wider than the last. Repeat the sanding process between layers until everything looks nice and even.
6. Finish and Texture
This step’s totally up to you. If you’re feeling artsy, use a stipple brush or spray texture to add some style. Or, you can keep things simple with a smooth finish by adding another layer of mud and sanding it down between coats.
7. Prime and Paint
Once everything’s dry and smooth, it’s time to prime the drywall. Make sure you’re using a good primer that’ll protect against moisture. After the primer’s dry, go ahead and paint with bathroom-safe paint. Give it a few coats if needed, and you’re all set!
Frequently Asked Questions on the Best Drywall for Bathroom Walls
1. What Type of Drywall is Suitable for a Bathroom Shower?
We recommend installing cement board drywall in tile-covered wet applications such as bathtubs and showers.
2. What is the Best Wall Thickness in the Bathroom?
For residential construction, 1/2-inch-thick drywall is enough for the whole bathroom. The only exception is installing a green or concrete board around bathtubs and showers. The only place that thicker drywall is needed is in garage ceilings.
3. What Are the 6 Different Types of Drywall?
- Regular drywall (also known as White Board) is the most popular type used on walls and ceilings in home and commercial projects.
- Green board (also known as mold-resistant drywall) usually has a thicker paper backing than regular drywall and is wax-coated for improved moisture resistance.
- A Cement Board is made of cementitious materials mixed with reinforcing fibers, making a solid and stable pane. It’s incredibly long-lasting and moisture-resistant, ideal for humid areas like bathrooms and showers.
- Blue Board (also known as plasterboard) is mostly used as a base for plaster applications, similar to lath in lath and plaster walls.
- Soundproof drywall: Although all drywalls have some soundproofing properties, soundproof drywall adds extra wood fiber, polymers, and gypsum to enhance the sound transmission class (STC) over that of white drywall.
- Specialized fire-resistant drywall is commonly used in garages and basements around potentially explosive equipment.
4. Can You Tile Over Drywall?
In most home rooms, you can apply tile to drywall without any trouble so long as you start by adequately preparing the drywall and ensuring you have the right mortar for the project. It is reliable and safe, and it is what most contractors use.


