

Whether it is a fifth wheel, travel trailer, or RV camper, renovating a motorhome is very doable. Most RV owners can pull off camper remodel projects that make their space look welcoming and feel more comfortable than an RV would on the lot. So, if you are looking for small camper remodel ideas and tips, you have come to the right place.
We have listed our top tips and ideas for remodeling a small camper, an RV travel trailer, or a motorhome. We have also listed the average cost of a travel trailer renovation.
Interior Small Camper Remodel Tips
1. Plan the Small Camper Renovation

Image Source: liveawilderlife.com
The planning part of an RV renovation is quite important. If you are working on a budget, outlining your priorities and where you want to spend is critical to keeping the makeover organized and accounting for everything you will need to buy.
Here are some things you need to consider when planning the RV renovation.
- What items will you want to incorporate into your style
- Make a list of all the decorations and extras you’ll need
- Find budget-friendly options for expensive items
- Identify your decorating style
- Choose which items will be your “big ticket” purchases
- Make a list of everything you’ll need
2. Shop for the RV Renovation
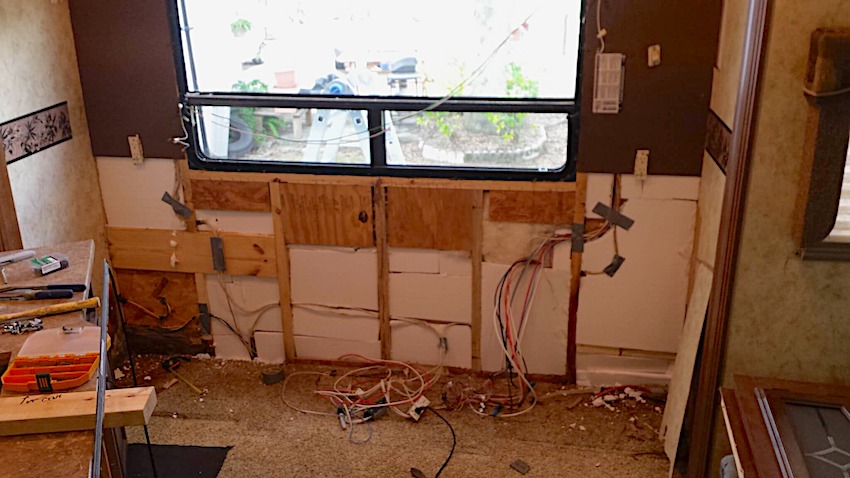
Image Source: rvblogger.com
After planning and making a list of everything you need, separate the list by place and importance of the items. For example, the essentials to get you started should be at the top of the list, while decoration items and flooring should be at the bottom because you will only need them once you finish most of the painting.
3. Repair Any Damages
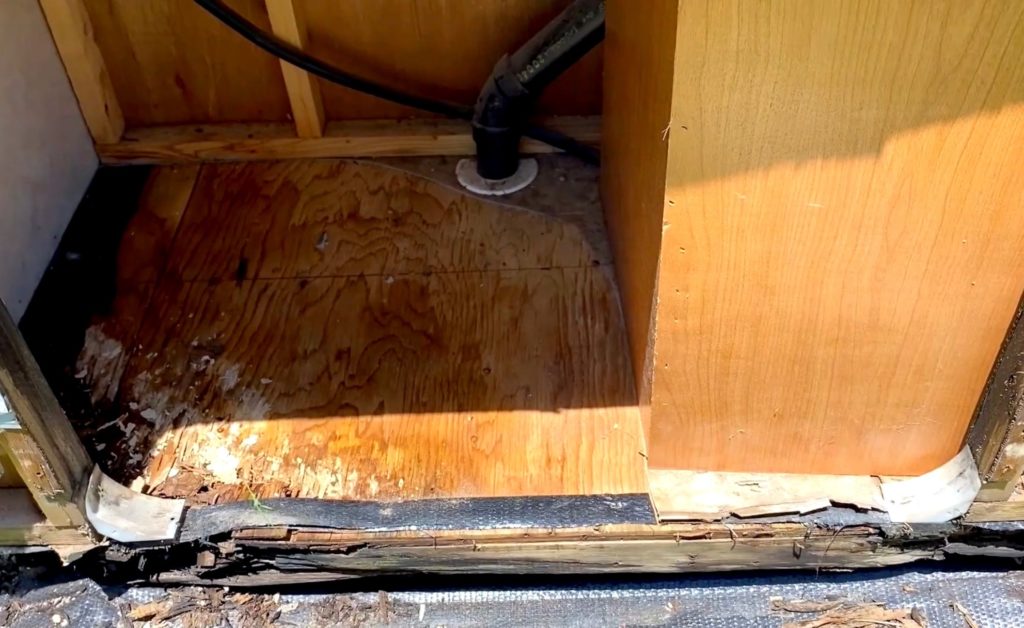
Image Source: remodelyourrv.com
Before starting your small camper remodel project, you need to repair any water damage or other problems that your old RV trailer may have, especially if they are internal issues. Conversely, if the damage is only to the exterior, ensure your RV is protected from the elements while you wait for it. This will prevent the damage from getting worse.
4. Prepare the Different Surfaces
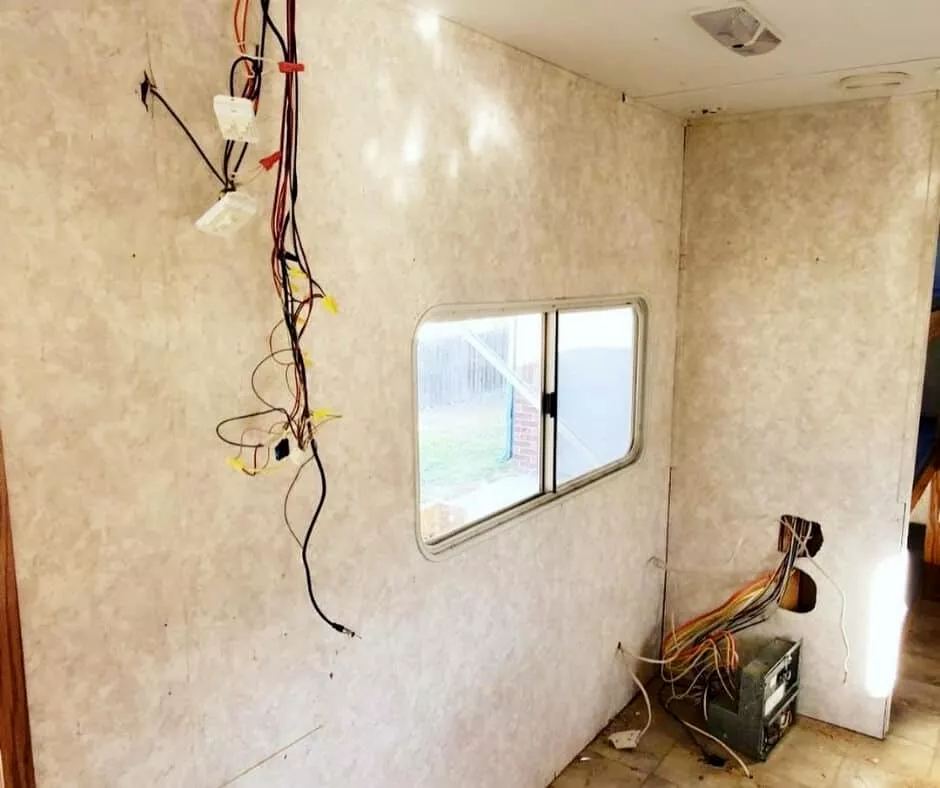
Image Source: rvingknowhow.com
Most RVs have a mix of particle board cabinets, veneer coverings, and solid wood parts. Besides, most RV walls are either painted planks or wallpaper. Depending on how old your RV is, you can find even more surfaces, such as glass and poly doors and other plastic panels.
Preparing each surface for an effective and successful covering is not only the most time-consuming, but also one of the most vital aspects of this entire DIY travel trailer remodel procedure.
5. Prime and Paint the RV Interior
Choosing the right primer is just as crucial as choosing the best spray paint. We recommend using a shellac primer or an oil-based primer. Water-based primers can moisten and occasionally pull off a porous substrate, causing the paint to lift or crack.
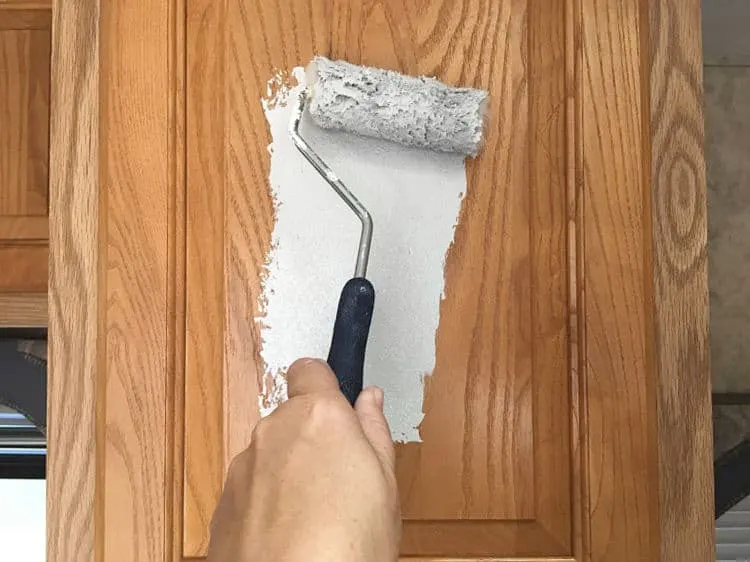
Image Source: thepalettemuse.com
Conversely, if you have laminate flooring, you should choose an oil-based paint that will “bond” to the surface better.
6. Buy New RV Furniture
We replaced the RV couch with a conventional sleeper sofa and secured it to the wall to prevent it from sliding. We installed it before the flooring, so the flooring extends to the edge rather than under it. This is because we don’t intend to change it any time soon.
BEFORE:
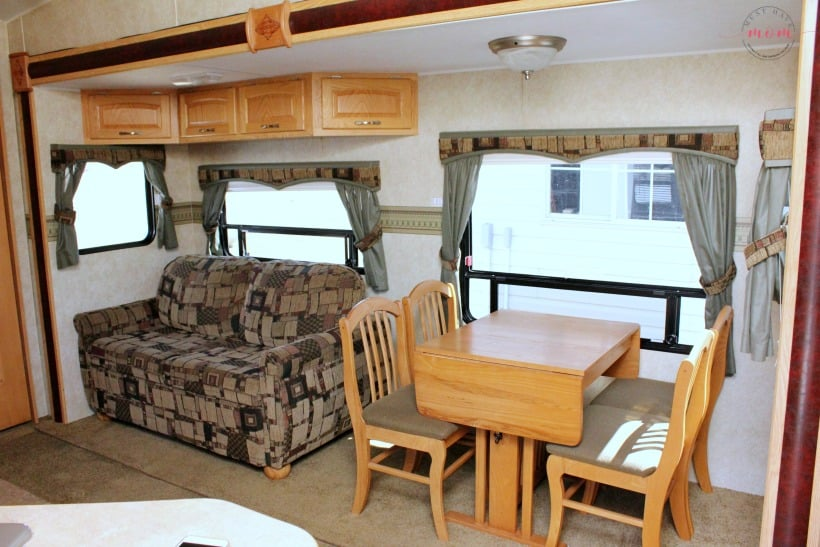
Image Source: musthavemom.com
However, if you’re unsure if you’ll keep anything in your RV permanently, ensure you add it after redoing the flooring. In our instance, we didn’t change as much as we intended and instead focused on cosmetic changes.
AFTER:
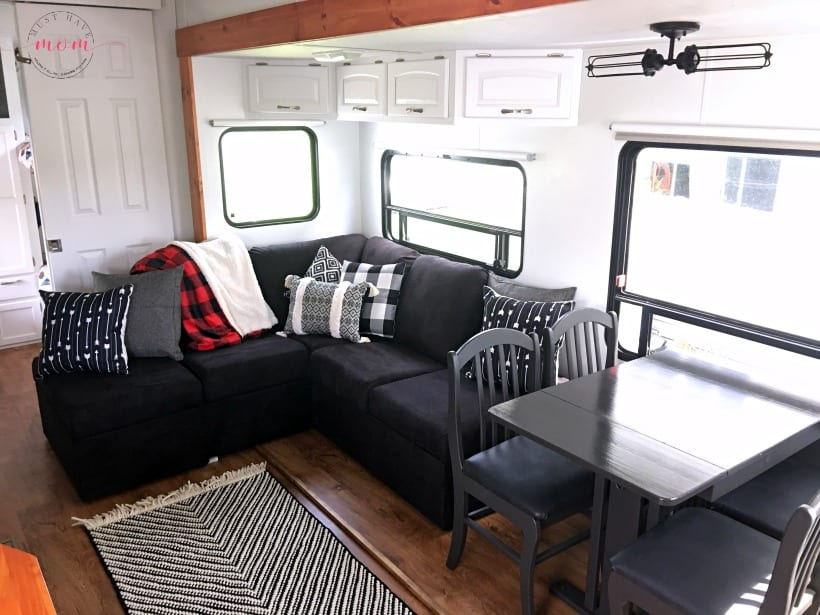
Image Source: musthavemom.com
7. Redo Flooring
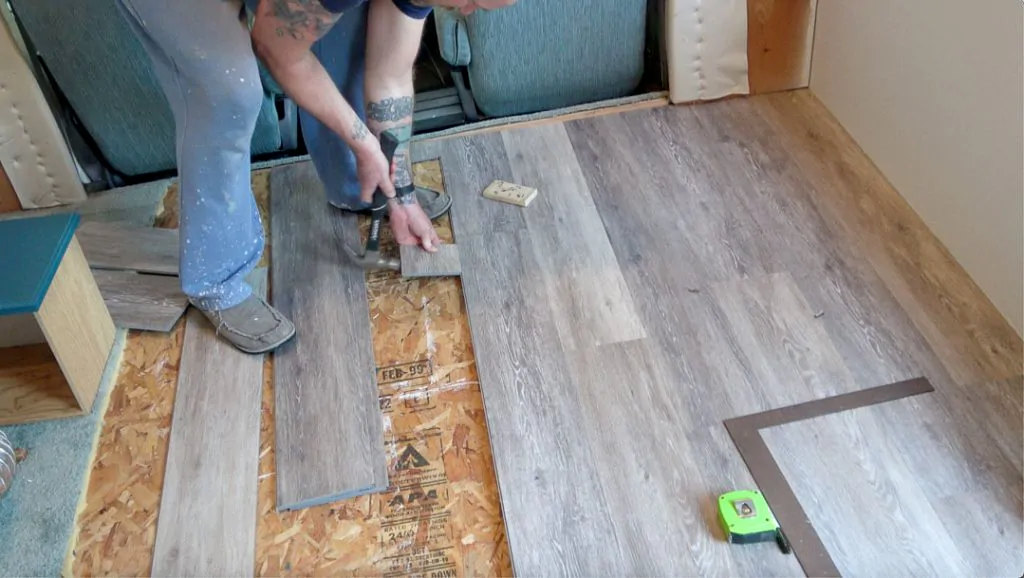
Image Source: calledtowander.com
If you’re familiar with snap flooring, installing new flooring in your RV will be easy. Conversely, if your RV is in a hot climate area, we recommend allowing for more than average floor expansion. You can use peel-and-stick flooring.
8. Replace Lights
The good thing with an RV is that you can use any light fixture you want; the only catch is that you should use low-voltage light bulbs. After replacing the lights under the cabinet and from the ceiling, the image shows what it looks like.
Image Source: loveexploring.com
We used this set of scones for the lighting above the couch area as they were within our price range. For the bedroom lighting, we still used the scone lights. We went for these ceiling lights since they have a perfect industrial vibe.
We used these affordable lighting bulbs for our dining room. We bought everything in pairs because we wanted to create another for our house, but you can easily buy everything in singles.
9. Change the Windows
Windows are an essential component of any camper trailer. We recommend replacing old windows with all-weather ones to improve your home’s appearance. Ensure that the windows you install are long-lasting, resistant to harsh weather, and tinted to block direct sunlight.
allthingswithpurpose.com
Also, seal the windows with caulk to keep rain, hail, sleet, or snow outside the RV. Besides, you can hang elegant window curtains to prevent sunlight from overheating your interior throughout the day to finish the job.
10. Add a Skylight
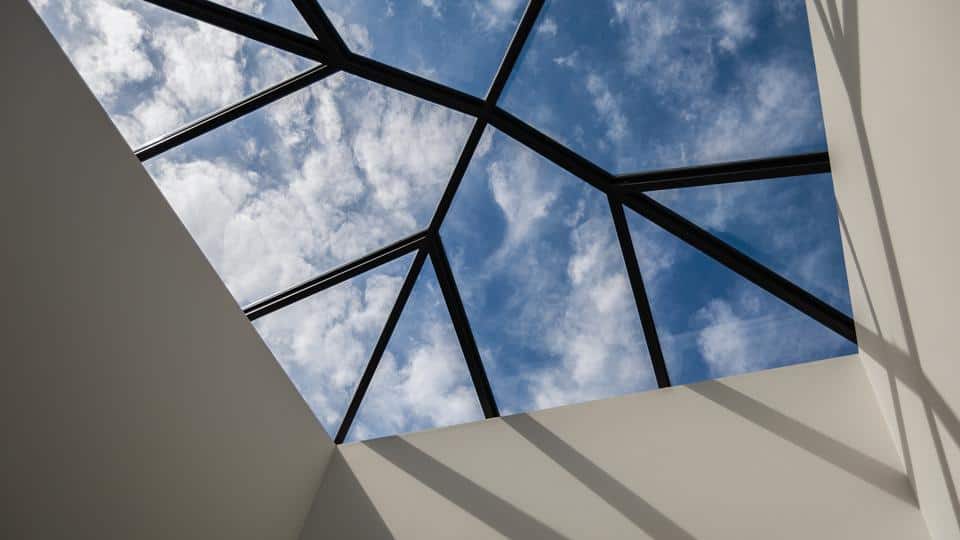
Image Source: forbes.com
Add a skylight to the roof of your camper to make it feel bigger. Skylights come in different designs and sizes and are an excellent way to provide extra natural light to the interior of your RV. However, you need to install pleated shades on your RV skylight to help filter out direct sunlight during peak hours and to help you sleep better at night.
Interior Small Camper Remodel Ideas
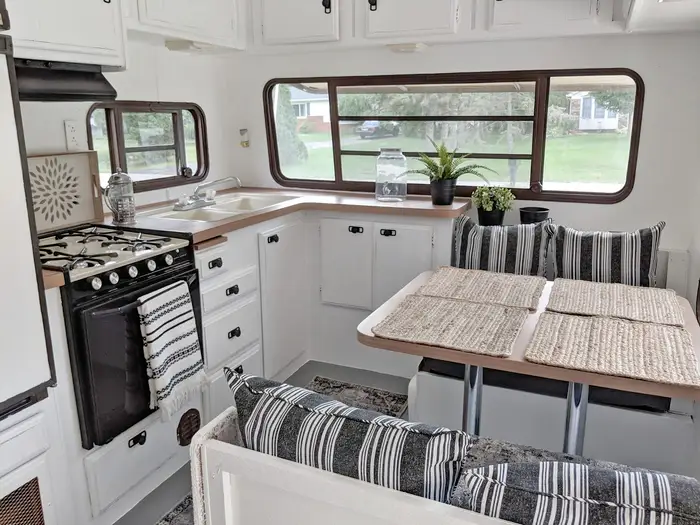
1. Simple Dining Area to a Cozy Banquette
Choose a custom banquette in your kitchen for an RV space-saving option for dining and working. Banquette seating usually maximizes kitchen space in an RV and can also serve as a hidden storage area. All you need are comfortable couches and a little table in the center of your banquette where you can eat, work, or play games with your family.
2. Upgrade Your Toilet
Replace the toilet in your RV to make life on the road easier. When selecting a camper van toilet, choose one compatible with your camping needs. For example, a gravity flush or portable RV toilet is ideal for your RV remodel. Also, consider a composting toilet as an eco-friendly solution to help minimize water use.
3. Replace the RV Bathroom with a Bathroom Vanity
When upgrading your RV bathroom, we recommend investing in an RV sink designed to work with your plumbing system. Sinks made of plastic, acrylic, or stainless steel are the best options for RV bathroom renovation.
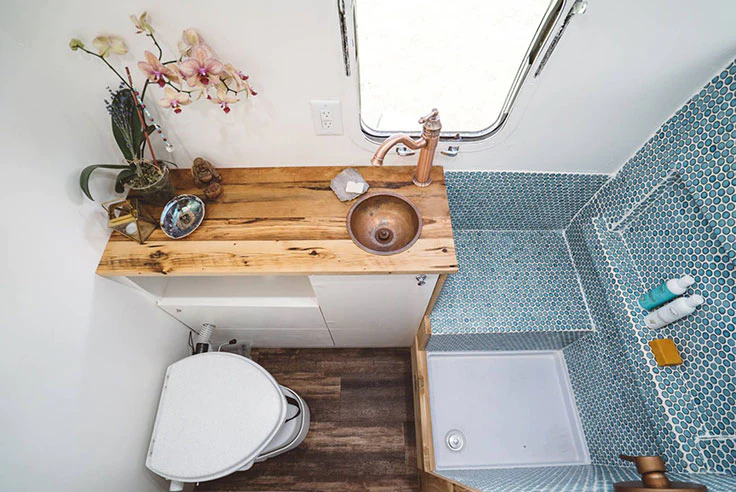
Image Source: tileclub.com
As long as it’s lightweight, you can install virtually any type of faucet on your bathroom vanity. You can choose between a sleek stainless steel or pebbled copper faucet. Besides, as in the image, your bathroom will look brand new with finishing touches, like a round mirror and towel rack.
4. Install Shelves for Additional Storage Space
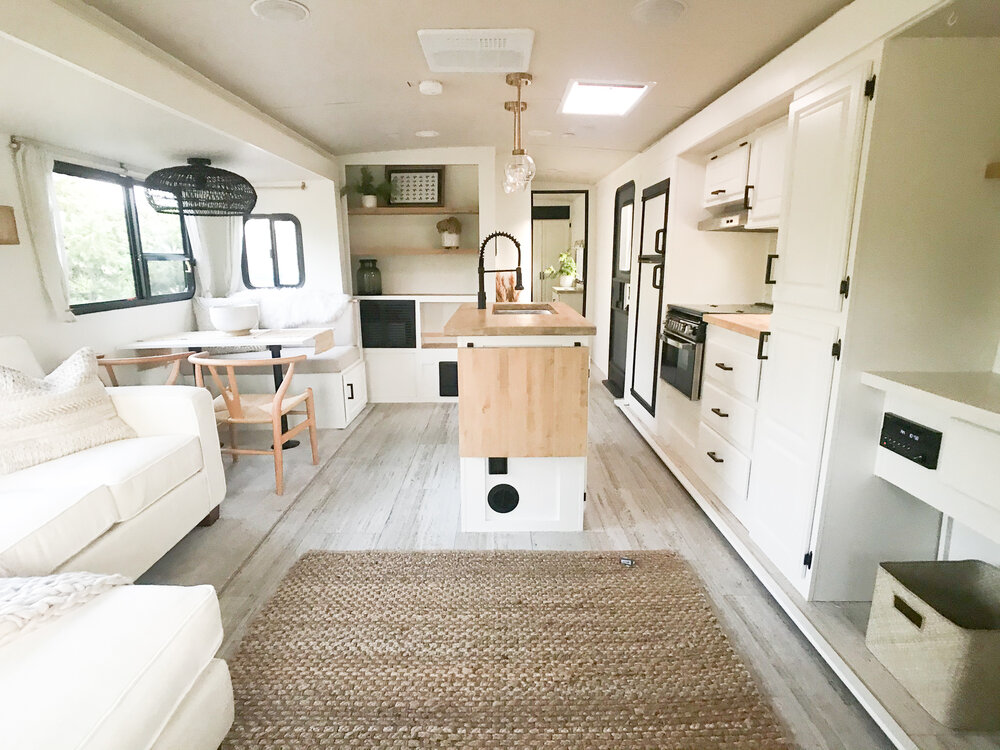
Image Source: troopnashville.com
RV campers usually have limited storage space. Therefore, we recommend installing vertical storage shelves in your living room to display pictures, plants, books, and knick-knacks. Besides, for an open, spacious aspect in your RV kitchen, you can go for floating shelves instead of cabinets. Additionally, you can hang small cubes or baskets on the accent walls of a bedroom or bathroom to keep linens up and out of the way.
5. Make Over the Interior Walls
BEFORE:
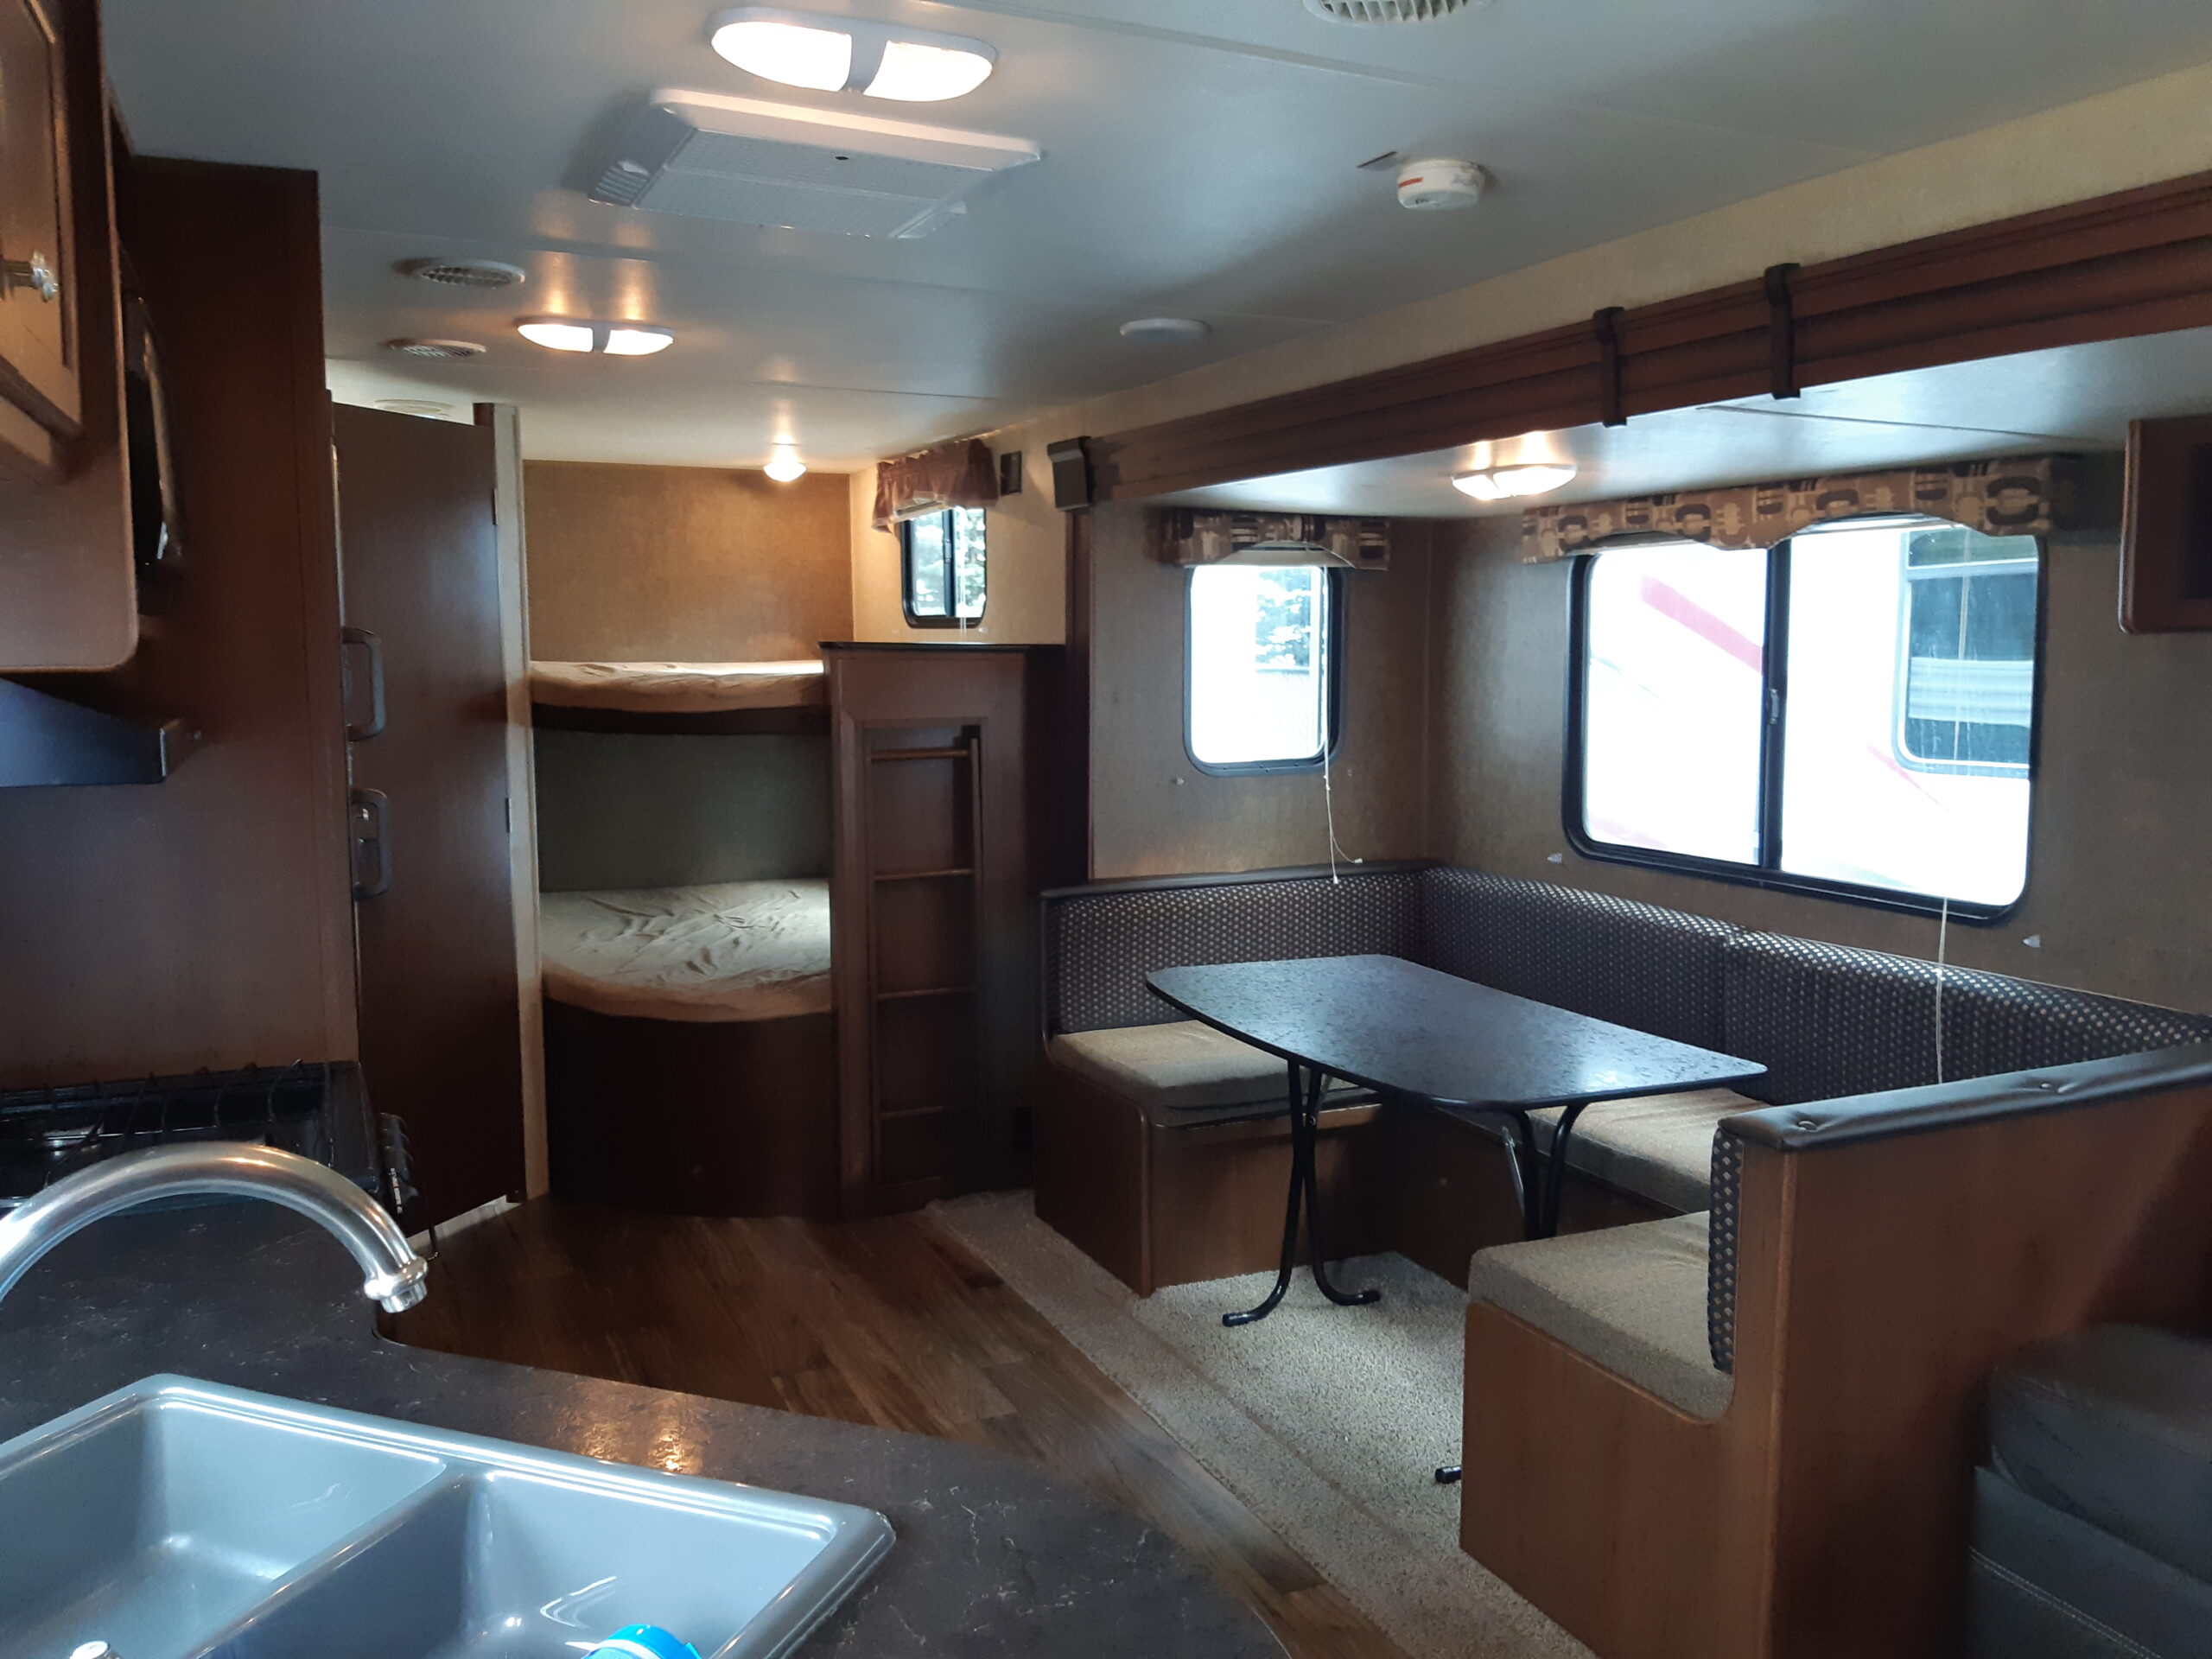
Image Source: doityourselfrv.com
Instead of painting your vintage camper, you can opt for peel-and-stick RV wallpaper as an accent wall. Replace outdated wall coverings with new wallpapers to spruce up your space. Alternatively, decorate the interior of your camper with pattern wallpaper.
AFTER:

Image Source: doityourselfrv.com
6. Transform a Day Bed into a Master Bed
Transform a day bed into a big bed for two. The bed should be convertible so that during the day, the family has enough space while you still get a good night’s sleep.
7. Recover RV Seat Cushions
Original upholstery can be a bit gross and make an RV look old. However, pieces like couch cushions, dinette cushions, and even folding sofa beds can be recovered in new fabric. So instead of buying a new couch, you can recover it. You can also knit a slipcover for these pieces to make them washable.
BEFORE:
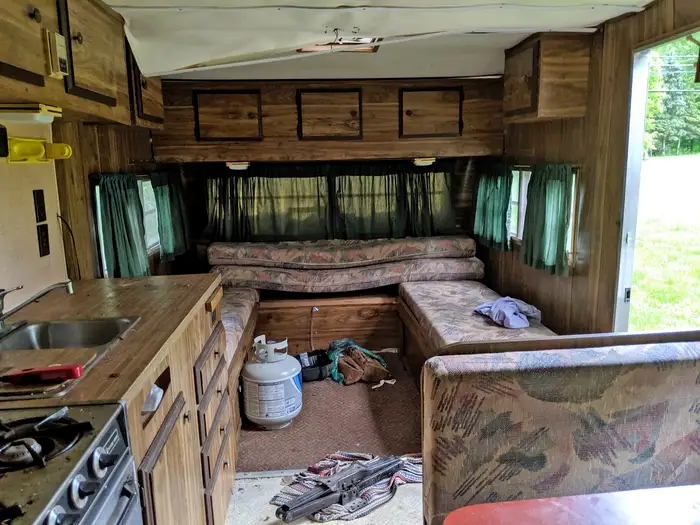
Image Source: allthingswithpurpose.com
We recommend using indoor-outdoor fabric for RV upholstery to make it more durable and easy to clean. However, the RV owner used two different materials to make the new covers.
AFTER:
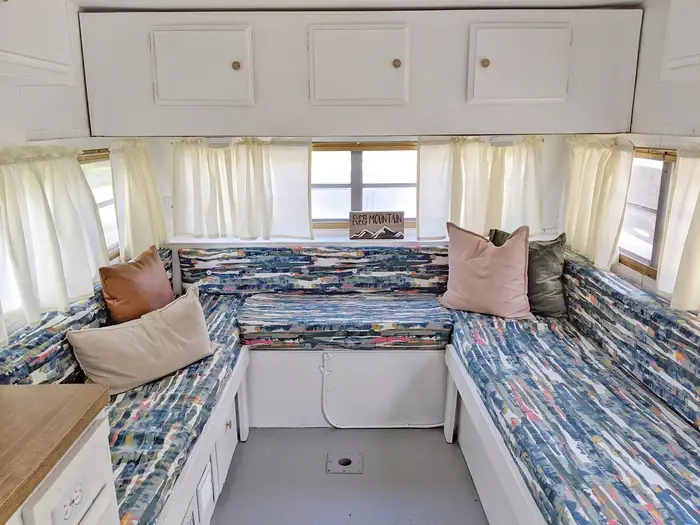
Image Source: allthingswithpurpose.com
For the RV coach, the owners used a fluffy, long-hair Minky fabric. I liked the concept of having it for the winter, so it was almost like having a soft blanket for the cover. The RV owner also used a great, water-resistant, and easy-to-clean fabric for the dinette.
8. Decorate Your Small Camper in a Cozy Practical Way
The decorations are one of the most fundamental things you can upgrade in your RV. Changing out simple things such as window curtains and bedding can improve the general appearance of your space. Even if you don’t want to paint your RV, merely decorating it will make it look more like a home.
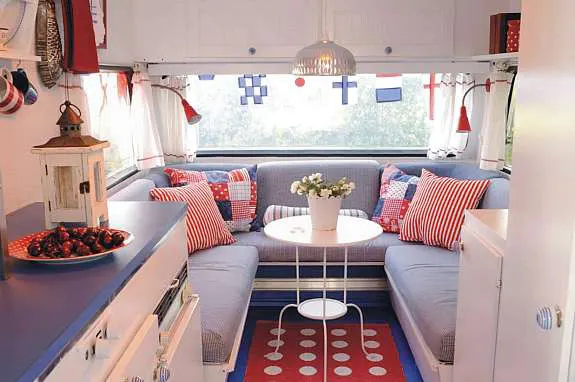
Image Source: thediydreamer.com
Add some comfy throw pillows, blankets, or faux greenery to your home. Look for high-performance fabrics that are easy to wipe down or machine wash, and consider making your accent pillows.
9. Add a Backsplash
Backsplashes are quite easy to install and can significantly improve the appearance of your kitchen or bathroom. We recommend using peel-and-stick tile backsplashes as they are easy to install, affordable, and ideal for RVs. Avoid traditional ceramic backsplashes.
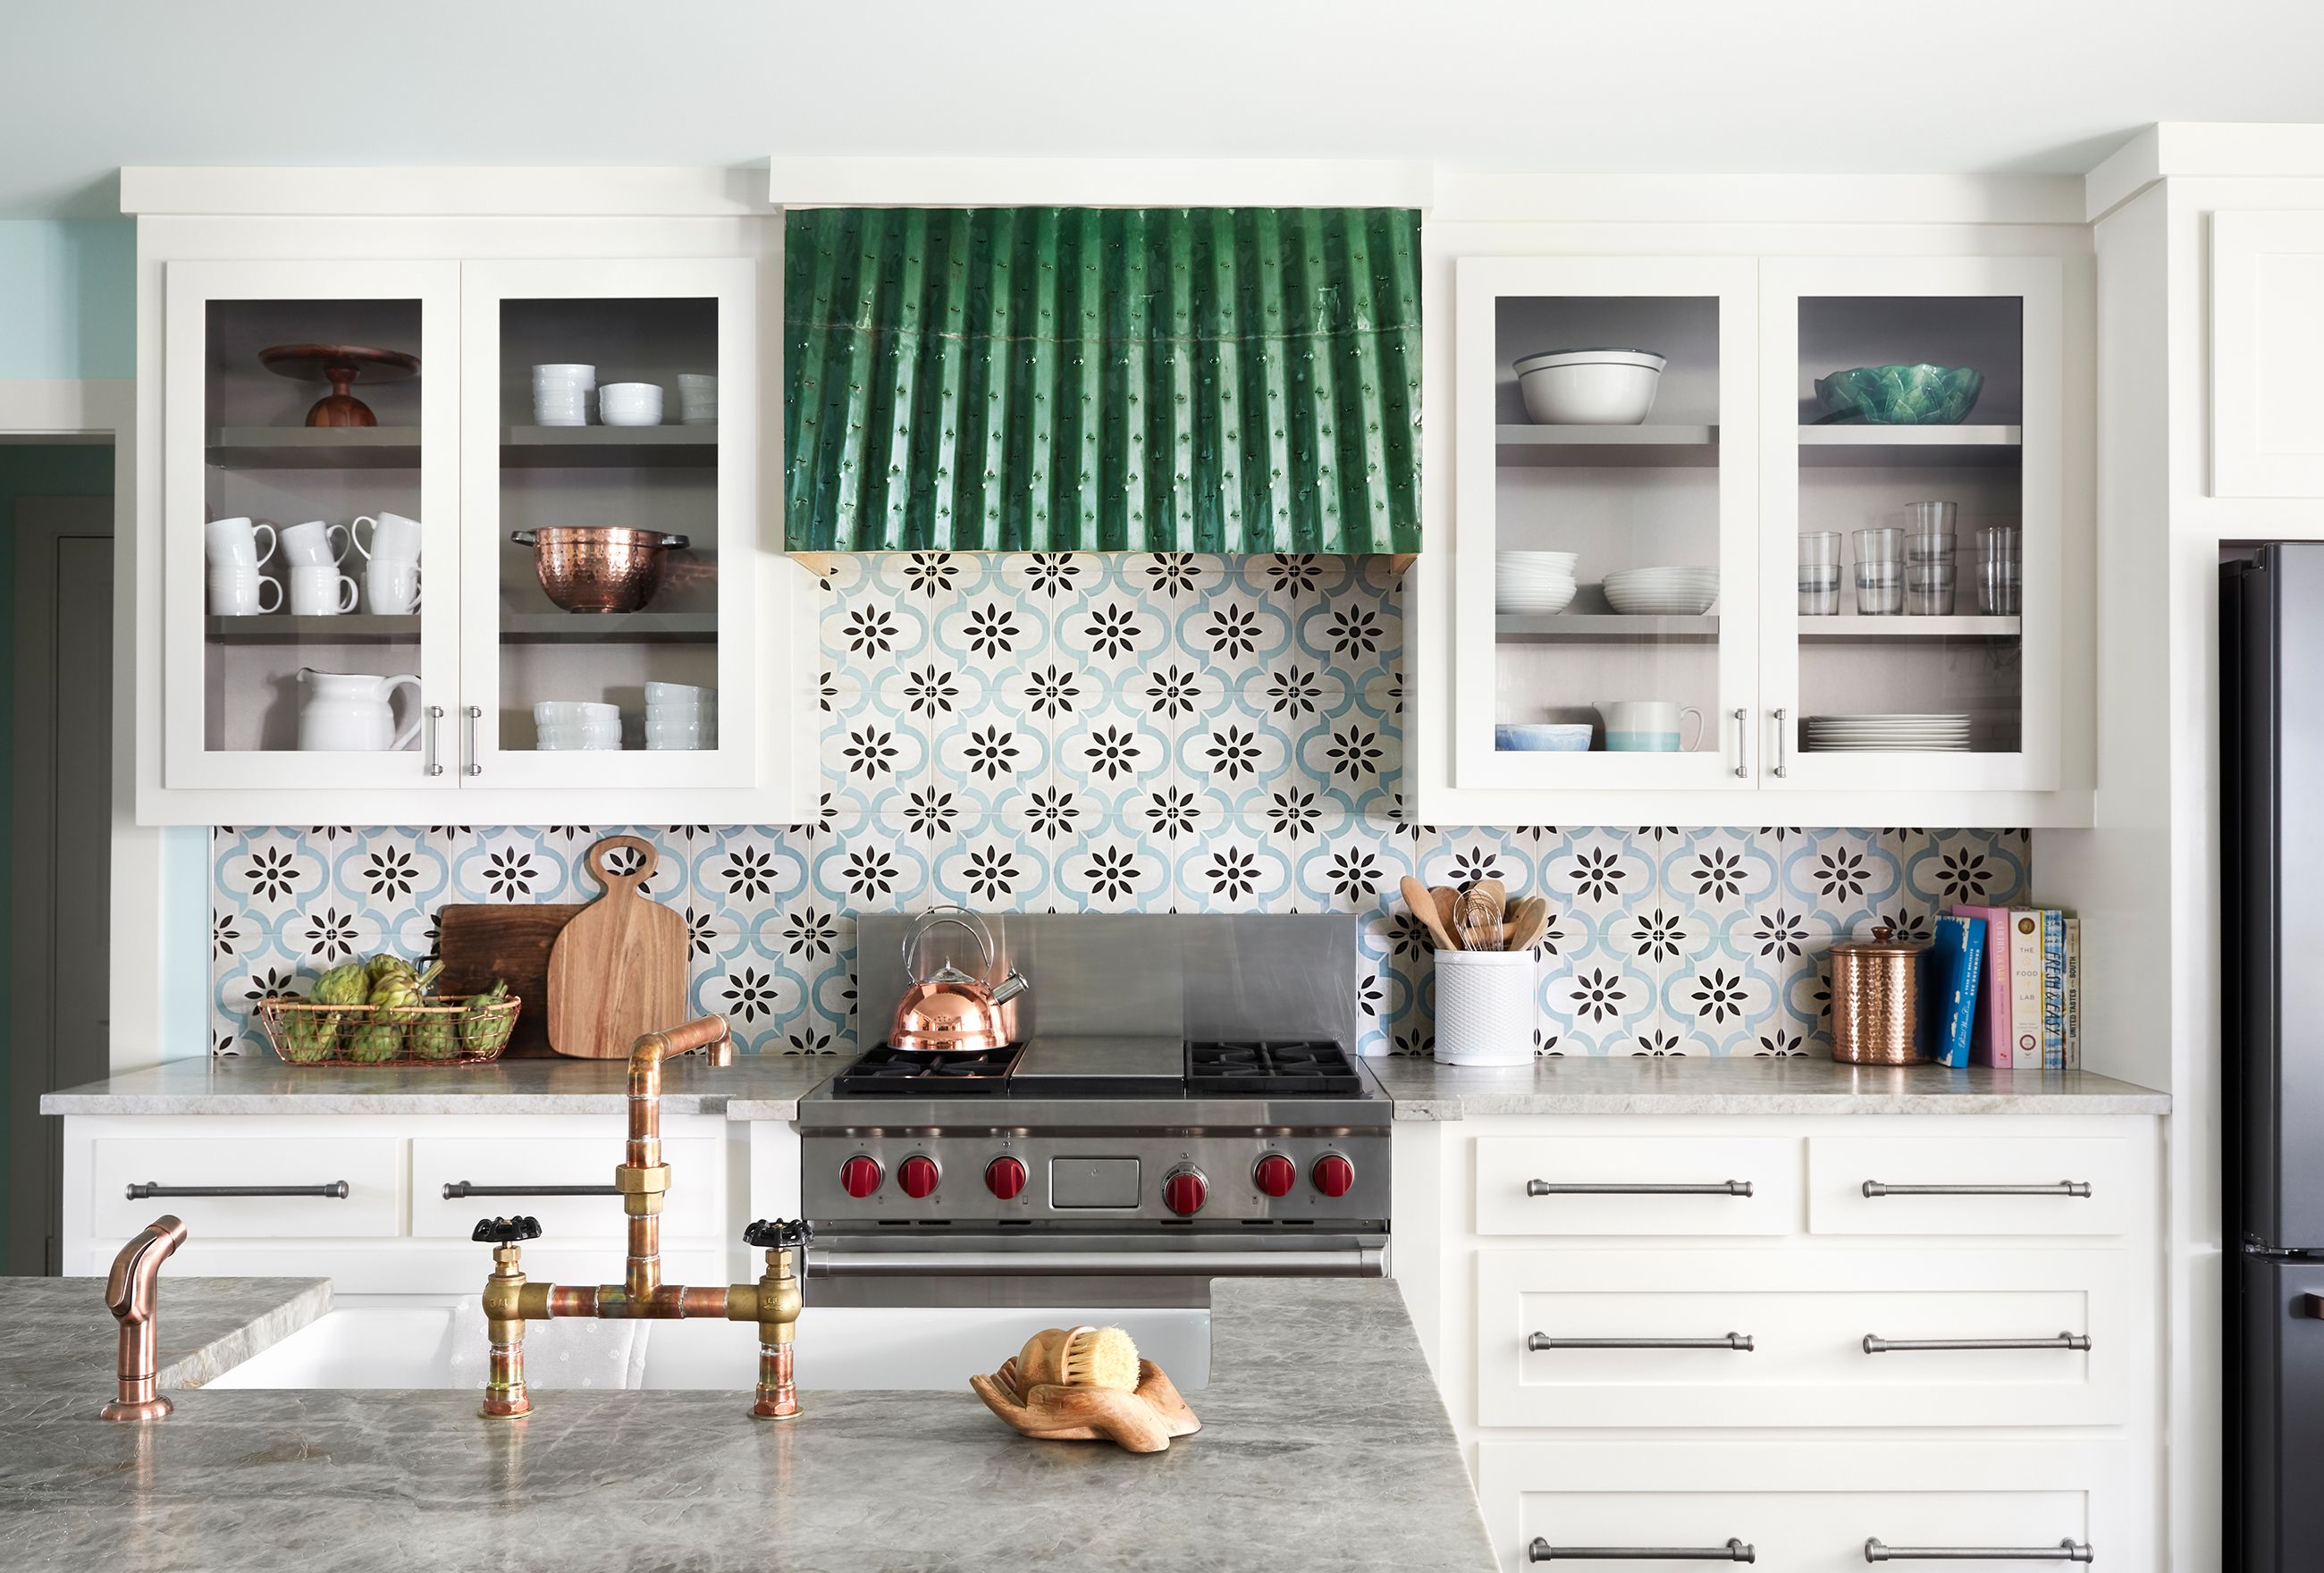
Image Source: goodhousekeeping.com
Multiple types are available, and they can easily add a personal touch to your RV while also minimizing stains that might occur when cooking. If you intend to install the backsplash near the stove, ensure you read the directions carefully and choose a heat-resistant backsplash.
10. Remodel Countertop and Table
You can opt not to paint the kitchen countertops and use peel-and-stick tiles. The RV owner allocated most of their kitchen budget toward the peel-and-stick tiles. As you can see in the image, the results are quite impressive.
Small Camper Remodel Costs
We spent roughly $1600 on our RV makeover. Most of the supplies were on hand, and some were given to us by our neighbors. We were also lucky in that most appliances did not require replacement. Remember that I’m a self-taught DYer and not a qualified expert, so this step-by-step guide is solely based on my experience.
Frequently Asked Questions on Interior Small Camper Remodel
1. Do I Need to Hire an expert to Remodel my Small Camper?
Most owners can remodel their camper independently unless the camper has serious damage. Camping and RV shops specialize in DIY solutions, so don’t hesitate to consult them in case of any issues.
2. How Much Paint Will I Require to Paint an RV?
To paint the whole interior of a 26-foot used RV, you will need about 3.5 gallons of paint. This will be enough to paint practically everything, from the walls to the countertops to the beds.
3. What is the Best Camper Flooring?
Vinyl is the best RV flooring replacement. It is a versatile material that can be found in tiles, sheets, and planks with easy installation procedures. Besides, it’s a long-lasting and water-resistant material. Also, vinyl is easy to clean, making a big difference in high-traffic areas.
Featured Image Source: ca-fr.outdoorsy.com


