Rusty pruning shears with dull blades certainly take away all the joy of pruning your fruit trees. It makes cutting more difficult and time-consuming, and the nicked cuts are not good for the plants, as well. But this doesn’t mean you have to buy a whole new pair of pruning shears. After all, sharpening your tool yourself is easier and takes less time than you think.
Here, we show you how to sharpen pruning shears to keep them in perfect shape despite the workload. Delve in!
What You’ll Need
- Soap and warm water
- Protective gloves
- Safety goggles
- Scouring pad
- Clean rag or towel
- Steel wool
- Bench vise
- Sharpening tool
- Lubricating oil
How to Sharpen Pruning Shears
Step 1: Disassemble the Parts
Start by disconnecting the pruner’s pieces if they are easily disassembled. While a few pruners may be linked with a permanent rivet, the majority of models use a bolt or screw and nut to keep the two blades of the tool together. The disassembly technique may differ based on the brand.
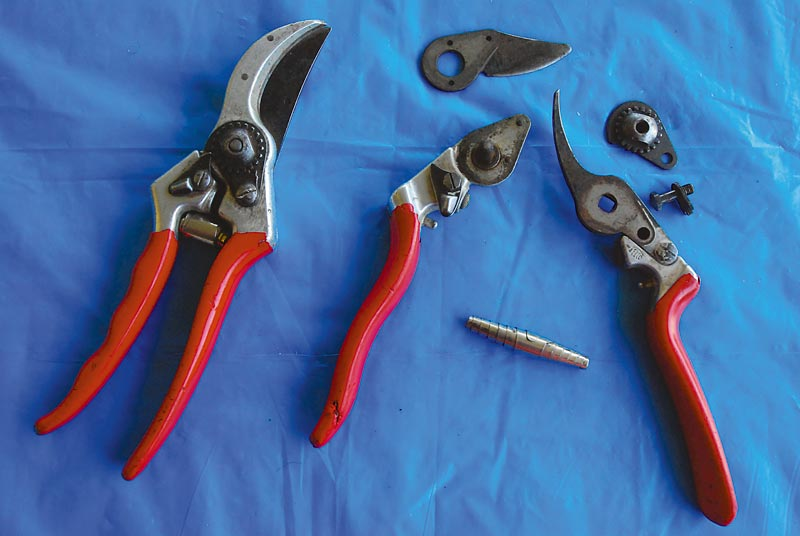
Image Source: michigangardener.com
Remove the screw holding the two blades together to separate them. There may be several screws on the pruner, but you should concern yourself with the one joining the two blades in the middle. If your pruner has a spring coil, it will fall once the blades are separated.
While disassembling the pruner is not necessary, it’s much easier to clean and sharpen detached blades. It is advisable to work on a plate or towel to keep the detached pieces safe.
Step 2: Wash the Blades
Cleaning is a vital step in learning how to sharpen garden equipment, such as hand pruners.
Scrub each blade well with a scouring pad or stiff brush and warm soapy water. To completely remove the soap from the blades, thoroughly rinse them with water. You may also clean the tool’s handles and other components. Spend a few additional minutes making things appear brand new again.
Step 3: Dry the Blades
Use a thick, dry cloth like a towel to dry the top blade gently. Then use the piece of cloth to wipe the bottom blade dry. Be cautious as you dry the sharp blades to ensure you do not cut yourself.
Step 4: Remove Build-Up
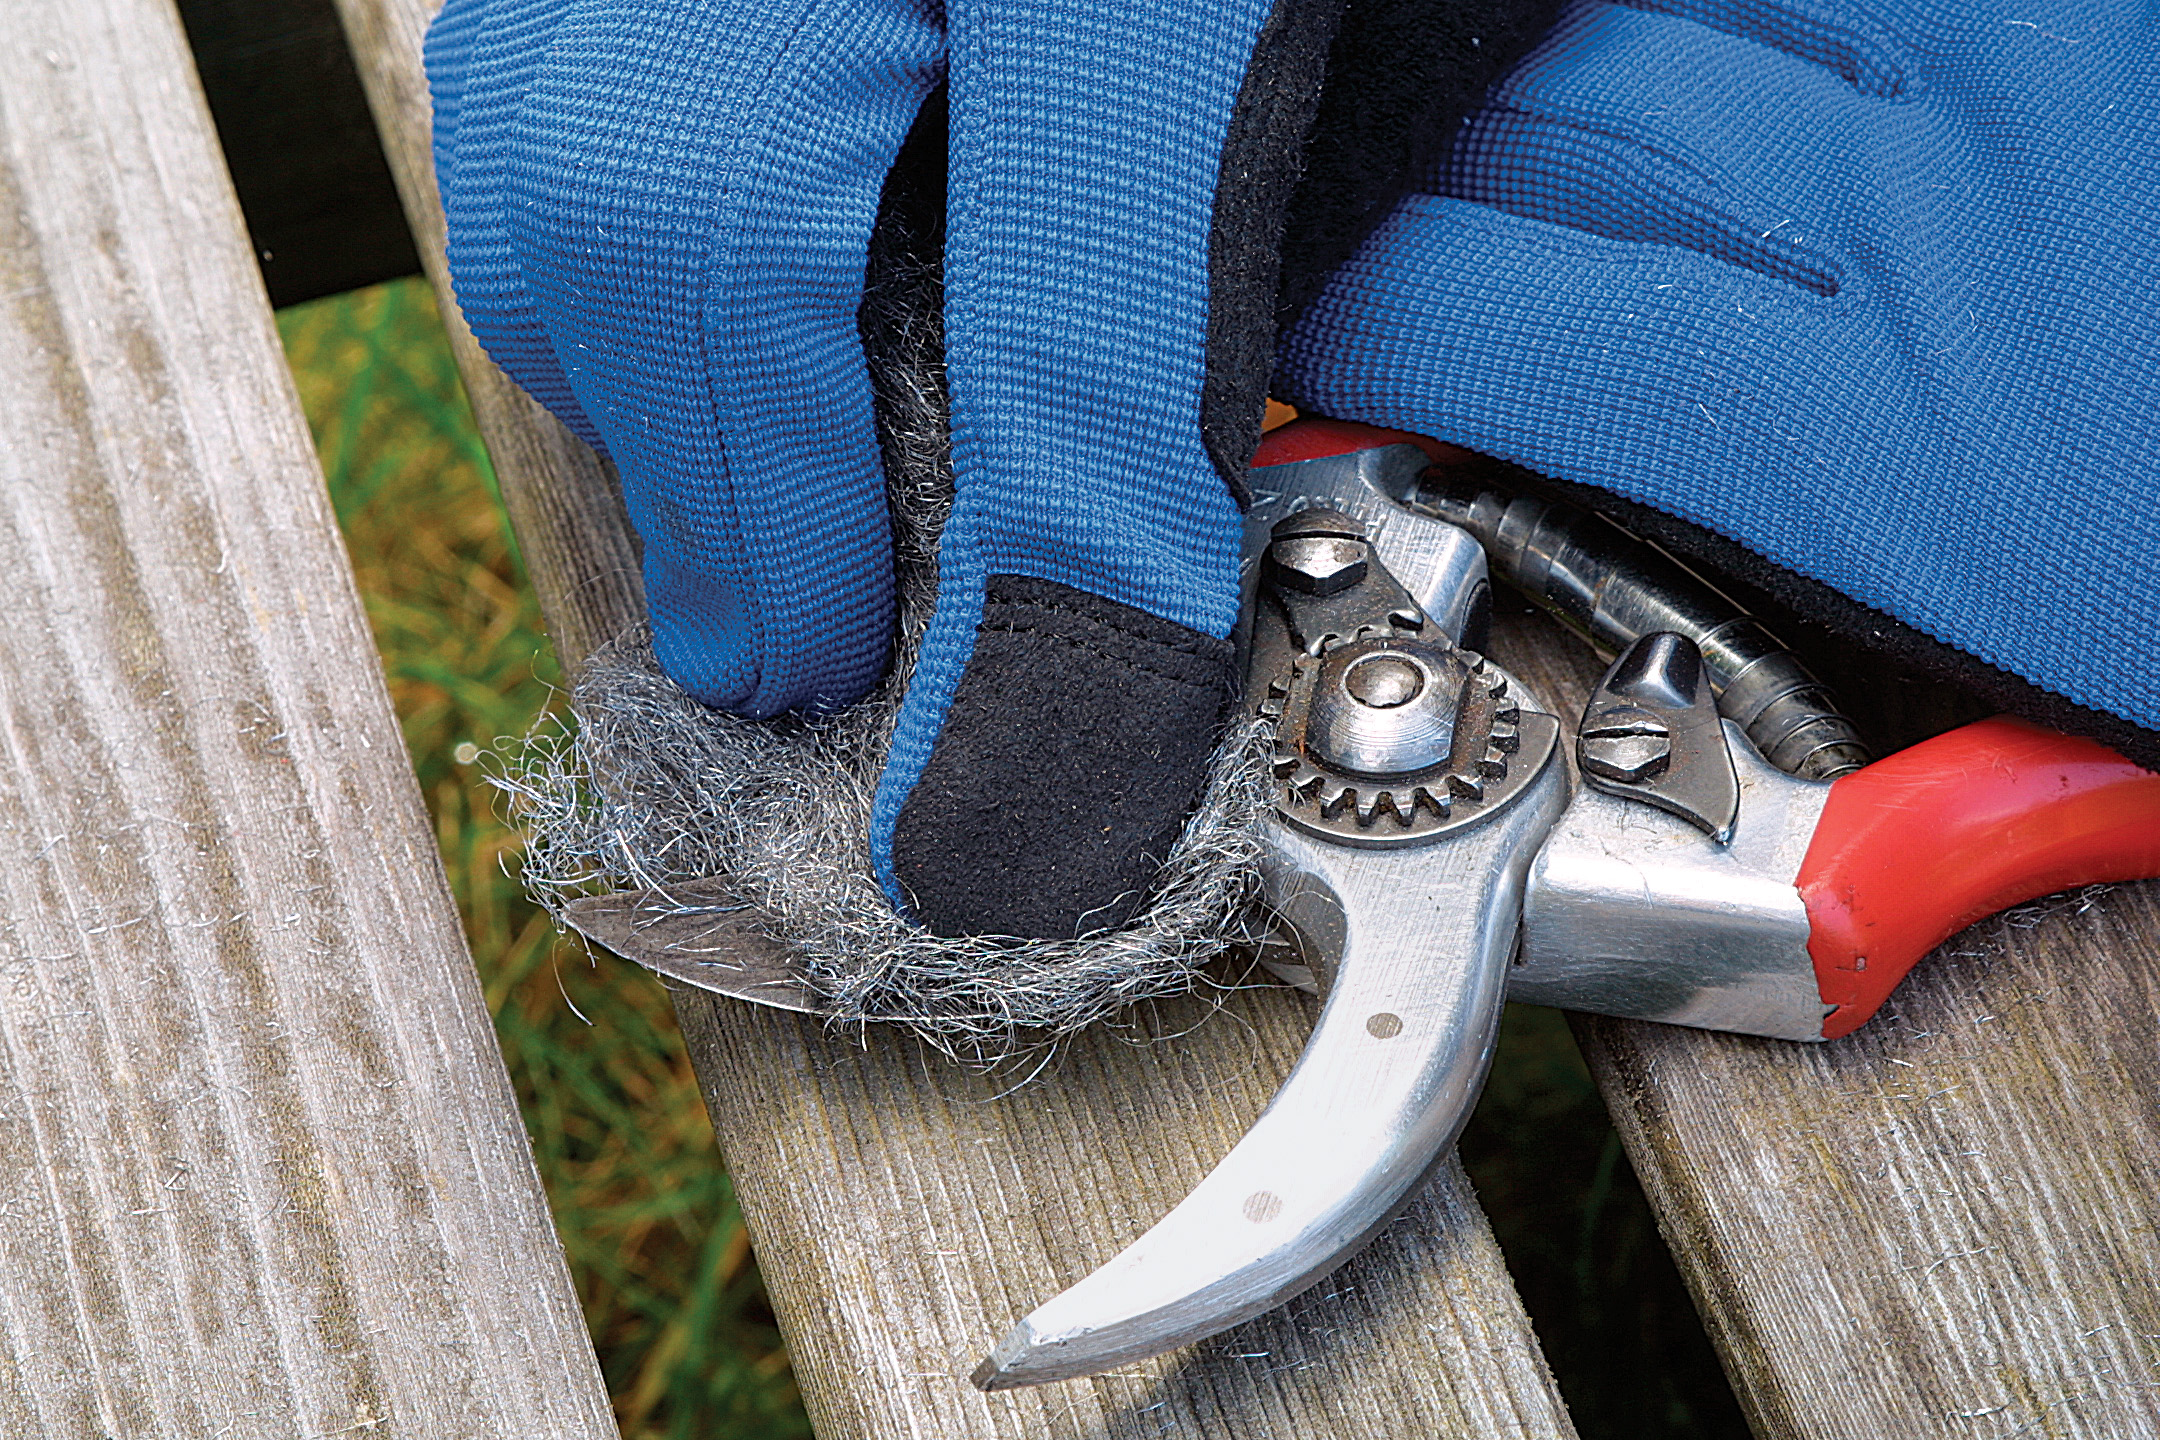
Image Source: finegardening.com
Pruning tools often become caked with sticky residues over time. Scrape away any residues on the blades with sandpaper or steel wool. Before you start sharpening, make sure your instrument is completely clean. A drop of penetrating oil or cleaning solution will aid in dislodging the caked-on residue.
Step 5: Buff off Rust
Once you have cleaned and dried the shears, examine the blades for remaining rust. It is common for rust to build up on pruning shears, and it is important that you remove them before you sharpen the blades. Use medium-coarse steel wool to buff off the rust carefully. Then use finer steel wool to reinstate the shine of the metal.
If your pruners are severely rusted, apply WD-40 and let them sit for 10 minutes. Wipe off the oil with a piece of cloth, then use steel wool to remove the remaining rust. After removing the rust, rinse the blades again and dry them with a dry cloth.
Step 6: Secure the Pruners
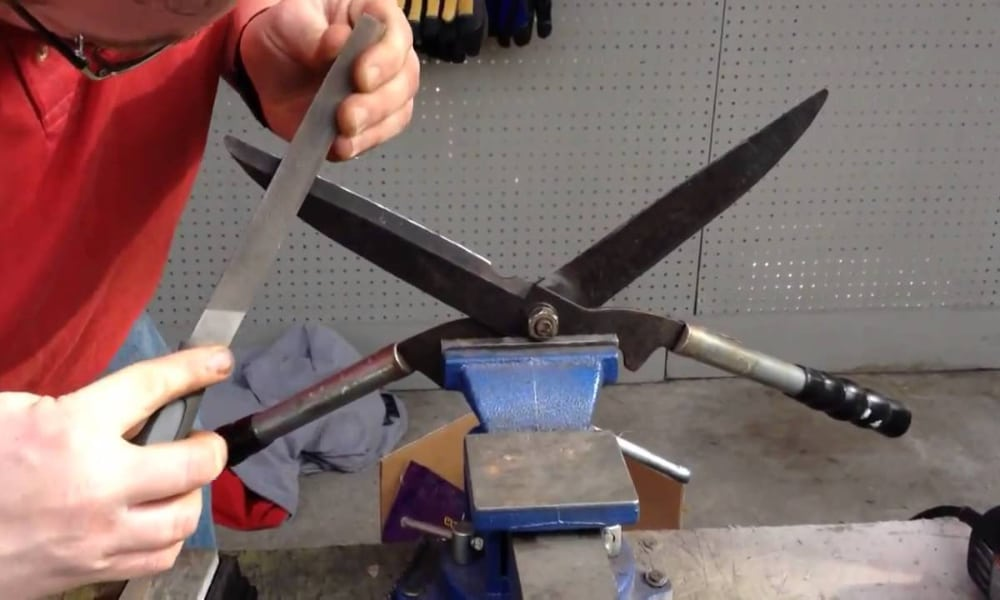
Image Source: the-salutation.com
If you have a bench vise, use it to hold the pruners securely. This will make sharpening the pruning shears more convenient and safe. If the shears are still linked, open them wide and place the blade’s beveled edge facing you before securing it in the bench vise. However, if you dismantled them, place one half at a time on the bench vice.
If you don’t have a bench vise or clamp, you can support your tool against a countertop, your lap, or another firm surface, but be cautious not to cut yourself.
Step 7: Position the Sharpening Tool
Use a medium or coarse diamond file or any sharpening tool to sharpen the pruning shears. Position the sharpening tool against the cutting blade. The sharpening should be against the blade at the same angle as the bevel. About 20 to 25 degrees angle. You need to maintain this angle as you sharpen the blades.
Step 8: Sharpen the Blade
Start by identifying the cutting blade’s beveled edge. For example, Anvil pruners have a single blade that rests on a flat plate and is beveled on both sides. As a result, you will need to sharpen both sides of the blade. You may also use this procedure to sharpen mower blades manually.
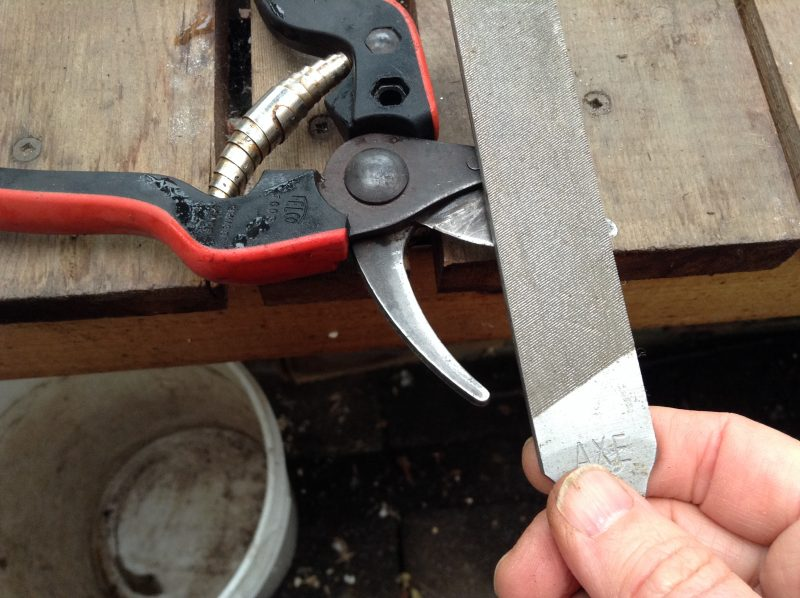
Image Source: tranquilurbanhomestead.com
On the other hand, bypass pruners have only one beveled blade that cuts by sliding over the other jaw, the same way scissors cut. Therefore, it won’t be necessary to sharpen the lower blade unless it has gouges that should be smoothed out.
Scrape the sharpening stone or diamond file along the blade’s cutting edge from the base to the tip using one smooth stroke. Apply moderate pressure as you file, and ensure you only file in one direction away from your body. Also, ensure you keep the sharpening tool at the same angle during the entire sharpening.
Repeat the same a couple of times until you notice the edge gets shiny. Do not over-sharpen the tool because pruning shears don’t need to be razor-sharp to perform effectively. Also, note that the number of strokes it will take to restore a sharp edge will depend on how dull your blades are.
Step 9: Remove Burrs on the Blade’s Backside
Once you’re done sharpening the blades of the pruner, you need to remove any burrs that formed on the backside of the blade. Turn the shears over and run a file over the backside to remove the burrs.
Step 10: Reassemble the Pruner
Reassemble your pruners by sliding the two blades back together, positioning the spring, and replacing the bolt or nut. Check the pruners to ensure they are not over-tightened and that the blades operate properly. If it is properly calibrated, the jaws should easily scissor past one other, leaving no space between the blades.
Step 11: Test for Sharpness
Cut a piece of paper or some leaves and branches to test the sharpness of the blade. The pruning shears are adequately sharp if you get a clean and easy cut.
Step 12: Lubricate the Tool
Once you’ve sharpened your pruning shears, you need to lubricate them to prevent future rusting and ensure your tool remains reliable for a long time. For this step, apply a thin coat of lubricating oil over the blades. Dip a rag in the lubricating oil and gently wipe it over the blades. Be watchful of the sharpened edges. Also, spray the moving parts with the lubricating oil.
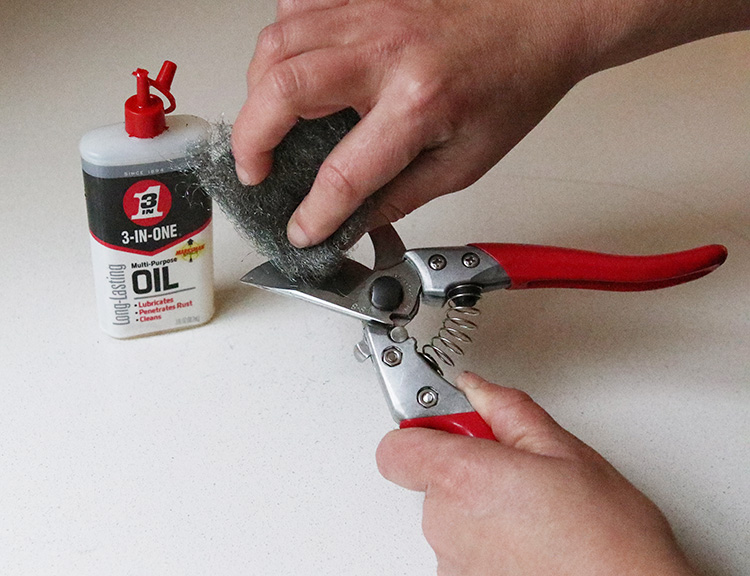
Image Source: theimpatientgardener.com
Linseed oil, mineral oil, WD-40, or any multipurpose oil that you have on hand are all options. To remove the extra oil, wipe it with a clean towel. Then, keep the instrument in a clean, dry area until you need it again.
Safety Tips When Sharpening Garden Shears
When studying and preparing to sharpen pruning shears, safety comes first. Here are some safety precautions to keep in mind.
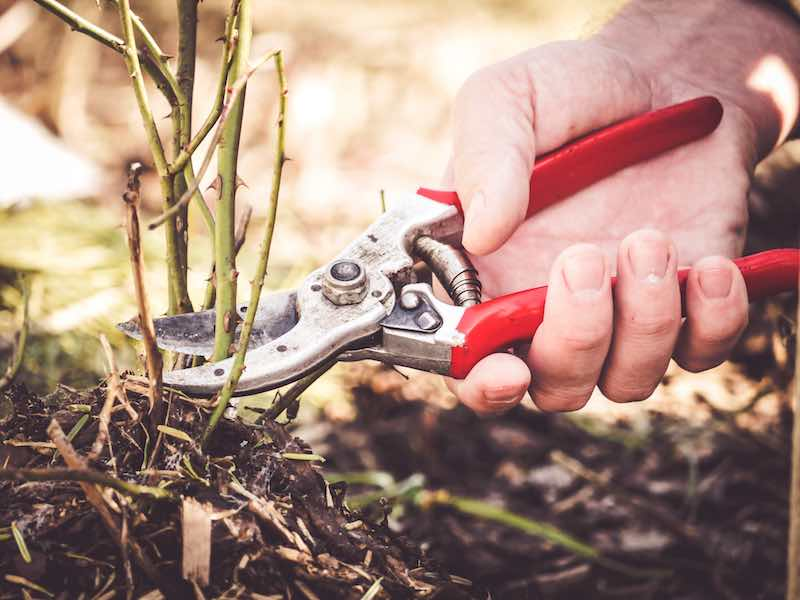
Image Source: minnetonkaorchards.com
- Ensure you properly secure your shears before sharpening them. You can use a clamp to secure or brace them on any dry, sturdy surface.
- Wear protective glovesthat you caneasily work in. It is important to protect your hands from the pruner blades while cleaning and sharpening them. Put on a pair of heavy-duty gardening gloves, such as thick leather gloves, if possible.
- You need to ensure your eyes are protected while sharpening your pruners. The best way to protect your eyes is to wear a pair of safety goggles. Protective eyewear prevents pieces of metal or rust from reaching your eyes when cleaning and sharpening the pruning shears.
- Cleaning and sharpening pruning shears can be dangerous. If you accidentally cut yourself in the process, you need to seek medical treatment immediately.
Frequently Asked Questions
1. How often should I clean, sharpen, and lubricate pruning shears?
At the start or finish of the gardening season, every gardening instrument, including pruning shears, should be cleaned and sharpened at least once a year. However, pruning shears that accomplish a lot of work will most likely require additional upkeep. This makes the task easier, and you’ll notice a significant difference when you use your sharpened instrument.
2. How can I prevent rust and sap build-up on my pruning shears?
Rust and sap build-up may make sharpening pruning shears difficult. Therefore, you should prevent them by;
- Wipe off your pruning shears with a cloth moistened with lubricating oil before storing them.
- When not in use, store your pruning shears in a dry place, such as a garage or a gardening shed.
- Keep your pruners out of the dirt, and if they get in contact with it, clean them thoroughly.
Bottom Line
Nothing beats well-kept pruners with sharp blades for pruning. Quality pruning shears should endure a long time and should not be thrown away simply because they are dull. As a result, spending time cleaning and sharpening your pruning equipment is worthwhile. This will return them to nearly-new condition. Furthermore, having sharp pruning shears will reward you with simpler cuts, which will heal faster and better, preventing infections and insects.