Making vinyl decals and screen printing is now simple enough for anyone to accomplish at home. Even if it's for business, you may design stylish and long-lasting decals that are professional enough to generate revenue.
Nonetheless, you'll need the necessary supplies and instructions to pull it off.
So, this post describes how to make vinyl decals at home in a few stages.
Let us begin!
How to Make Vinyl Decals with Printable Vinyl
Most people are only familiar with conventional vinyl paper, not the printable type. However, it is an easy notion to understand because it is identical to printing on paper using a desktop printer. Regular vinyl does not accept printer ink, thus you cannot print on it. So, printable vinyl is the best option because it has a unique coating on one side that allows you to print on it without difficulty.
Necessities
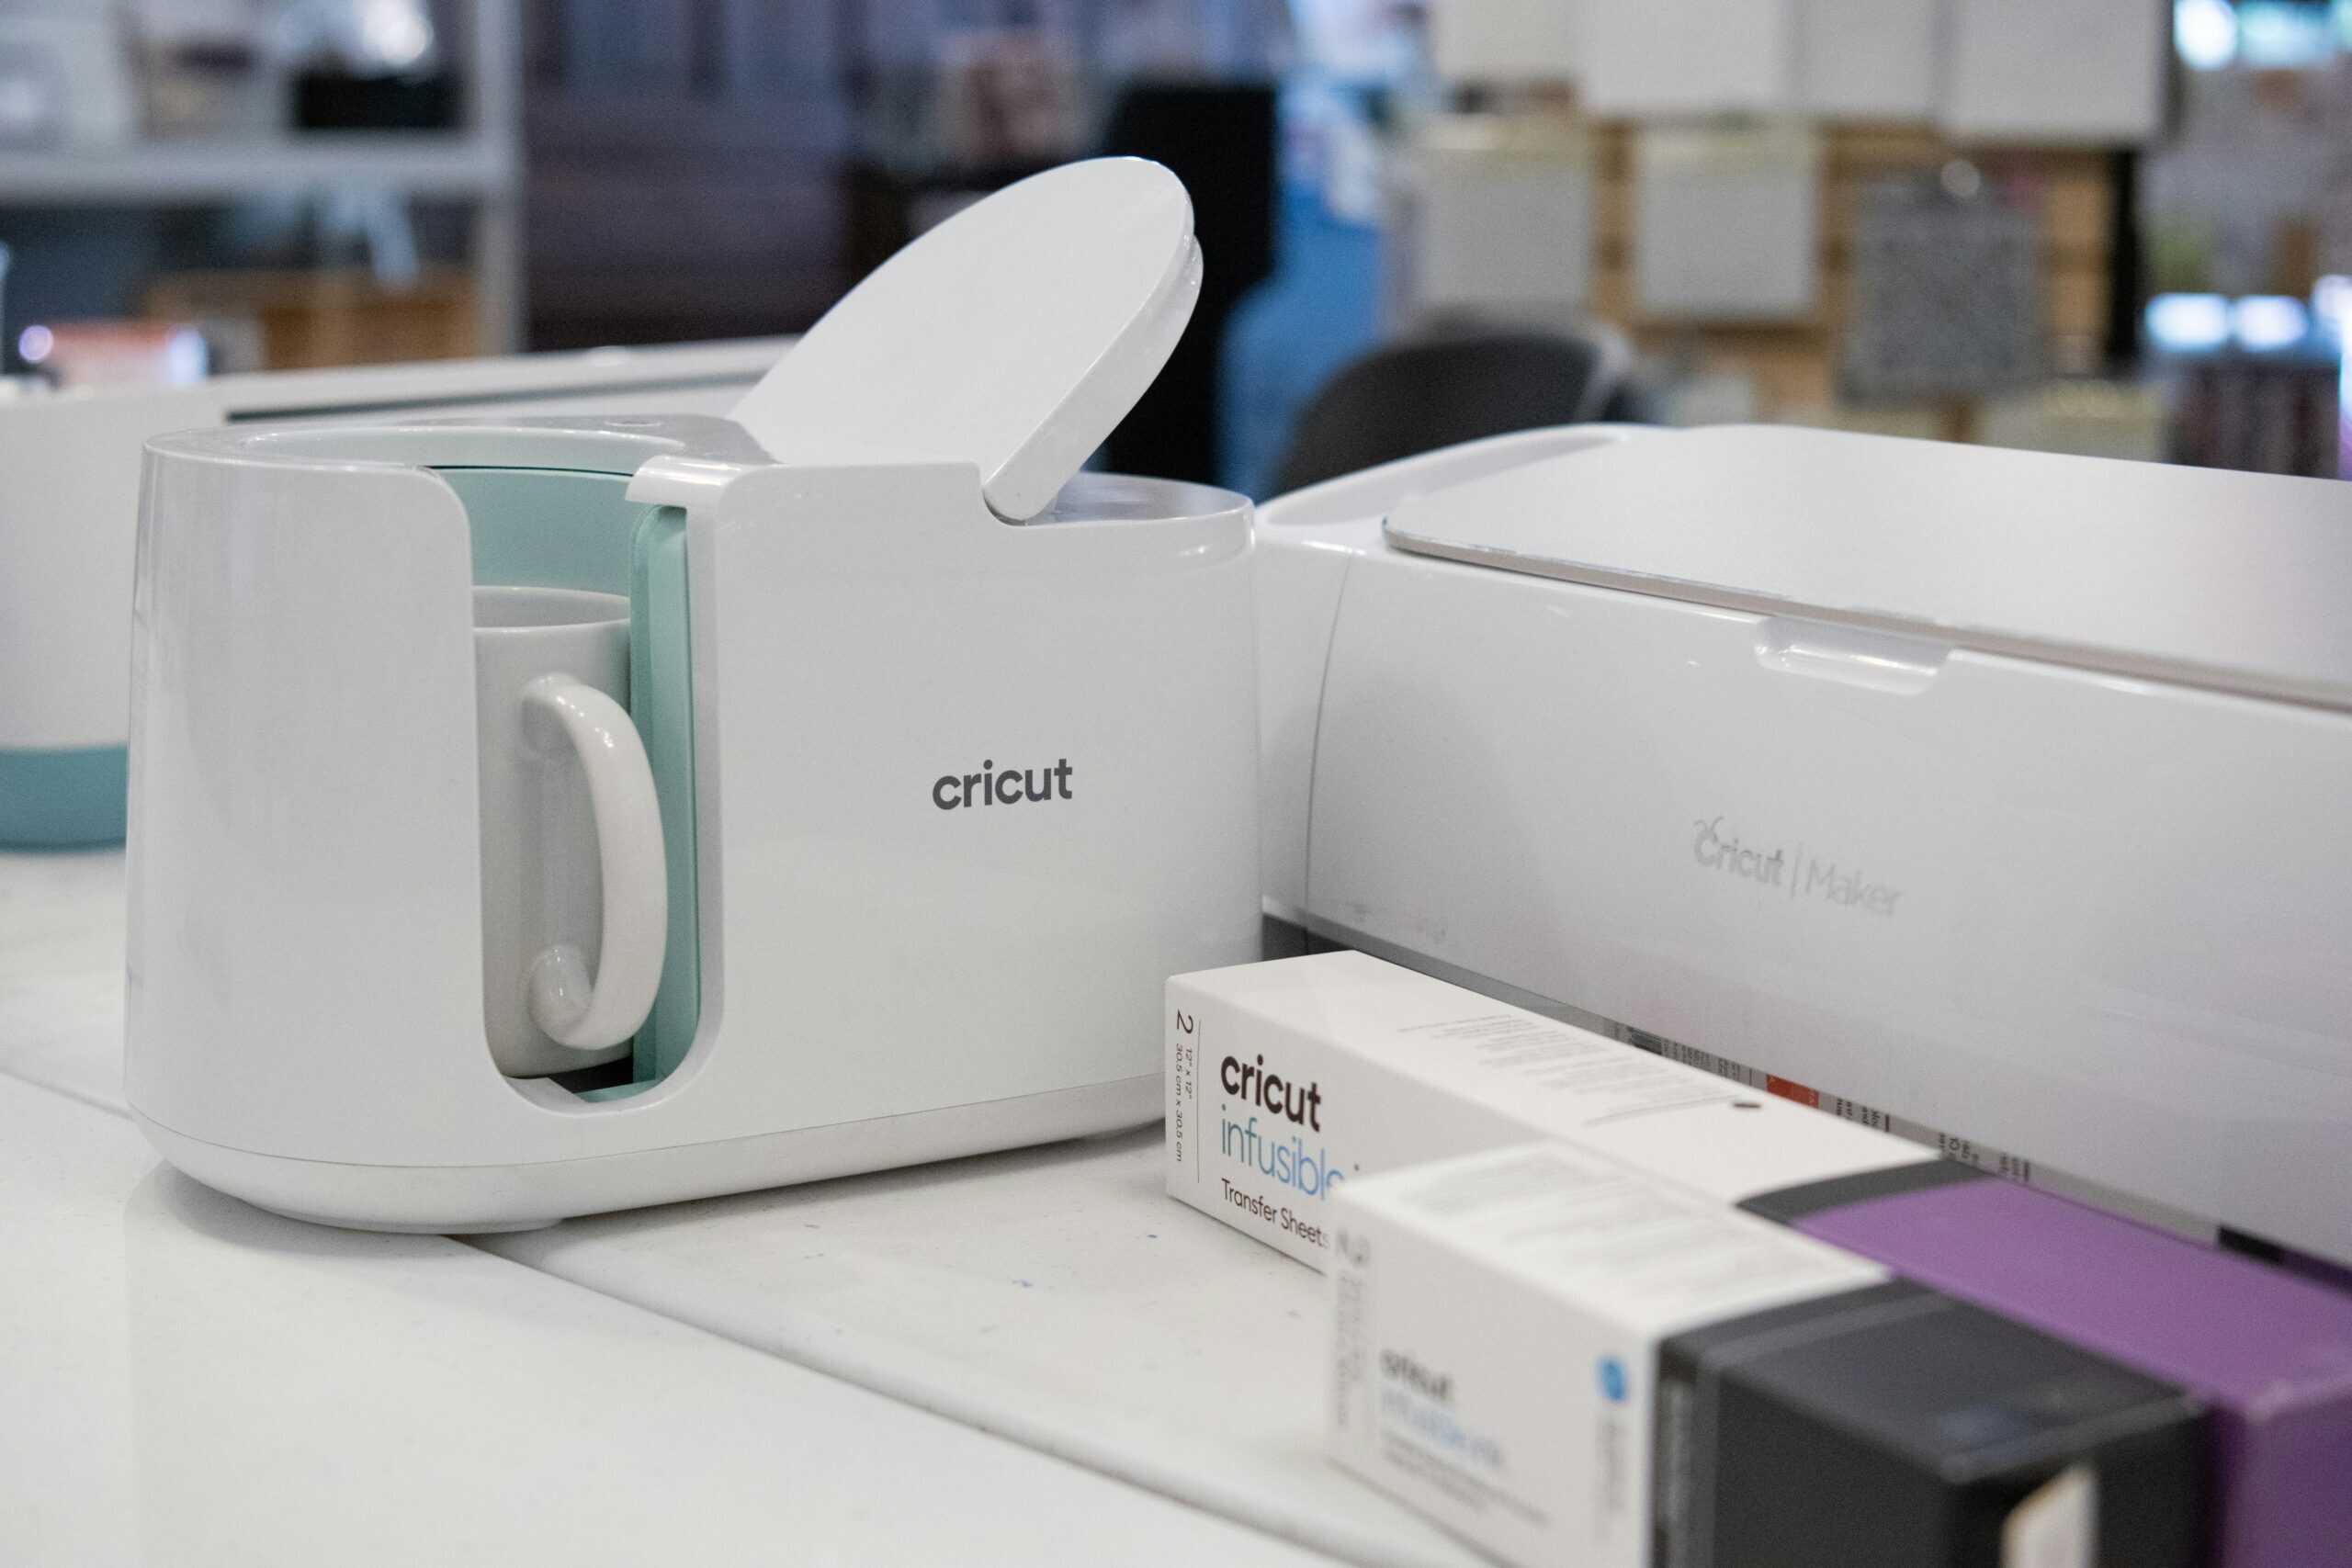
- A vinyl cutting machine like Cricut Maker, Cricut Explore Air 2, or Silhouette Cameo 3.
- A computer design software
- A cutting mat
- Print vinyl, e.g., Expressions vinyl
- An inkjet printer
- A tool for straightening the edge
Step 1: Making the Print Design
To develop the desired vinyl decal design, start with design software such as Adobe Illustrator, Photoshop, or Silhouette Studio. For the printable vinyl paper, choose a suitable page size (letter).
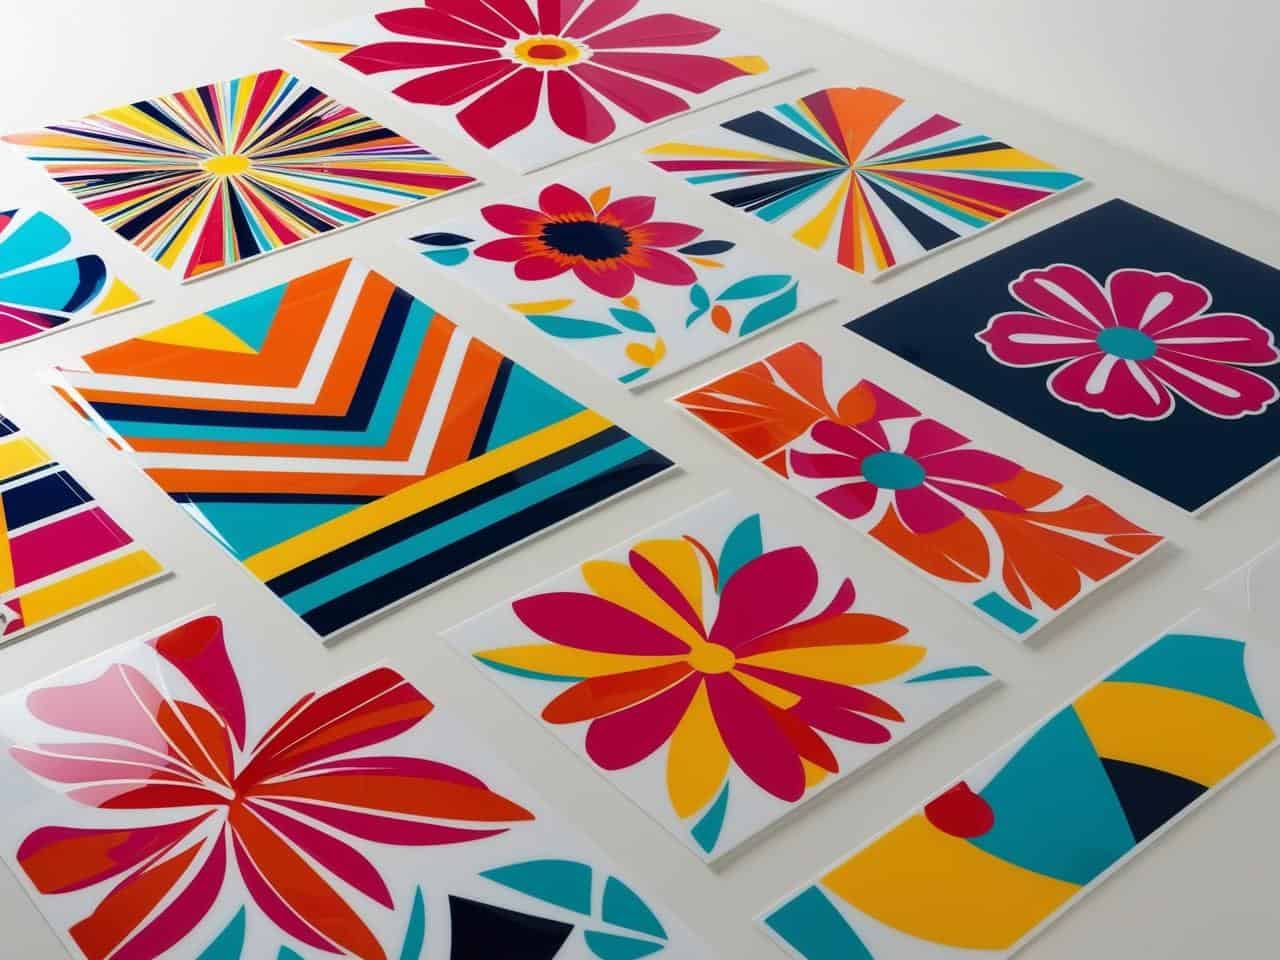
The designs should be aligned so that you may cut them precisely without eating them. Fit as many as you need on a single sheet and spin them in different directions to make the most of the vinyl paper and reduce waste.
However, if you are making vinyl stickers for your home business, you should arrange them as neatly as possible. This will make them appear as appealing as possible to your customers. Either way, the decals should not go beyond the cutting lines.
Step 2: Load the Printable Vinyl
With your design at hand, load the decal sheet into the printer and make sure the paper's dull side receives the ink since the shiny side of the vinyl decal is in the back.
Finalize the arrangement of the sticker designs and the cut lines, and then print on vinyl to get your DIY vinyl decals.
Step 3: Apply Vinyl Laminate
To avoid fading, attach a layer of vinyl laminate to the sheet. While the stickers may last a year without protection, they will not withstand water damage for long.
The best approach to ensuring that your vinyl business stickers survive as long as possible is to apply the laminate, which provides up to 5 years of water resistance. This is required for washable objects such as mugs and tumblers, as well as outdoor posters that will be exposed to water and weather.
Place your print vinyl on a hard surface and peel the backing away from the laminate, starting from one edge and moving approximately an inch. To remove air bubbles and wrinkles, ensure that the laminate's edge is aligned with that of the vinyl paper and push it down smoothly with an application tool. As you remove the backing, use a ruler to burnish the laminate on the vinyl decal.
Step 4: Cutting the Vinyl Stickers
Place the printed sheet on a cutting mat and feed it into the vinyl cutter. Double-check the cut settings and then let the machine cut the stickers out.
Step 5: Peel and Stick them
Finally, peel out the stickers and stick them onto the intended surface. Burnish the decals and smoothen out any wrinkles or air pockets.
How A Mom Can Create Vinyl Stickers By Hand
If you want to make stickers at home for your vinyl decal business but don't have a Cricut machine or any other vinyl cutter, you can still make them differently. Once you gather the supplies, we'll get straight into the steps involved.
Things You'll Need
- Decal designs
- An inkjet printer
- A cutting tool like an X-Acto knife
- A flat surface
- Adhesive vinyl
- Transfer tape
- Scissors
- Tweezers
Stage 1: Invent the Design
You'll need to try out several ideas to create something that looks good at the right size. You can lay multiple layers of different colors to get a clear and vibrant image.
Stage 2: Place the Image on the Vinyl Sheet
Cut a vinyl piece that is larger than the design by about an inch and tape it onto the cutting surface. A portable cutting surface will provide you with more flexibility. Since curly vinyl is easy to manipulate when cutting, you don't have to tape it down.
Stage 3: Cutting
Cutting is the most time-consuming step in this process. Begin cutting the inner designs, such as the interior of letters; if you cut too deeply, tape the piece together. You can overlap the cut lines rather than leaving spaces between the text. Make sure you're always looking at the image to stay on track while you cut.
Stage 4: Pick the Sticker
Next, you should cut the borders of the design into sections to make it easy to remove the stickers. Use the tweezers to pull out the pieces, which will allow you to check the edges of the design.
Stage 5: Tape it and Trim
Ensure the decal is flat, and then slowly tape it down while ensuring no creases or bubbles form. After taping, trim the decal about half an inch and leave one end overlapping to make it easier to place the sticker.
Stage 6: Apply the Sticker
The surface on which you will apply the decal should be clean. Place the sticker and make sure the overlap is long enough to hold the decal in place while you remove the backing. Then press the decal hard to ensure that it sticks to the surface without creases.
Conclusion
You can use the methods in this post to make prints for water bottles, bumper stickers, business logos, and more. With the right materials and method, you can make printing stickers that will earn you the sales you want.