Many people purchase a Cricut because it’s simple to make your own t shirt designs, so they want to be in a position where they’re doing quite that. Cricut is not hard at all to make a shirt, it cuts out an iron on vinyl design very easily precisely.
Having the ability to wear and express oneself with a t shirt that you designed yourself is fun. In the same breath, a lot of people quite like to get custom gifts for anniversaries and birthdays. This step tutorial is going to break down the best way anyone could design shirts through Cricut.
How To Make A Shirt With Cricut On Vinyl
There are two things to consider when you design a shirt using Cricut design space; you want everything to come out perfectly.
1. The Design
Stick with one color throughout the design so the colors don’t mismatch or clash. As a beginner it makes sense to stick to one color, but whatever you do, matching light shades to light material or dark shades to dark material is imperative for ultimate success of the design.
2. Cutting and Applying The Iron
When it comes to transferring the design to the shirt this is the ultimate end process. With this article, we will profoundly cover the steps that a beginner is supposed to follow to ensure the design imminently gets shown with the iron-on vinyl.
What A Beginner Needs To Make A Cricut Shirt
Since this article is meant for the amateur designer, it is right to include everything that a novice designer will require to ensure the shirt making project pays off.
1. A Plain T-shirt
Cotton is the best material for iron-on vinyl. The two different t shirts are for iron list as follows:
a) Standard Grip Cricut Mat
This is a green Cricut mat that is used on material with medium weight.
b) Cricut Everyday Iron-On Vinyl
There are a lot of different types of Cricut Iron On, but this is the most common type of iron on Cricut, and comes in lots of colors and styles.
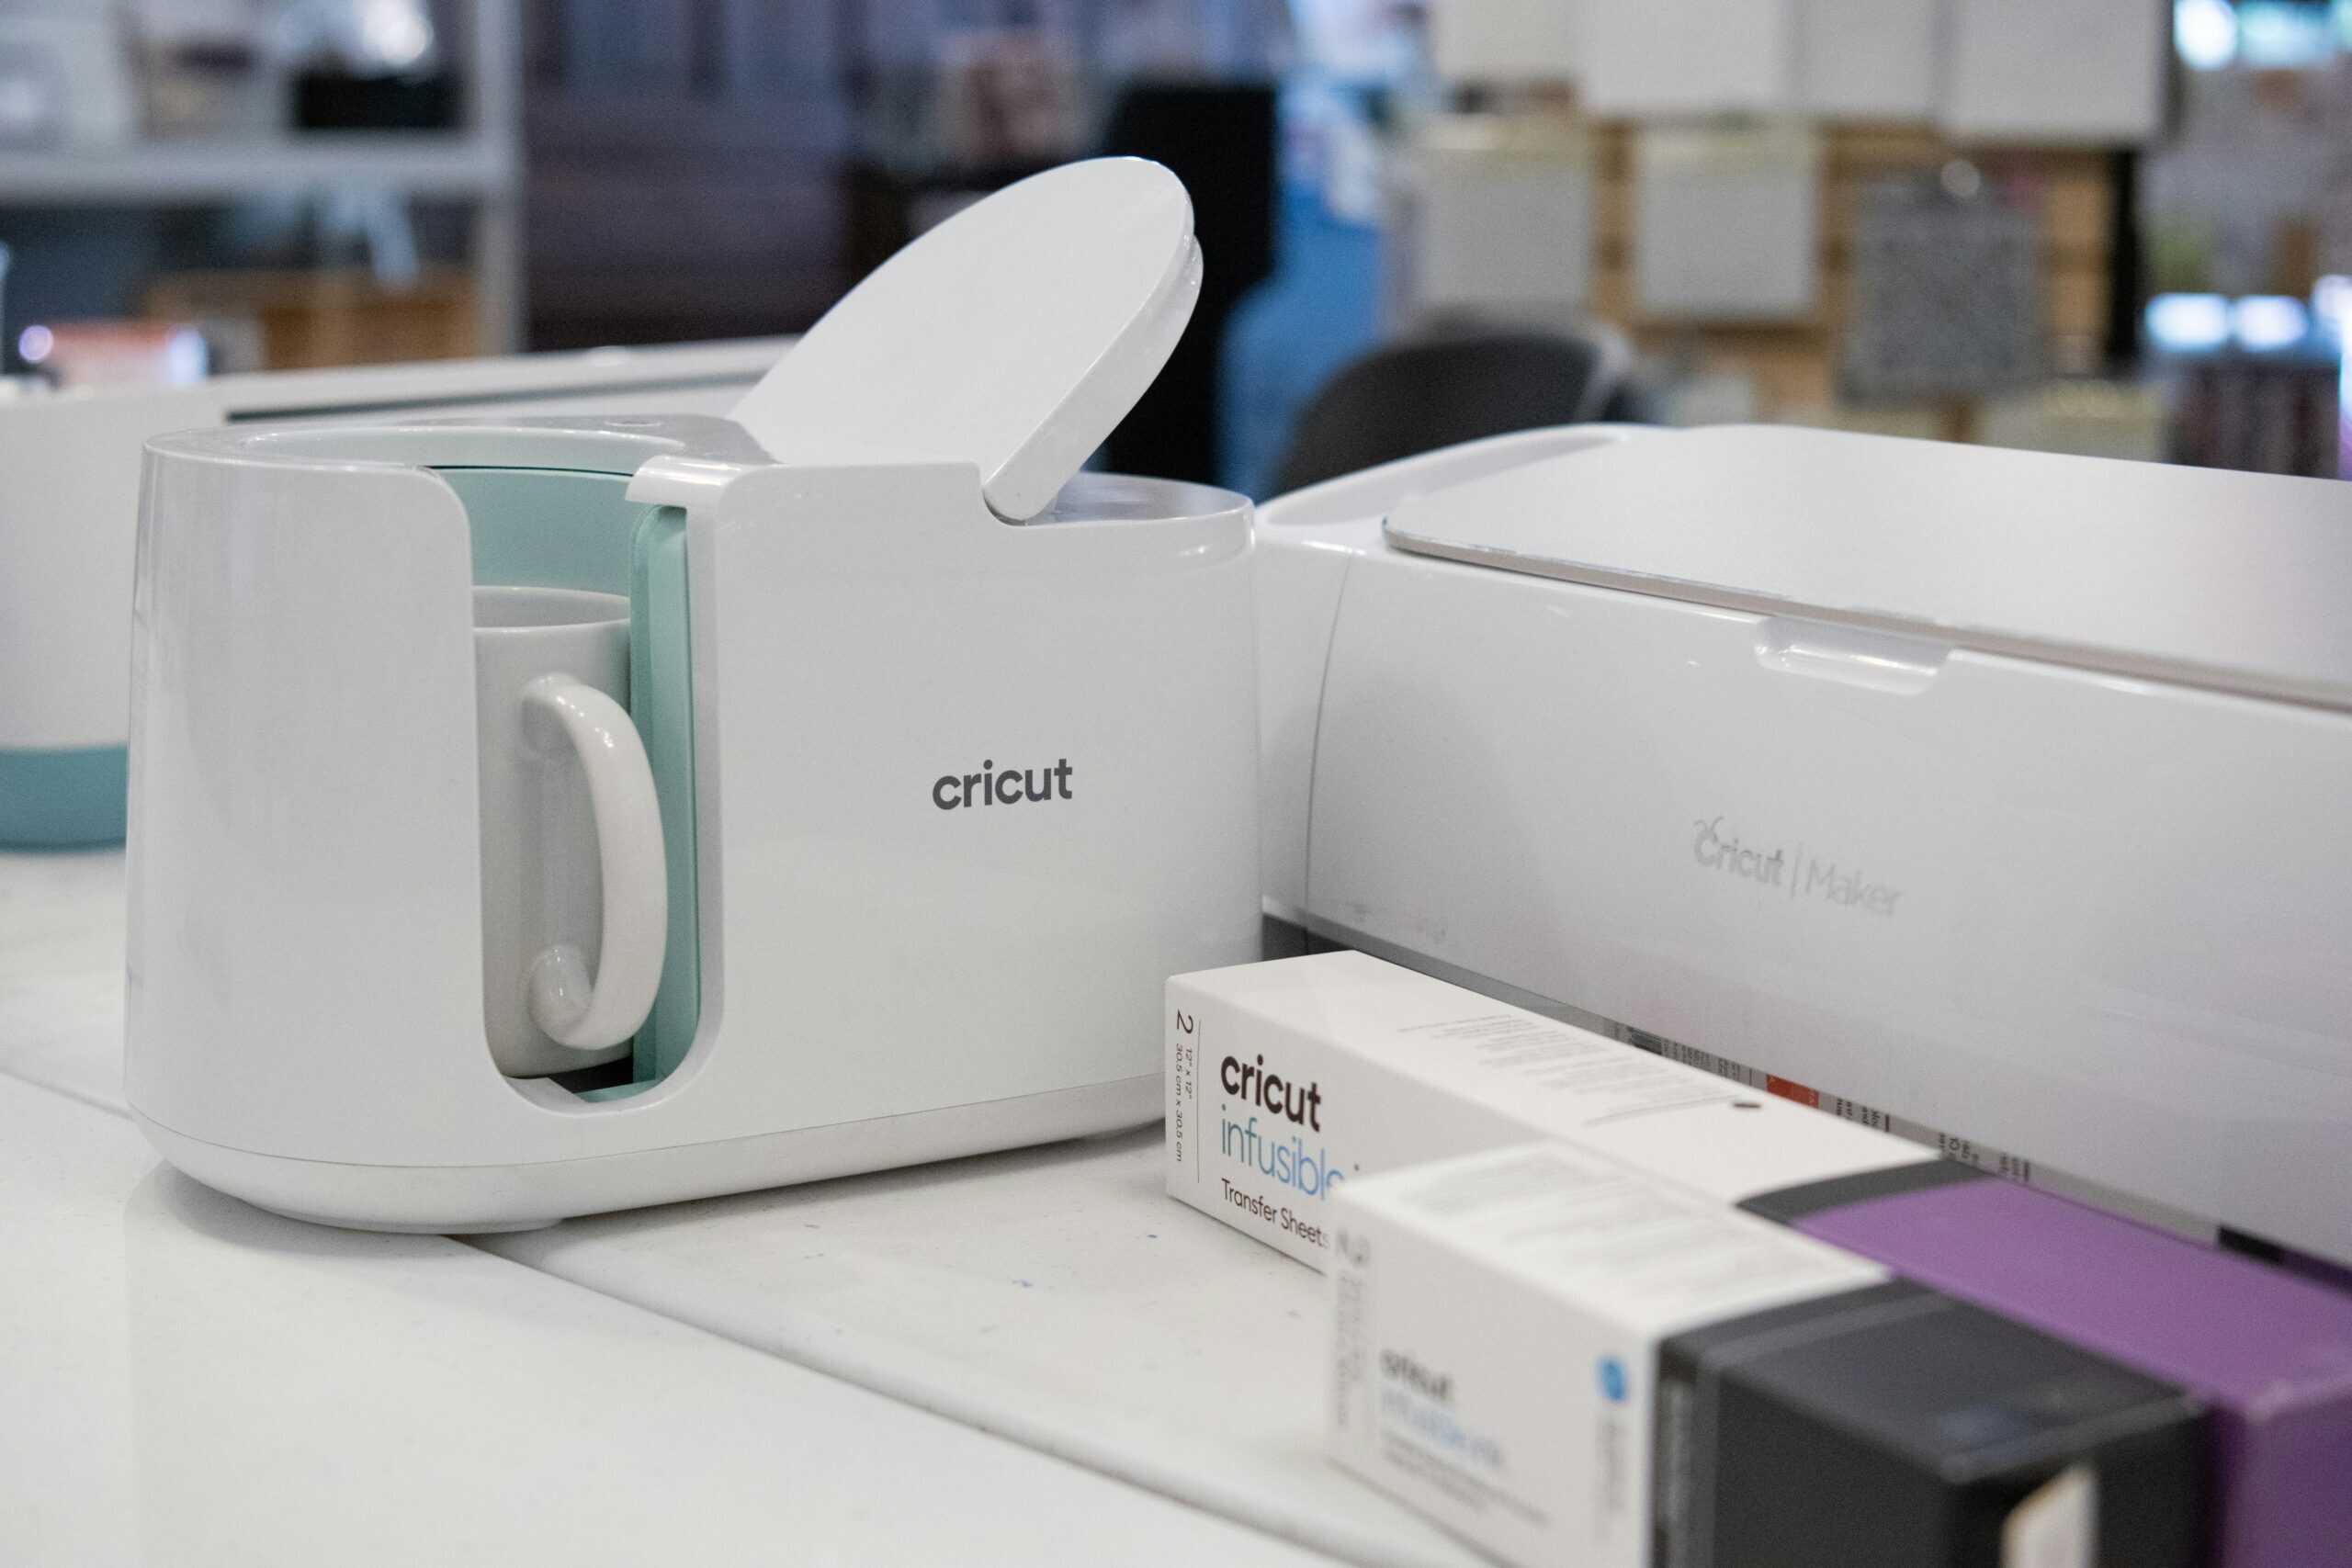
2. A Cricut Machine
The next most important tool to have is a Cricut machine. Different types, but they all do a good job.
3. Design Software
This is downloaded on computer and is very special because it designs all the creative thought of the designer in their mind. Alternatively it can be used on a mobile device or tablet.
4. Iron
This one is just a regular household iron to iron onto the t shirt. However, when the use of the steam, it should be switched off.
Apart from that, you can plan to have a weeding tool to remove all extras bits of iron on to the design when you iron it and also an iron on protective sheet which helps during the application as well as the Easy Press 2 which can be replaced for ironing. It is very effective and time saving as it also has been given a temperature regulation control.
The Step By Step Process Of Making Cricut T-shirts
1. The Design
This is the first design when it comes to making a shirt with Cricut. If the designer is using Cricut Design Space, the design must be uploaded on the left side of the screen. Next you will want to select the design image here and then be sure to select the 'Simple' option because this will give you the best results.
The next thing to do is click the whitespace that you want to chop out. The important next step is to cut the image out of the design tool. 'Designer should not Print And Cut Image rather should Cut Image'.
After that is made, the second step is to make the design. Using the images and fonts that are ones that are available in the design library can make it very easy and entertaining.
Once the above step is achieved, the next one will be to size up the image and determine if it will fit properly on the shirt. Now you can use a template to get the right size.
2. Cutting Cricut Iron-On Vinyl
It is achieved by putting vinyl on the shiny side of the down part of the mart. If you are using the Cricut Explore Machine, be sure the dial is set to Iron-on. If the designer is using the Cricut Joy or Maker, however, it is recommended to choose Everyday Iron On from the drop down menu.
Once that is achieved, the next best thing to do is follow the prompts and let the machine finish cutting the design. Once you’re done you remove all the excess vinyl that sticks out from all edges, and if you have a weeding tool available it will make this step quite easy and playful.
3. How To Iron-On To A Shirt
The designer starts this process by setting the iron to the cotton or the hot setting it has. While at it, you need to switch off the steam. First, you need to preheat using around 15 second pressing of the iron onto the material.
After this is done the next step would be to put the vinyl on iron on the fabric. It is also a good idea to put a press cloth on top of the plastic so it doesn’t melt onto the shirt as it sits there.
4. Peeling Off Vinyl
The iron should not be placed over the cloth for less than 30 seconds. This should be repeated on both sides of the shirt. The next step should be peeling the plastic sheet diagonally, separating the vinyl and the sheet. This is interesting: the peeling off should occur when still the plastic is still warm.
By strictly following all the steps above, the design will finally get to the t-shirt and will be ready to be rocked.