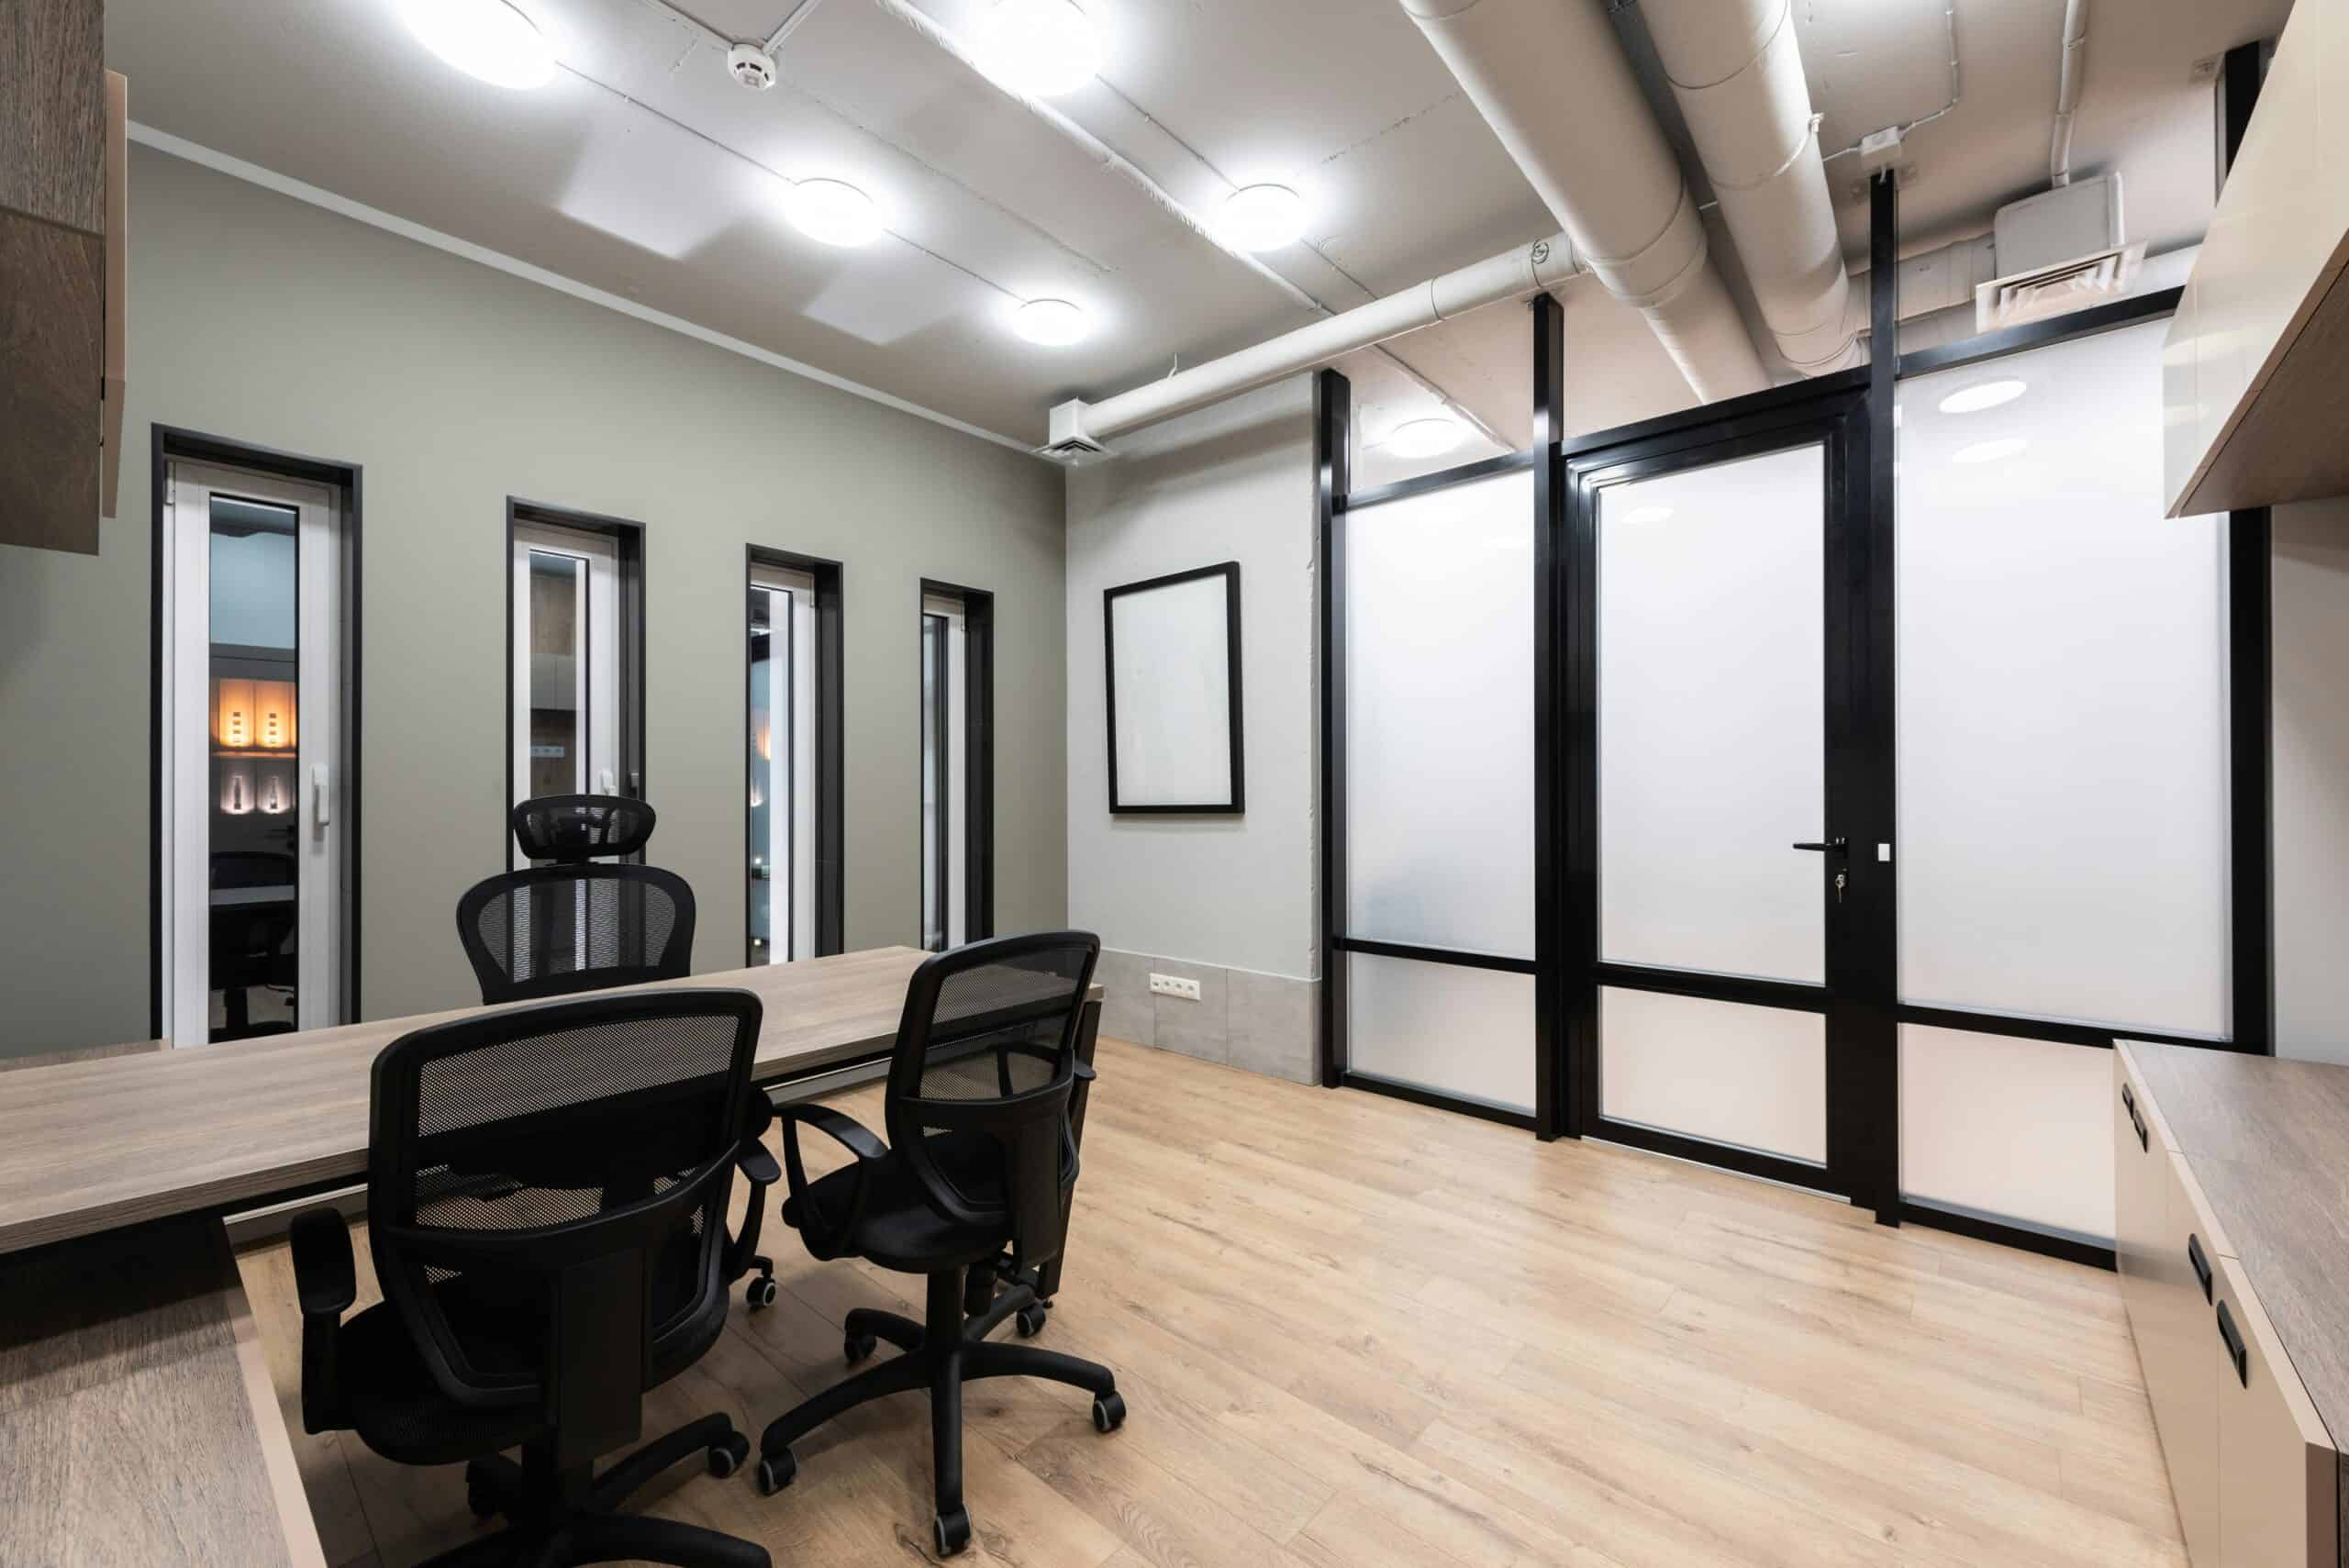
Recessed lighting is a great way to add modern and stylish illumination to any room. It provides a clean and sleek look while also creating a warm and inviting atmosphere. If you're looking to upgrade your home with recessed lighting, this step-by-step guide will walk you through the process to help you learn how to install recessed lighting.
1. Cut the Hole in the Ceiling
To begin the installation process, cut a hole in the ceiling where you want the recessed light to be located. Use a drywall or keyhole saw to make an opening slightly larger than the housing of the light fixture. Measuring and marking the location accurately before cutting is essential to avoid mistakes. Plus, be careful to avoid digging deeper than you need to, or you might need to remodel the room sooner than you thought.
A licensed electrician should install outdoor recessed lighting to ensure proper wiring and safety precautions are taken. The hole size will depend on the type and size of your recessed lighting fixture. Follow the manufacturer's instructions for the specific dimensions. Using a keyhole or drywall saw, carefully cut out the hole and remove any excess debris.
Depending on the light location you've chosen, you may run into wall or ceiling joists. Additionally, if your attic is directly above you, you need to be more careful with where you put the ceiling hole.
2. Run Electrical Wiring

Once the hole has been made, you can begin running electrical wiring to connect your new recessed lighting fixture. As the manufacturer recommends, carefully select and run the wire best suited for your specific lighting fixtures and home design improvement. You will need to follow safety regulations and guidelines when handling electrical wiring for any project, not just recessed lighting installation.
Turn off all power sources, typically at the circuit breaker or junction box, before beginning this process, and use a voltage tester to ensure the power is off. Once you have confirmed that no power is running through the wires, you can install the wiring for your recessed lighting.
3. Attach the Wire to the Recessed Light Fixture
Carefully follow the manufacturer's instructions for proper installation. Before attaching the wire, make sure to strip any insulation from the end of the wire. This will expose enough bare copper for a secure connection. Connect the wires by twisting them together in a clockwise direction.
Use wire nuts or electrical tape to cover the twisted wires to secure the connection further. This will protect them from potential exposure and help prevent accidental shocks. Carefully push it into the recessed light housing once the wire is securely attached to the fixture. Use caution when handling any sharp edges or screws. Secure the fixture in place by tightening any screws or clips that are included with the housing.
If you did not fish the wire through the hole, you may need to find an alternative way of hiding it. Ideally, you need the wire recessed into the existing ceiling or wall to avoid a messy look. It may be simpler to use existing wiring that services any existing light fixture or ceiling fan.
4. Install the Housing Unit
To install a housing unit, you must follow the guidelines provided by the manufacturer. These guidelines ensure that your new home is installed correctly and safely. Carefully read through these instructions before beginning any installation work. Remember also to check local building codes, as they may have specific requirements for installing housing units in your area. This will ensure that you comply with all necessary regulations.
Read through the guidelines and gather all necessary tools and materials before beginning. This includes basic hand tools such as a hammer, screwdriver, and level, as well as any specific tools recommended by the manufacturer.
5. Attach Trim and Light Bulb
Follow the manufacturer's instructions for properly installing and securing the trim. Accurately measure and cut any excess trim as needed. Once the trim is in place, you can insert the light bulb into the fixture. Follow the manufacturer's instructions for the appropriate type of light bulb and how to install it properly. Test the recessed lighting once the bulb is installed to ensure it works correctly before completing the final installation. The lightbulb should be securely placed and properly aligned in the fixture to provide optimal lighting for your space.
6. Wire the Circuit to the Service Panel
If you install multiple recessed light fixtures, they must be wired on the same circuit. Each fixture must be connected to one wire and then routed to the service panel. Consult a licensed electrician if you are still getting familiar with electrical wiring. An interior designer can advise on suitable home improvement ideas, including the lighting system.
7. Test and Adjust

After completing all the steps, testing your recessed lighting before the installation is essential. Turn on the power and ensure the light turns on and off correctly. If necessary, you can adjust the positioning of the trim to get the desired lighting effect.
Additionally, you can use a dimmer switch to adjust the brightness of the recessed lighting. This will give you more control over the ambiance and mood of your space. Once you are satisfied with the positioning and brightness of your recessed lighting, you can complete the final installation by securing any loose wires or trim pieces.
Conclusion
Carefully follow the manufacturer's instructions and any relevant regulations to ensure a safe and effective installation. With proper installation, you can enjoy the benefits of beautiful ambient lighting in your home or space. Remember to always prioritize safety and consult a professional if needed.
Feel free to experiment with LED recessed lighting for different areas of the house. For instance, you could use it for under-cabinet lighting, lighting for your deck, or to set the mood in the bedroom.


