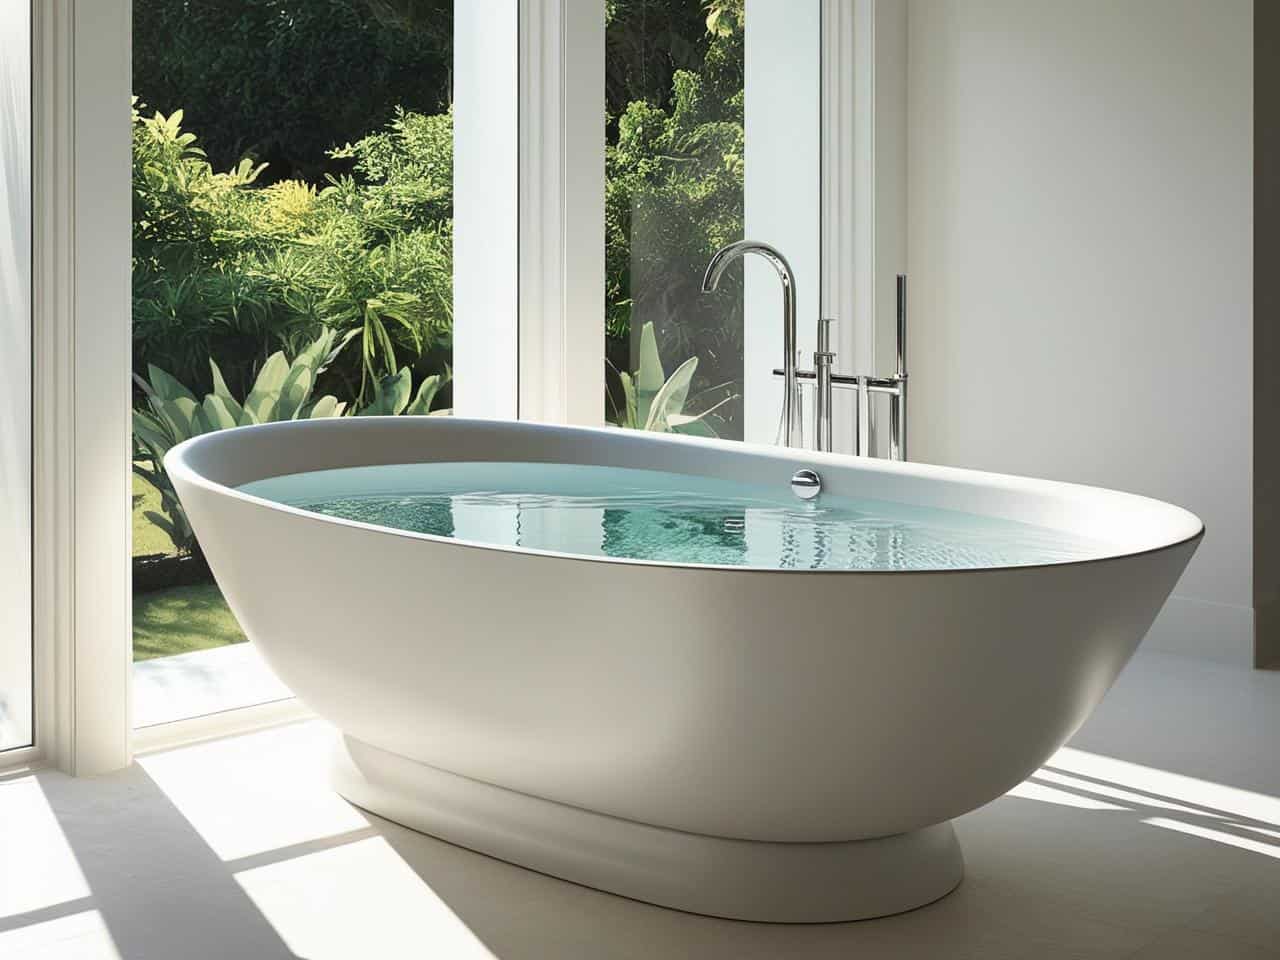
Installing a freestanding bathtub can transform your bathroom into a beautiful and elegant focal point. Unlike standard built-in bathtubs, freestanding tubs can be placed and designed in a variety of ways, creating a spectacular focal point. If you're thinking of installing a freestanding bathtub in your house, this detailed guide will walk you through the procedure step by step, assuring a smooth installation and years of enjoyment.
Let's get going!
What Is a Freestanding Tub?
A freestanding tub, also known as a standalone tub or soaking tub, is a bathtub that is not connected to any adjacent walls or fixtures. It is intended to be a self-supporting fixture and is typically installed in the bathroom as a centerpiece or focal point.
Freestanding bathtubs are usually built of acrylic, cast iron, or stone and come in a variety of designs and sizes. They are noted for their aesthetic appeal and sumptuous feel, which are frequently connected with spa-like experiences.
One of the distinctive features of freestanding tubs is that they can be placed anywhere in the bathroom as long as there is proper plumbing access. They are not constrained by the need for wall support or fitting into a specific alcove or corner like traditional built-in bathtubs. This versatility gives homeowners more freedom in designing their bathroom spaces.
Most freestanding tubs have a more visually appealing appearance than built-in tubs. They might have elaborate or modern designs, with wide rims or smooth edges. Some types additionally contain integrated jets or whirlpool systems to help you relax.
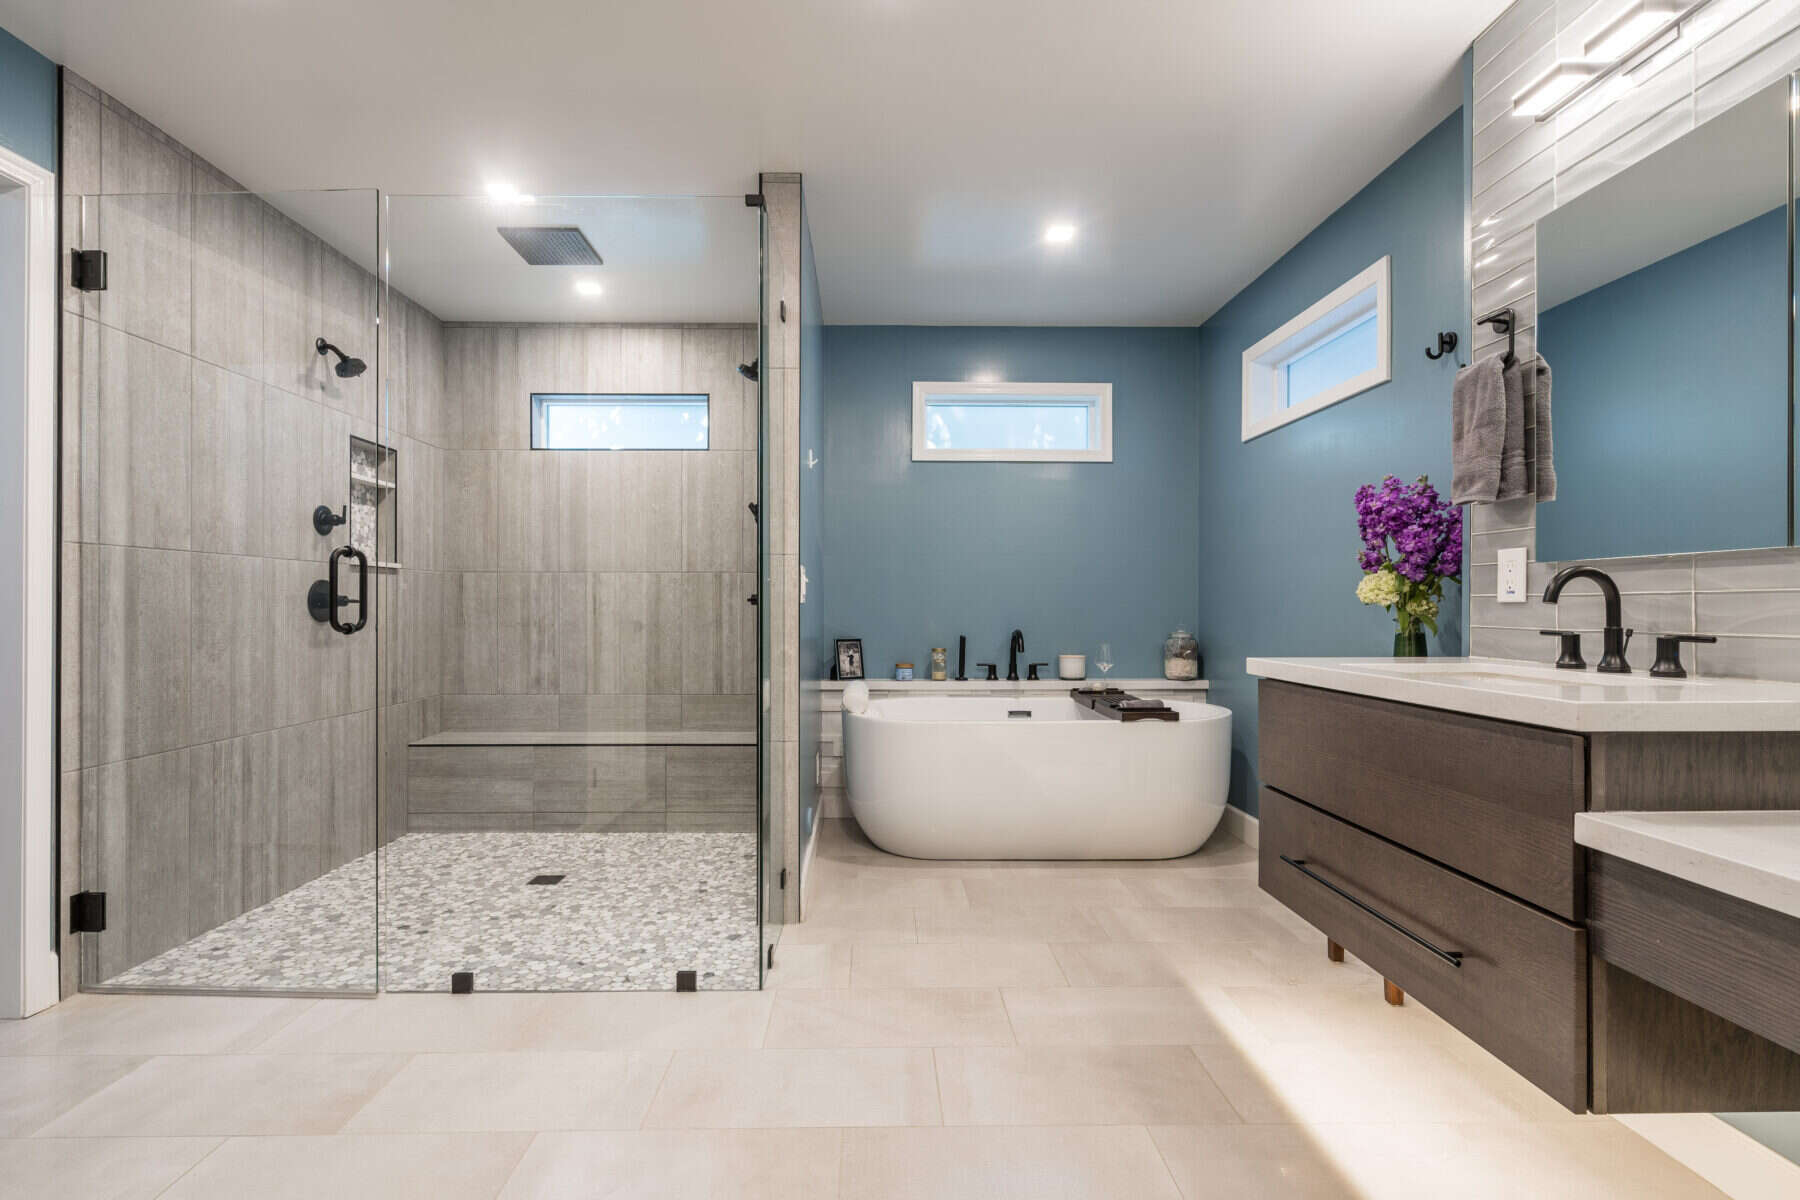
Image credit: ardanconstruction.com
With this in mind, let us discuss the steps necessary for installing freestanding bathtubs.
Step 1: Planning and Preparation
Before diving into the installation process, there are a few essential considerations to keep in mind:
- Location: Choose a suitable location for the freestanding bathtub, ensuring it fits comfortably within the available space. Consider factors such as proximity to plumbing lines, structural support, and access for installation.
- Measurements: Measure the tub and bathroom dimensions to ensure a proper fit. Consider any walls, fixtures, or other obstacles that may affect the positioning of the tub.
- Plumbing and Electrical: Ensure the existing plumbing and electrical connections are compatible with the freestanding bathtub. Seek professional assistance if modifications are required.
- Floor Support: Verify that the master bathroom floor can support the tub's weight, particularly when water-filled. Reinforce the floor drain if necessary, consulting a structural engineer if needed.
- Accessibility: Ensure adequate access to the bathroom and the space required to maneuver the tub into place. Measure doorways, hallways, and stairwells to guarantee a smooth installation process.
Step 2: Gathering Materials
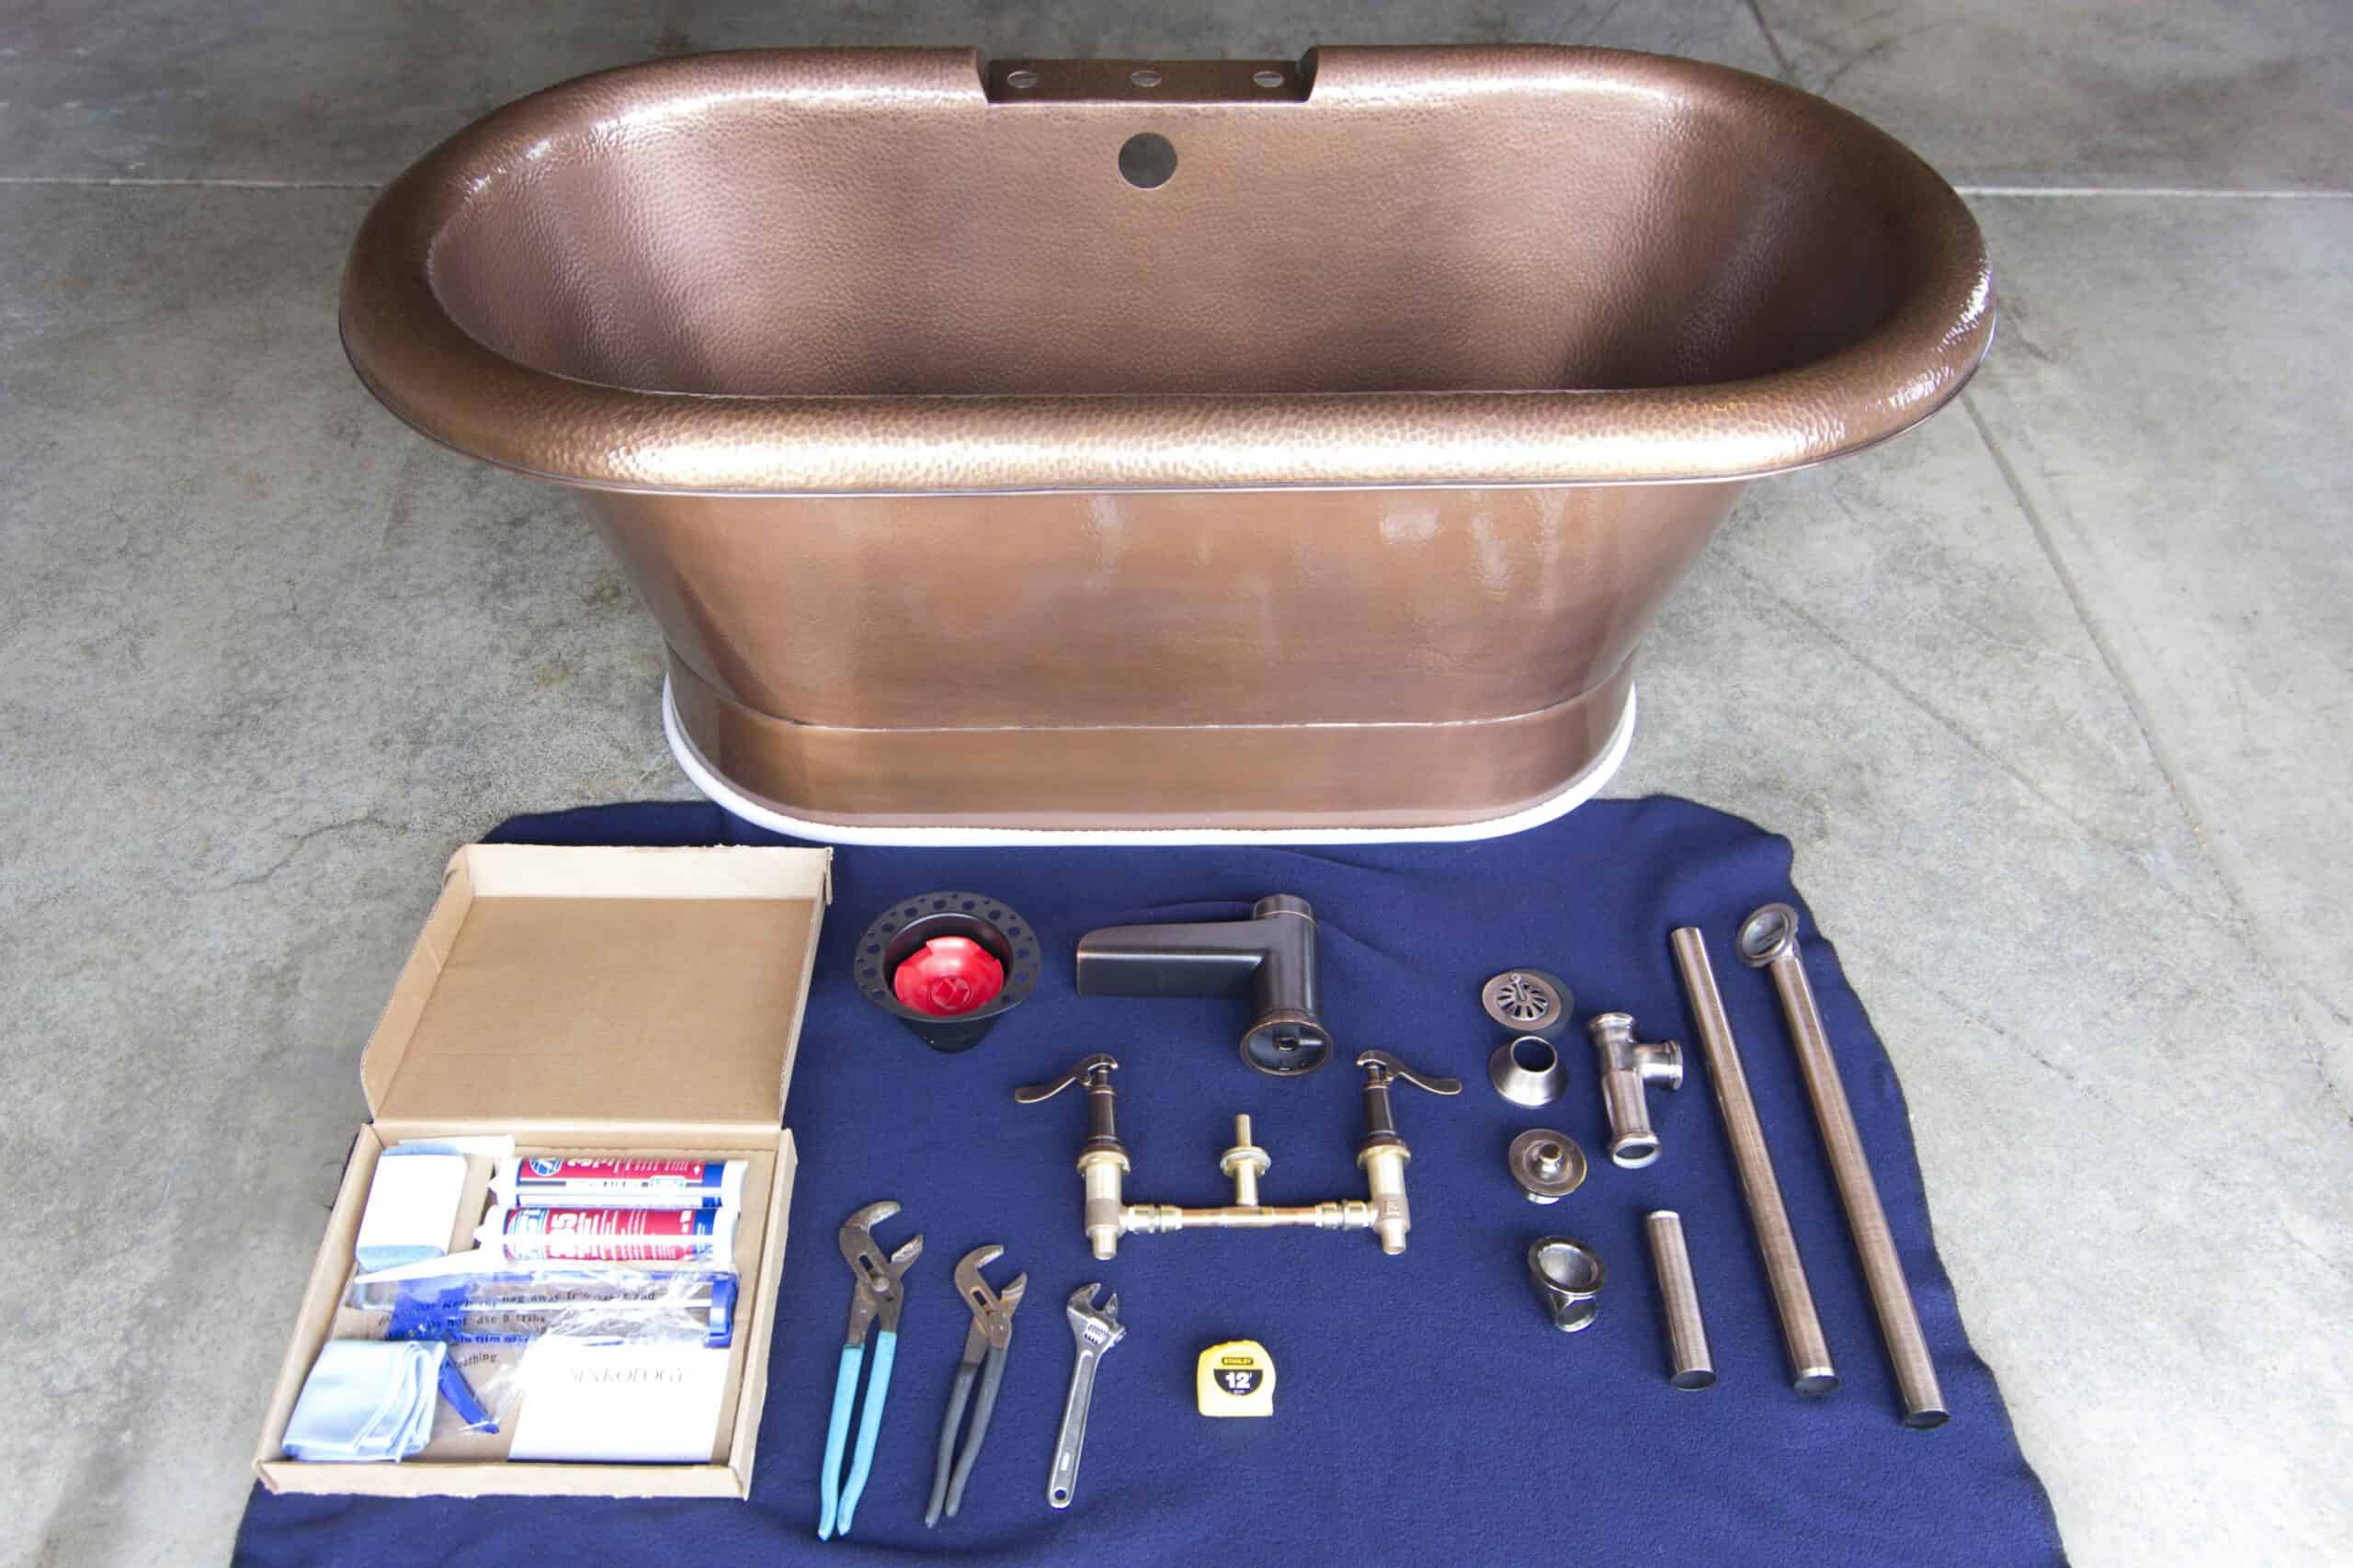
Image credit: sinkology.com
Assemble all the necessary materials and tools to ensure a smooth workflow. Some essential items include:
- Freestanding bathtub
- Adjustable wrench
- Plumbing fittings (if required)
- Drain assembly kit
- Silicone adhesive/sealant
- Level
- Screwdriver
- Wrench
- Pipe cutter
- Measuring tape
- Safety glasses
- Safety Gloves.
Step 3: Prepare the Plumbing
If your bathroom already has existing plumbing connections in the desired location for the freestanding tub, skip Step 3. Otherwise, follow these instructions:
- Shut off the water supply to the bathroom. Locate the main water valve and turn it off.
- Remove the existing bathtub and disconnect the plumbing connections, including the drain and overflow assembly.
- Install the necessary piping and fittings, extending them to the desired drain location for the freestanding tub. Consult a professional plumber if you're unsure about this step.
Step 4: Installing the Drainage System
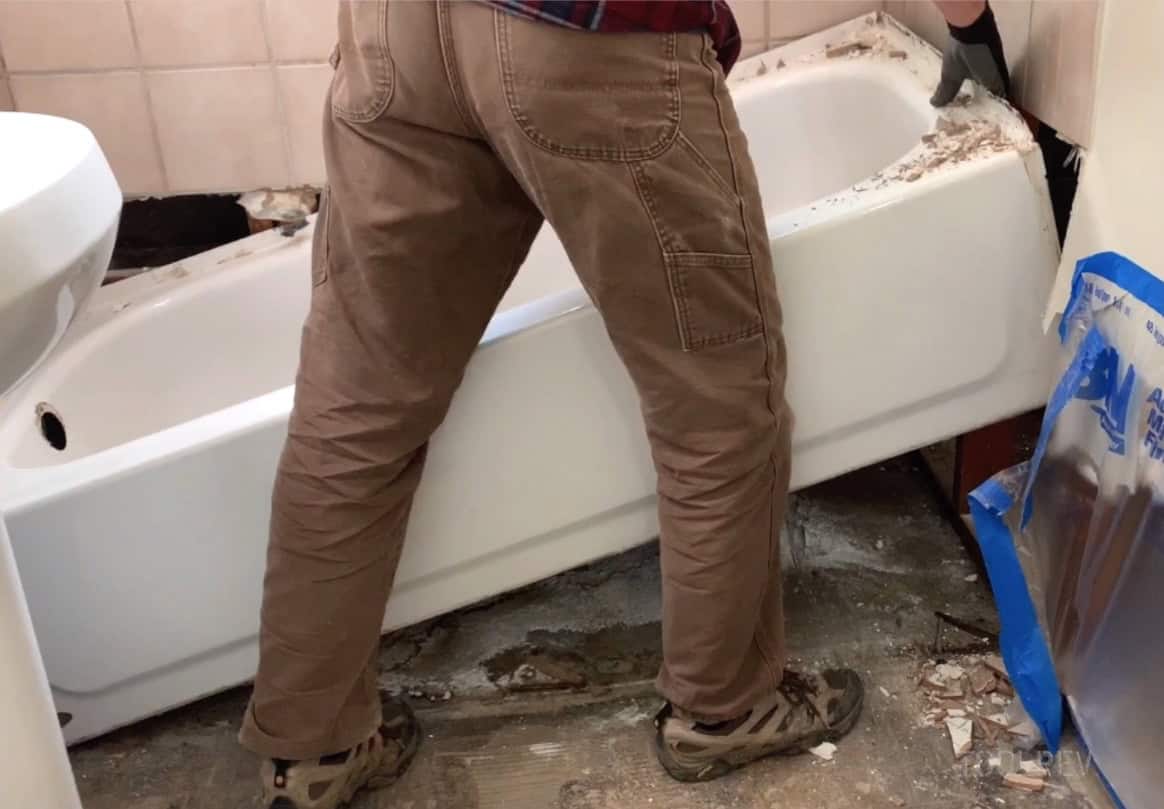
Image credit: plumbingzone.com
Proper drainage system installation is crucial for the functionality of the freestanding bathtub. Follow these steps:
- Locate the bathtub's drain hole and attach the drain assembly according to the manufacturer's instructions.
- Connect the drain pipes to the existing plumbing system, ensuring a watertight seal.
- Test the bathtub drain line system by filling the tub with water and checking for leaks. Make any necessary adjustments to acquire a proper seal for the drain body.
Step 5: Placing the Bathtub
Now it's time to position the freestanding bathtub in its designated location:
1. Ensure the entire bathroom floor is spotless and free of any debris or obstacles.
2. With the help of a friend or skilled personnel, carefully lift the tub and place it in its desired position, ensuring it aligns with the plumbing connections. Use furniture sliders or a dolly to move the tub without scratching the floor.
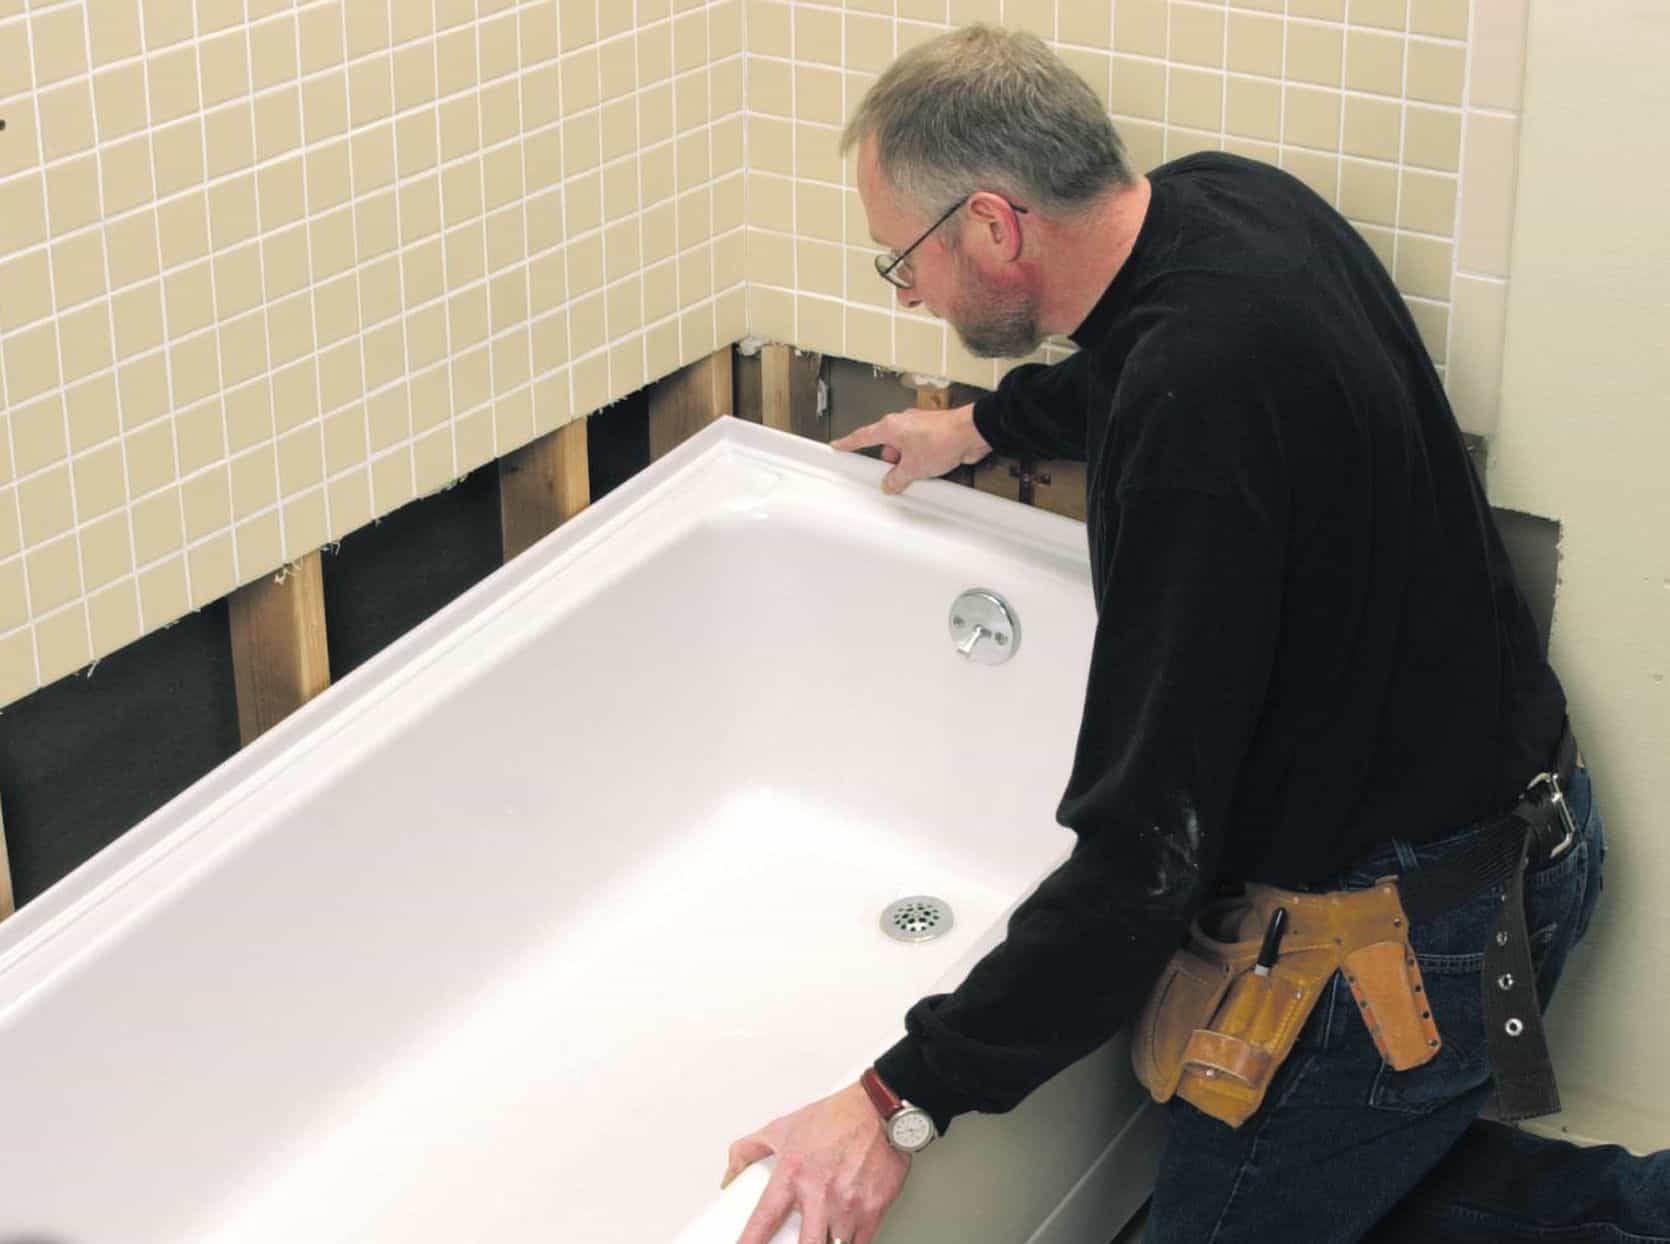
Image credit: toolrev.com
3. Use a spirit level to ensure the tub is perfectly balanced, and adjust the placement if needed. This step is crucial for proper drain and waste location and a stable installation.
4. Mark the tub's final position on the floor using a pencil or tape. This reference will help you align the tub correctly during the next steps.
5. Place shims under the bathtub to level it properly and provide support. This will prevent any rocking or movement during use.
Step 6: Connect the Drain and Overflow Assembly
- If not pre-installed, refer to the manufacturer's instructions to assemble the drain and overflow components.
- Apply the plumber's putty to the underside of the drain flange and insert it into the drain hole of the bathtub. Tighten the locknut from underneath to secure the drain assembly.
- Attach the overflow cover to the overflow opening of the tub, securing it with the provided screws. Make sure it is properly aligned and tightened.
- Connect the drainpipe and overflow pipe to the respective plumbing connections. Apply plumbers' tape to the threaded connections for a watertight seal.
Step 7: Securing the Bathtub

Image credit: bhg.com
To ensure stability and prevent movement, secure the freestanding bathtub to the floor:
- Check the manufacturer's instructions for any specific recommendations regarding securing the tub.
- Use brackets or mounting hardware designed for freestanding bathtubs to secure the tub to the floor.
- Follow the tub manufacturer guidelines to securely attach the brackets or hardware, ensuring they are hidden from view.
Step 8: Sealing and Finishing
The final step involves sealing the bathtub and adding the finishing touches:
- Apply a bead of silicone adhesive or sealant around the bathtub's base where it meets the floor. This will create a watertight seal and prevent water damage.
- Use a caulking gun to apply the sealant, ensuring a smooth and even application.
- Wipe away any excess sealant and allow it to dry according to the manufacturer's instructions.
- Check for any visible gaps or imperfections in the sealant and apply additional sealant if necessary.
- Clean the bathtub thoroughly to remove any dust or debris from the installation process.
- Following the manufacturer's instructions, install any additional fixtures or accessories with the freestanding bathtub, such as deck-mounted tub faucets or handheld showerheads.
- Test the functionality of the bathtub, including the water flow, drain system, and any attached fixtures. Make any adjustments or repairs as needed.
- Finally, inspect the overall appearance of the installation. Ensure that the bathtub is level, securely fastened, and aesthetically pleasing.
How to Maintain a Freestanding Bathtub
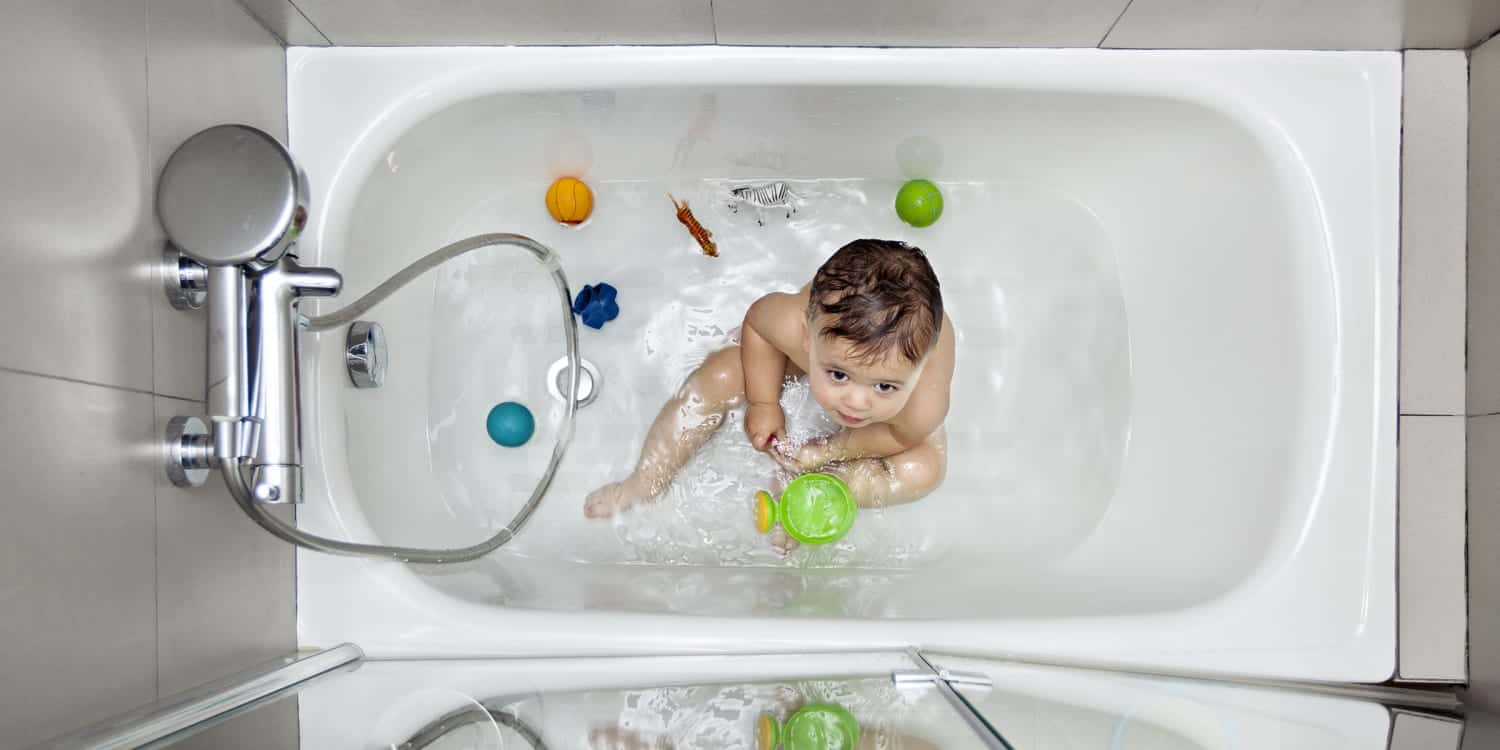
Image credit: spongeoutlet.com
1. Regular Cleaning
Keeping your freestanding bathtub clean is essential for its longevity and hygiene. Here are some cleaning tips to follow:
a. Mild Cleaners
Use mild, non-abrasive cleaners specifically designed for bathtubs. Avoid harsh chemicals that may damage the surface or finish. Follow the manufacturer's recommendations for suitable products.
b. Surface Cleaning
Wipe the bathtub's surface regularly with a soft cloth or sponge and mild detergent. Rinse thoroughly afterwards to remove any residue.
c. Stain Removal
For stubborn stains, prepare a baking soda paste and water or use vinegar diluted with water. Apply the mixture to the stained areas, let it sit, and scrub gently with a soft brush. Rinse thoroughly.
d. Avoid Abrasive Tools
Refrain from using abrasive sponges, brushes, or cleaning tools that may scratch or damage the bathtub's surface. Opt for soft materials to preserve the bathtub's finish.
2. Preventive Measures
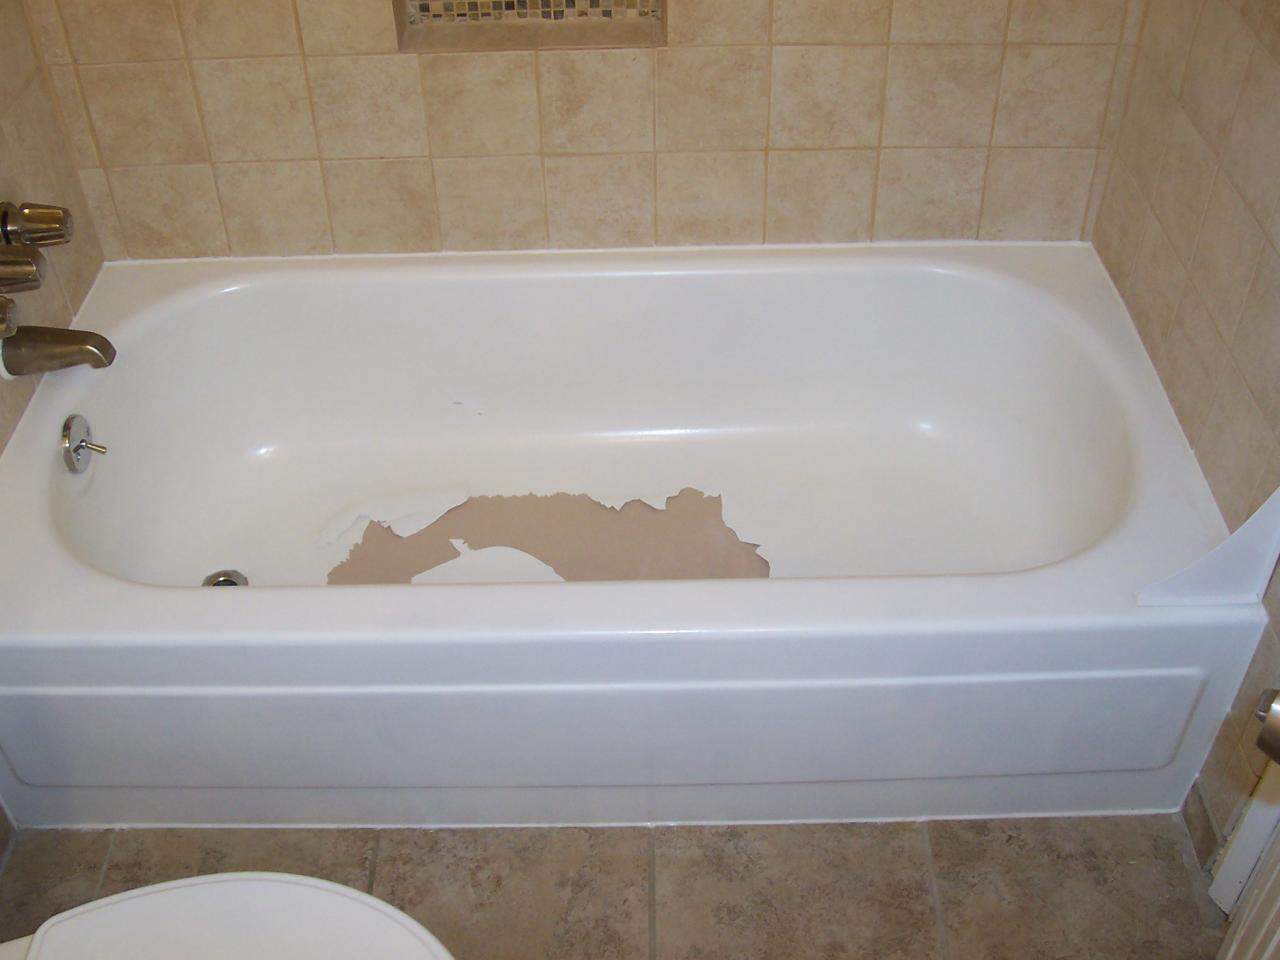
Image credit: today.com
Taking preventive measures can significantly extend the lifespan of your freestanding bathtub. Here are some key steps to consider:
a. Use Bath Mats
Place non-slip bath mats inside the tub to prevent accidental slips and falls. This also helps protect the tub's surface from scratches caused by hard or sharp objects.
b. Avoid Heavy Items
Refrain from placing heavy items on the edges or inside the bathtub, as they may cause cracks or damage to the structure. Be cautious when handling metal objects to prevent scratching.
c. Mind the Water Temperature
Extreme hot or cold water can cause stress on the bathtub's material, potentially leading to cracks or other structural issues. Maintain a moderate water temperature to minimize such risks.
d. Regular Inspection
Periodically inspect your freestanding bathtub for any signs of damage, such as cracks, leaks, or loose fittings. Addressing issues early can prevent them from worsening and causing further damage.
3. Dealing With Common Issues
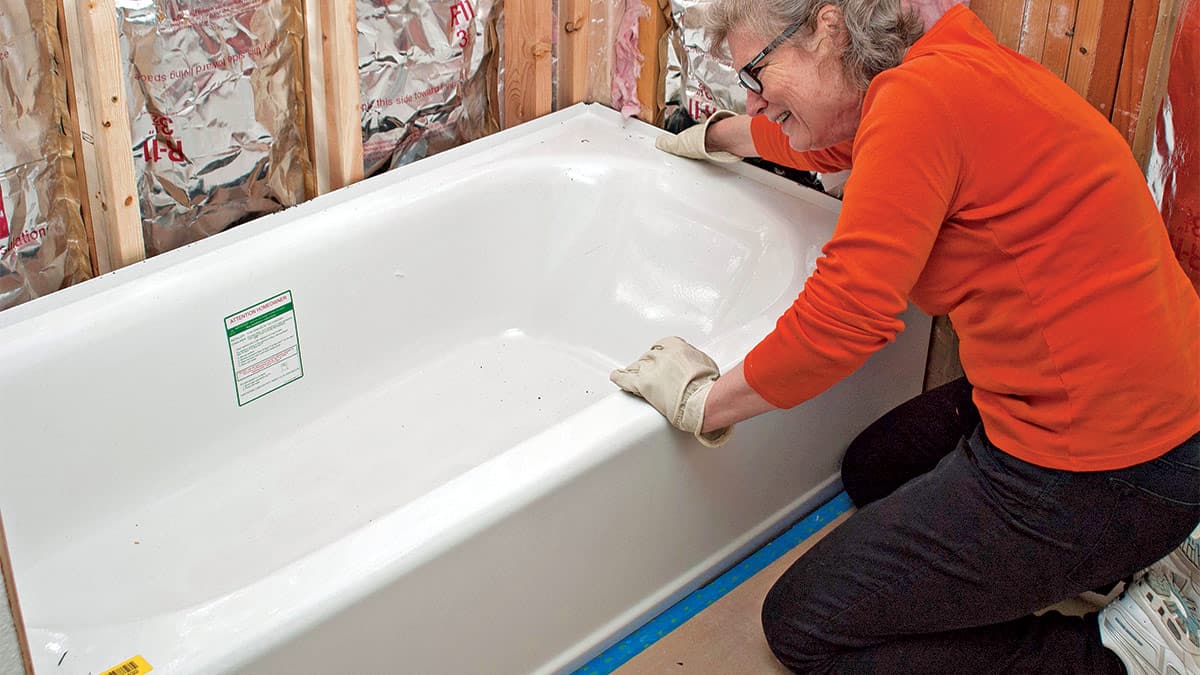
Image credit: coloradotubrepair.com
Even with proper maintenance, certain issues may arise. Here are some common problems and their solutions:
a. Cracks
If you notice a crack in your bathtub, it's crucial to address it promptly. Depending on the severity, you may need to consult a professional for repair or replacement. Small cracks can often be repaired using epoxy adhesive or specialized repair kits.
b. Stains and Discoloration
Over time, your freestanding bathtub may develop stains or discoloration. Regular cleaning can help prevent this, but you may need to consult the manufacturer's recommendations or seek professional assistance for persistent stains.
c. Dripping or Leaking Faucets
Leaky faucet holes not only waste water but can also damage the bathtub's surface and surrounding areas. Check the wall mount faucet regularly for leaks and repair or replace them.
d. Clogged Drains
To prevent clogged drains, use drain catchers or filters to trap hair and debris before they enter the plumbing system. Regularly clean the drain catchers to maintain optimal water flow.
Conclusion
Installing a freestanding bathtub may be a rewarding and joyful experience. Follow these step-by-step instructions to install a standalone bathtub and create a gorgeous and relaxing centerpiece for your bathroom. Consult the manufacturer's instructions for your specific bathtub model and seek professional help. With appropriate installation, you'll soon be able to relax in relaxing baths and create a spa-like environment in the comfort of your own home.
Frequently Asked Questions on Tub Installation
a) Are freestanding tubs hard to install?
Freestanding tubs can vary in complexity when it comes to installation. The difficulty level depends on various factors, such as plumbing requirements, structural support, and existing infrastructure. In some cases, professional assistance might be necessary to ensure proper plumbing connections and to address structural modifications. However, skilled DIY enthusiasts can install freestanding tubs with the right tools, knowledge, and preparation.
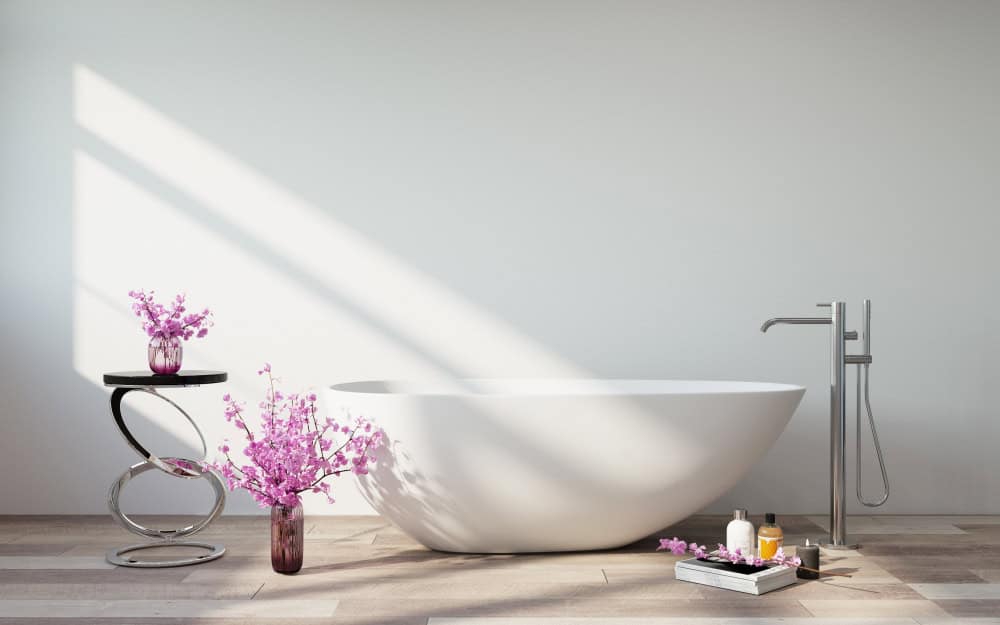
Image credit: finehomebuilding.com
b) Do you tile under a freestanding bath?
Tiling under a freestanding bath is not necessary for its installation. Since freestanding baths are not fixed to the floor or wall, there is no need to tile beneath them. Tiling is typically done up to the edges of the bath, ensuring a neat and finished appearance. However, it's important to ensure that the area underneath the freestanding bath is properly prepared and leveled to provide a stable foundation.
c) How much room do you need between a freestanding tub and a wall?
The space between a freestanding tub and a wall depends on several factors, including the tub's dimensions and the desired aesthetic. However, as a general guideline, it is recommended to have a minimum clearance of 2 to 4 inches between the tub and the wall. This allows for easier cleaning, maintenance, and access to plumbing fixtures.
Image credit: thisladyblogs.com
d) How deep should a freestanding tub be?
The depth of a freestanding tub can vary depending on personal preference and the intended use. However, a standard depth range for a freestanding tub is typically between 16 to 24 inches. This depth provides enough water capacity for a comfortable soak while allowing users to submerge themselves partially or fully. Deeper tubs may offer a more immersive experience, while shallower ones are easier to enter and exit.
