
An airless paint sprayer is about six times faster than a paint roller and ten times faster than a paintbrush, according to professional painters. They are therefore excellent for both larger do-it-yourself tasks and experts. However, it can be intimidating to set up and operate an airless paint sprayer for the first time. With a helpful step-by-step guide on attaching and using your Graco airless paint sprayer, the professionals are fortunately here to assist.
What Is a Graco Airless Paint Sprayer?
And why Graco? Some other brands and manufacturers indeed make paint sprayers and airless paint sprayers, but Graco has established itself as a market leader, and if you’ve bought an airless paint sprayer, there’s a good chance it came from Graco. If a different manufacturer made your paint sprayer, there’s a good chance it’s based on the same market-leading technology, features, and ideas, so this guide will probably help.

Image Credits: duluxdecoratorcentre.co.uk
The compressed air used by earlier paint sprayer technologies was often obtained from a mechanical compressor. To operate a paint spray gun, you therefore required a compressor, and occasionally a gasoline-powered generator for your compressor. Additionally, earlier kinds of paint sprayers were only sprayed cannons with a paint reservoir or hopper that was gravity-fed.
The paint itself is pressurized by modern airless sprayers, which can draw directly from the paint bucket or tin. No extra buckets to mess with, no backup reservoirs. The majority of portable and lightweight airless paint sprayers are simple to operate.
In general, a variety of paints and coatings can be applied with airless paint sprayers. Discuss the ideal spray tip size for your painting project with your Graco supplier.
For achieving consistently high-quality finishes on a variety of paint jobs, the best airless paint sprayers are fantastic.
How Do I Set Up My Graco Paint Sprayer?
It’s really easy to set up a new Graco airless sprayer. Color, double-sided instructions with clear photos are included with the newest Graco products. However, you will also need your prepared paint bucket, clean water, and a garbage bucket. Water-based or latex paint can be sprayed with fresh water. Use water that includes 1:10 parts methylated spirits (mineral spirits) if you’re using oil-based paint.
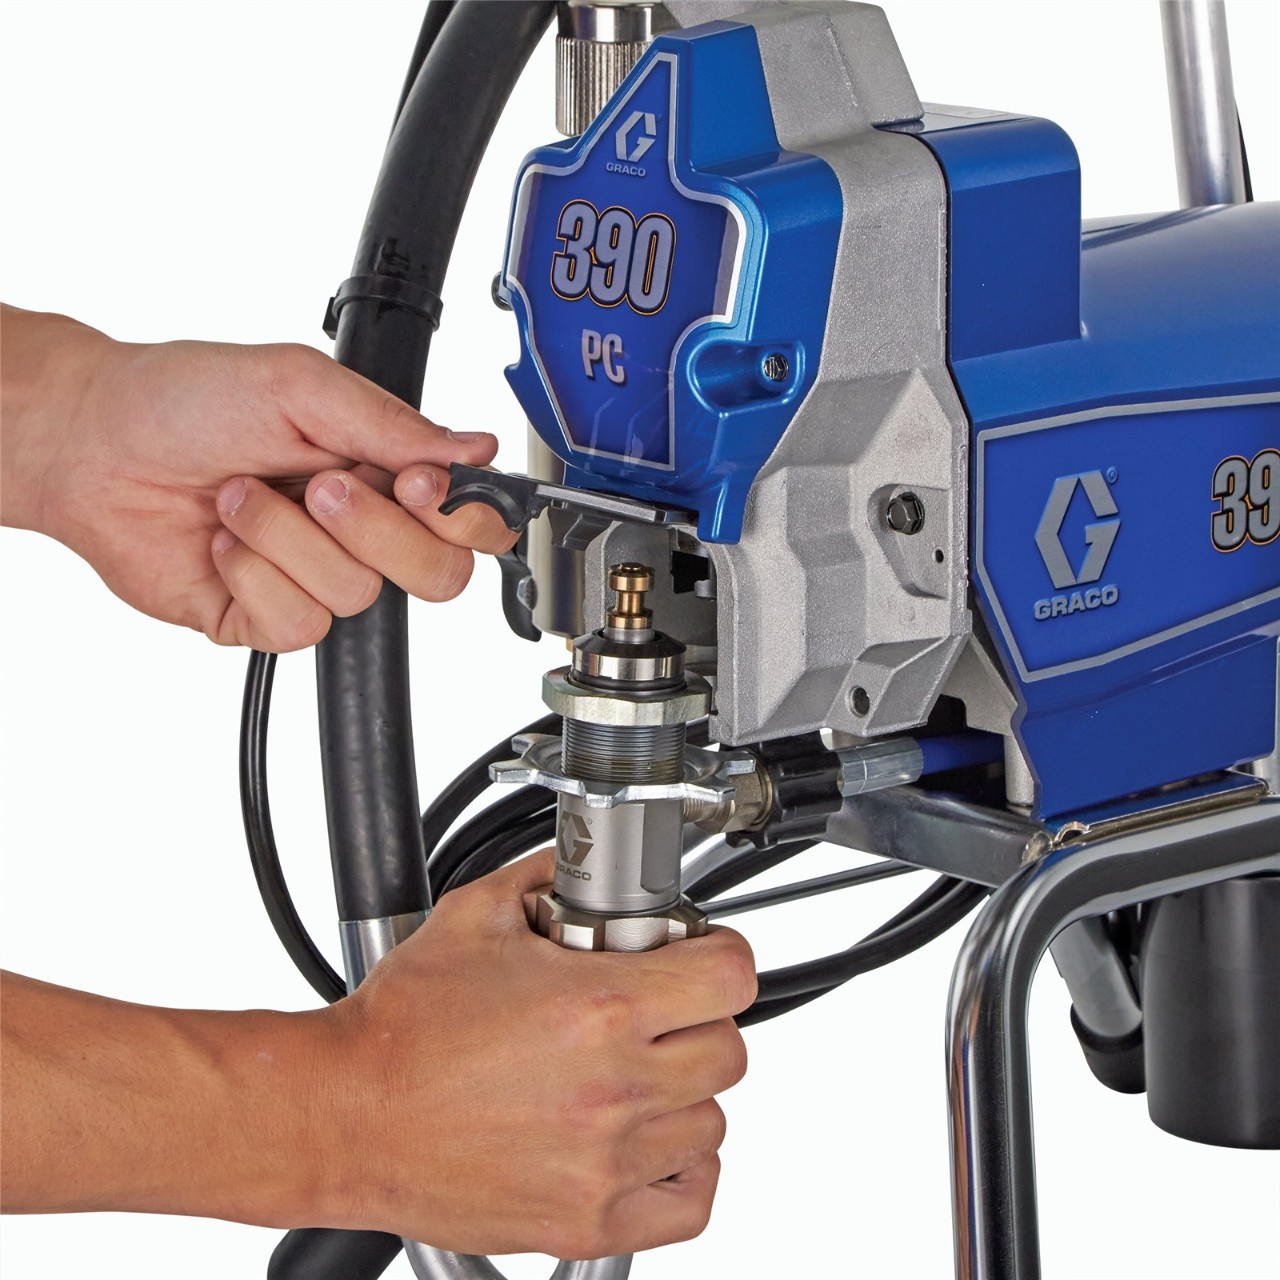
Image Credits: graco.com
If you carefully follow the instructions after finding them and unpacking your new Graco machine, you’ll be ready in no time.
With a colored guard, begin by inserting the necessary spray tips into the screw-on nozzle part. Forward should be the direction of the arrow. It is then possible to “purge” any extra paint from the spray gun and nozzle by turning the arrow to point back toward it. For the time being, activate the trigger lock to prevent accidental activation of the spray gun.
Next, connect your airless spray gun using the (usually 15m) blue spray hose and then the intake hose. Separate your waste tube and your intake tube (there are handy clips connecting the two by default). Place the waste tube in your waste bucket and your intake tube in a bucket of clean water.
Move the pressure dial to the lowest setting and the Prime/Start switch to the “Prime” setting. Press the Push Prime button twice. Turn the pressure control knob to the “Start” position and turn the power switch on.
Water will enter your waste bucket through the intake tube and exit through the waste tube. For 60 seconds, stay in this mode.
After inserting your intake tube into your paint, restart the machine. Your waste tube should begin ejecting paint and cease ejecting water in ten to fifteen seconds. Switch the machine off once more. Turn the spray tip arrow in the direction of the spray cannon to the “Unclog” position. Point your spray gun at your garbage pail after disengaging the trigger lock.
Turn the pressure dial to your required spray pressure.
Pull the spray gun trigger, turn the machine on, and switch the Prime/Start switch to the “Start” setting. Paint should exit the spray gun. When it does, release the trigger to stop spraying. Move the waste drain tube to your paint bucket alongside your intake tube (and clip it into place using clips on the intake tube). Rotate the spray tip arrow to the “Spray” position (arrow pointing forward).
You are now ready to spray.
Using Your Graco Paint Sprayer
Pull the trigger on your spray gun after aiming it at the surface you wish to paint. Your airless paint sprayer’s pump will occasionally activate to maintain pressure while you spray.
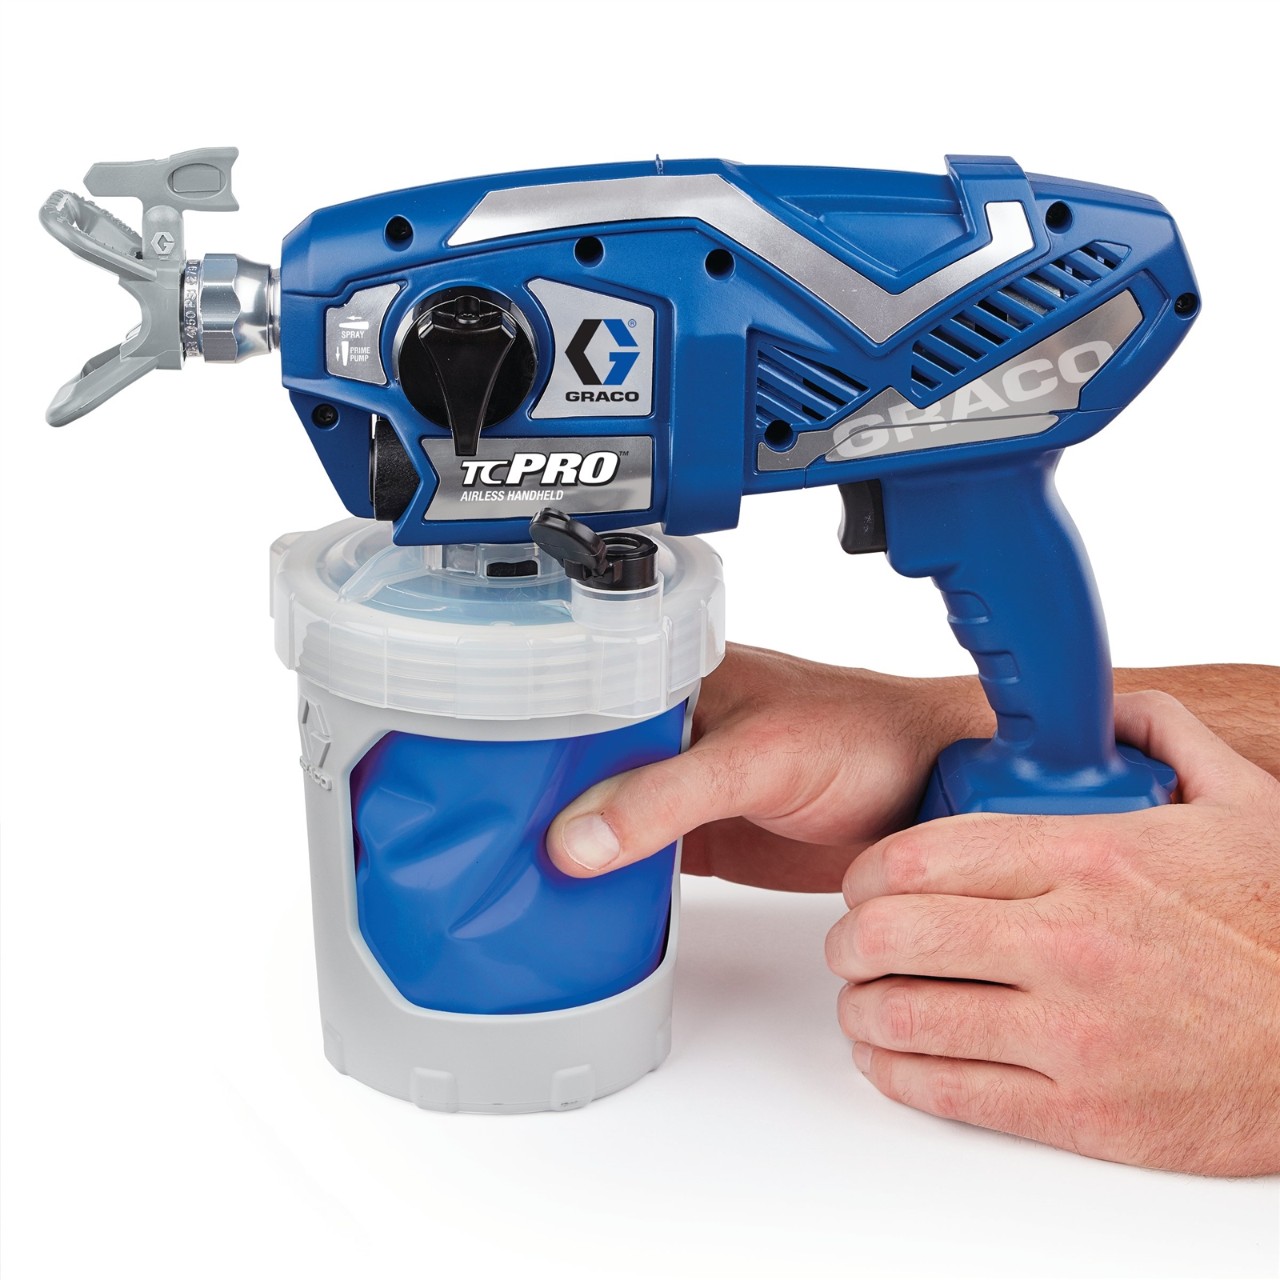
Image Credits: graco.com
To get a uniform layer of paint, use broad fan motions that are smooth back-and-forth or up-and-down (but not both). If an area is missed, finish your movement and travel smoothly back to it in a second motion without pulling the trigger. A high-quality finish depends on an even and consistent spray pattern from the surface.
Avoid uneven areas of heavier and lighter spray by moving constantly while you spray. Additionally, you can manage the paint flow with your airless sprayer unit’s pressure valve.
You can use a plastic or metal spray shield to prevent overspray onto skirting boards, door or window frames, or architraves.
Clean-Up and Storage
The procedure for setup is the same as for cleanup and pack-down, however it is done in reverse. Put the waste tube in an empty bucket and the intake tube in clean water after separating the two tubes once more. Spray into your waste pail until clean water begins to come out of it using your spray pistol. To remove any obstructions and paint that may still be in the spray cannon, continually switch the tip arrow.
To enable the removal of any leftover paint from the machine into the trash bucket, turn the Prime/Start switch to the “Prime” position while the spray gun is releasing water.
Image Credits: jlconline.com
To ensure that your airless sprayer is prepared for use for the next time, add Pump Armour to mechanical pump components for storage.
Instead of using a bucket of water, Graco airless sprayers come with garden hose connectors, so you can quickly and easily clean them by connecting them to your outdoor tap with a piece of garden hose. Turn on your tap, disconnect the paint hose from your paint bucket, attach your garden hose, and use the sprayer’s force to spray any remaining paint and water into a bucket until clean, clear water is being sprayed.
What If I Don’t Want To Do the Painting Myself?
Professionals are available to assist you with a variety of jobs around your house or place of business.
Tips When Using the Graco Airless Paint Sprayer
The following tips will help you use a Graco airless paint sprayer:
1. Choose the Correct Tip Size
Achieving a uniform finish on your painting project demands choosing the appropriate tip size for a Graco airless paint sprayer. The amount of spray, the pattern of the spray, and the thickness of the coating will all be impacted by the tip size.
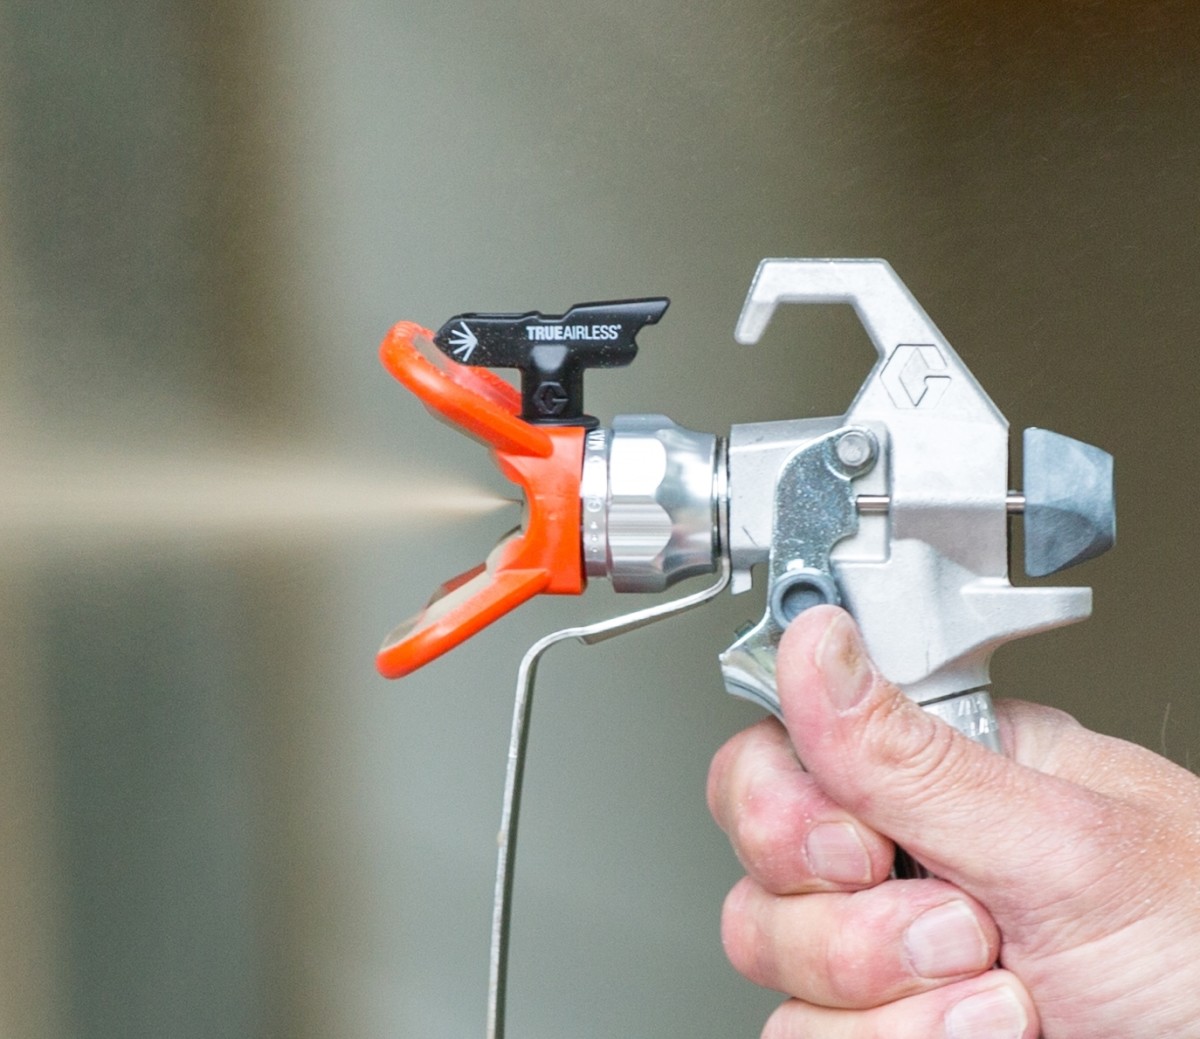
Image Credits: dengarden.com
While a lower tip size will result in a finer spray pattern, making it perfect for small spaces or intricate work, a bigger tip size will enable a higher flow rate and wider spray pattern, making it appropriate for larger surfaces or thicker coatings. To get the greatest results, it’s crucial to match the tip size to the surface’s surface and the paint’s viscosity.
2. Prepare Your Surface
For a high-quality, long-lasting finish, using a Graco airless paint sprayer requires careful surface preparation. Remove any dirt, oil, or other contaminants from the surface that can affect the paint’s ability to stick. Sand them smoothly after filling in any cracks or holes and scraping off any loose or flaking paint.
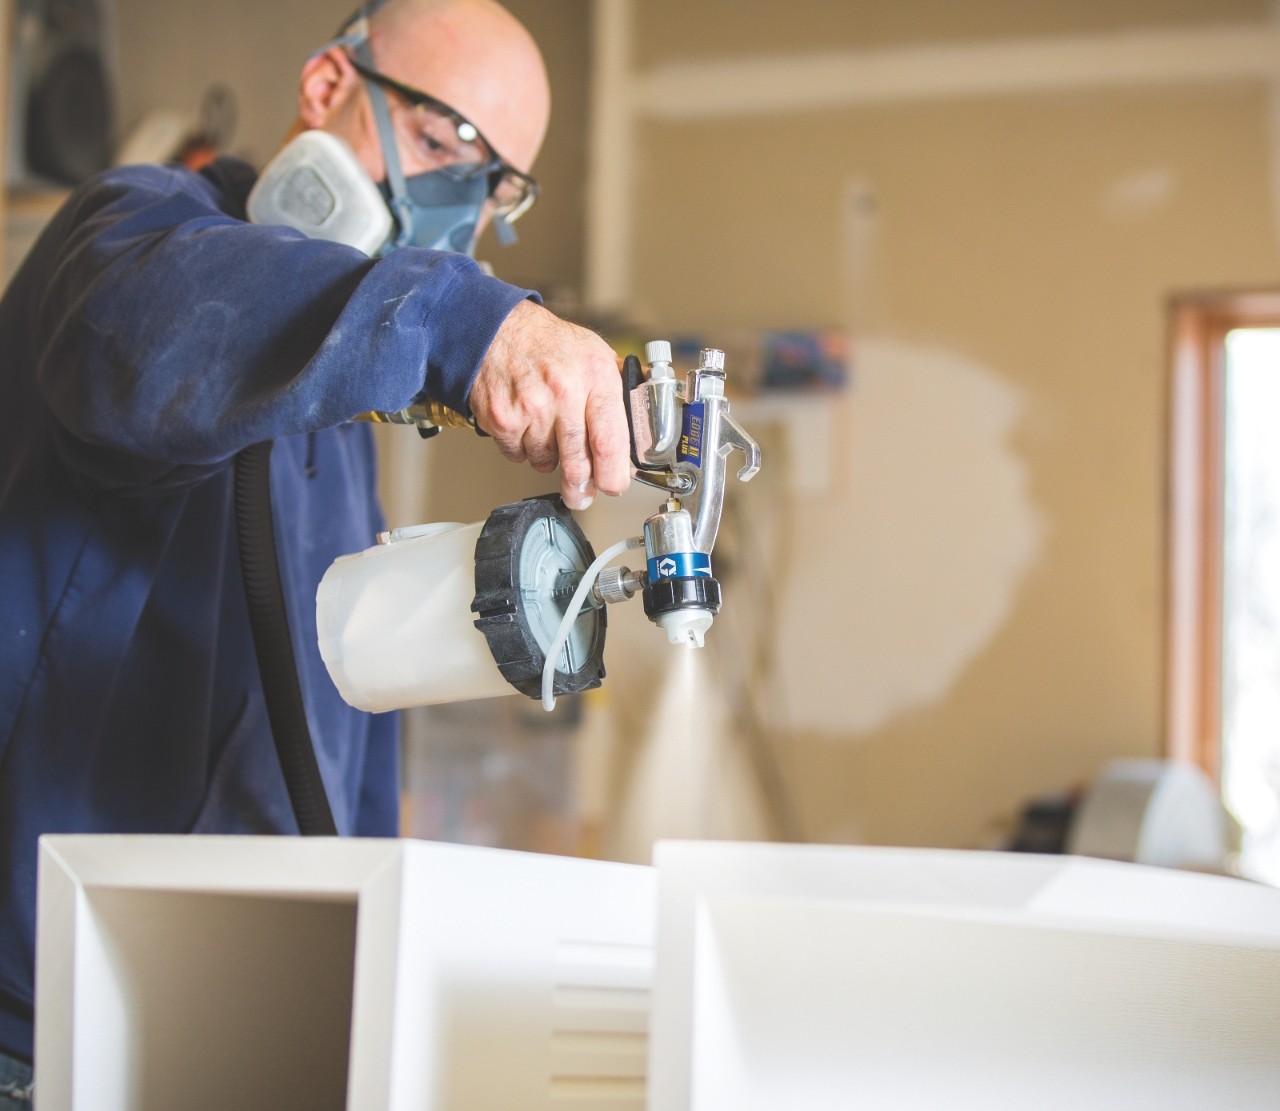
Image Credits; graco.inc
Additionally, the surface needs to be dry and clear of moisture because any moisture might cause the paint to peel or bubble. To encourage adhesion and create a consistent surface for the topcoat, it is crucial to prime the surface once it has been adequately prepared. When using a Graco airless paint sprayer, proper surface preparation is essential to getting a paint finish that looks professional.
3. Dilute the Paint
When using a Graco airless paint sprayer, it’s crucial to dilute the paint. The viscosity of the paint, the size of the sprayer’s tip, and the sprayed surface are some of the variables that will affect the necessary dilution. To guarantee that thick paint can be sprayed uniformly without clogging the sprayer’s tip, it may typically need to be diluted.
Water or a suitable paint thinner should be added in small increments until the desired consistency is achieved to dilute the paint. Properly diluted paint will ensure a smooth and consistent spray pattern, producing a high-quality finish with a Graco airless paint sprayer.
4. Test the Spray Pattern
Using a Graco airless paint sprayer requires testing the spray pattern. Prior to the start the painting, test the spray pattern on a discrete painted surface or a scrap piece of material. This will guarantee that the sprayer is appropriately calibrated for the type of paint and the surface.

Image Credits: graco.com
To get a steady, smooth fan-shaped pattern free of drips and uneven spots, the spray pattern should be changed.
5. Keep a Consistent Distance
To achieve a consistent and even finish, keep the Graco airless paint sprayer at a constant distance from the painted area. Paint may pool and leak if the sprayer is held too close to the surface; a thin or uneven coat may be produced if the sprayer is held too far away.
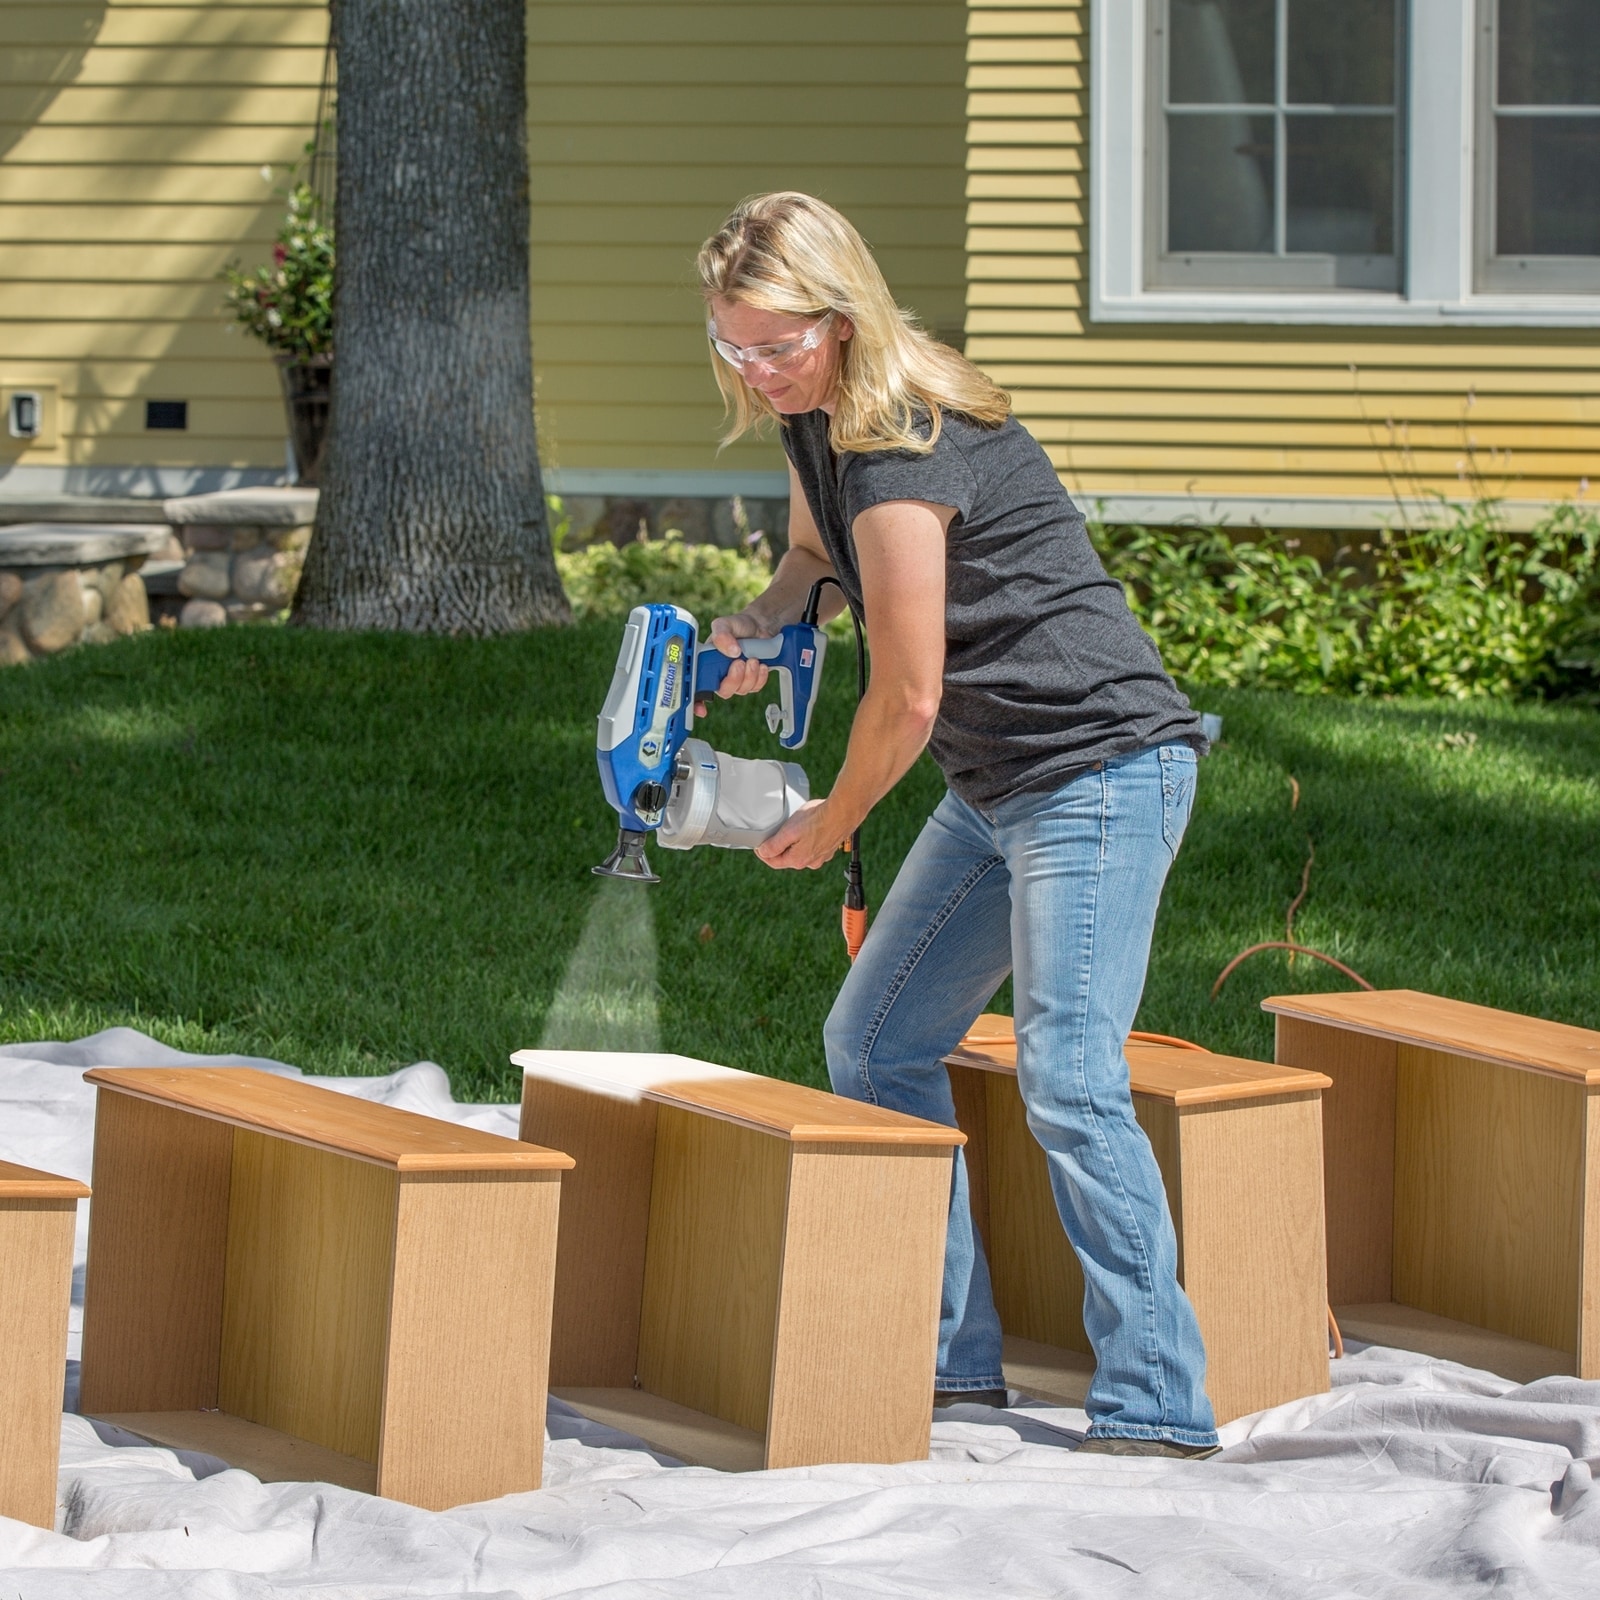
Image Credits: lowes.com
The recommended distance usually falls between 6 and 12 inches, depending on the type of painted surface and the size of the tip.
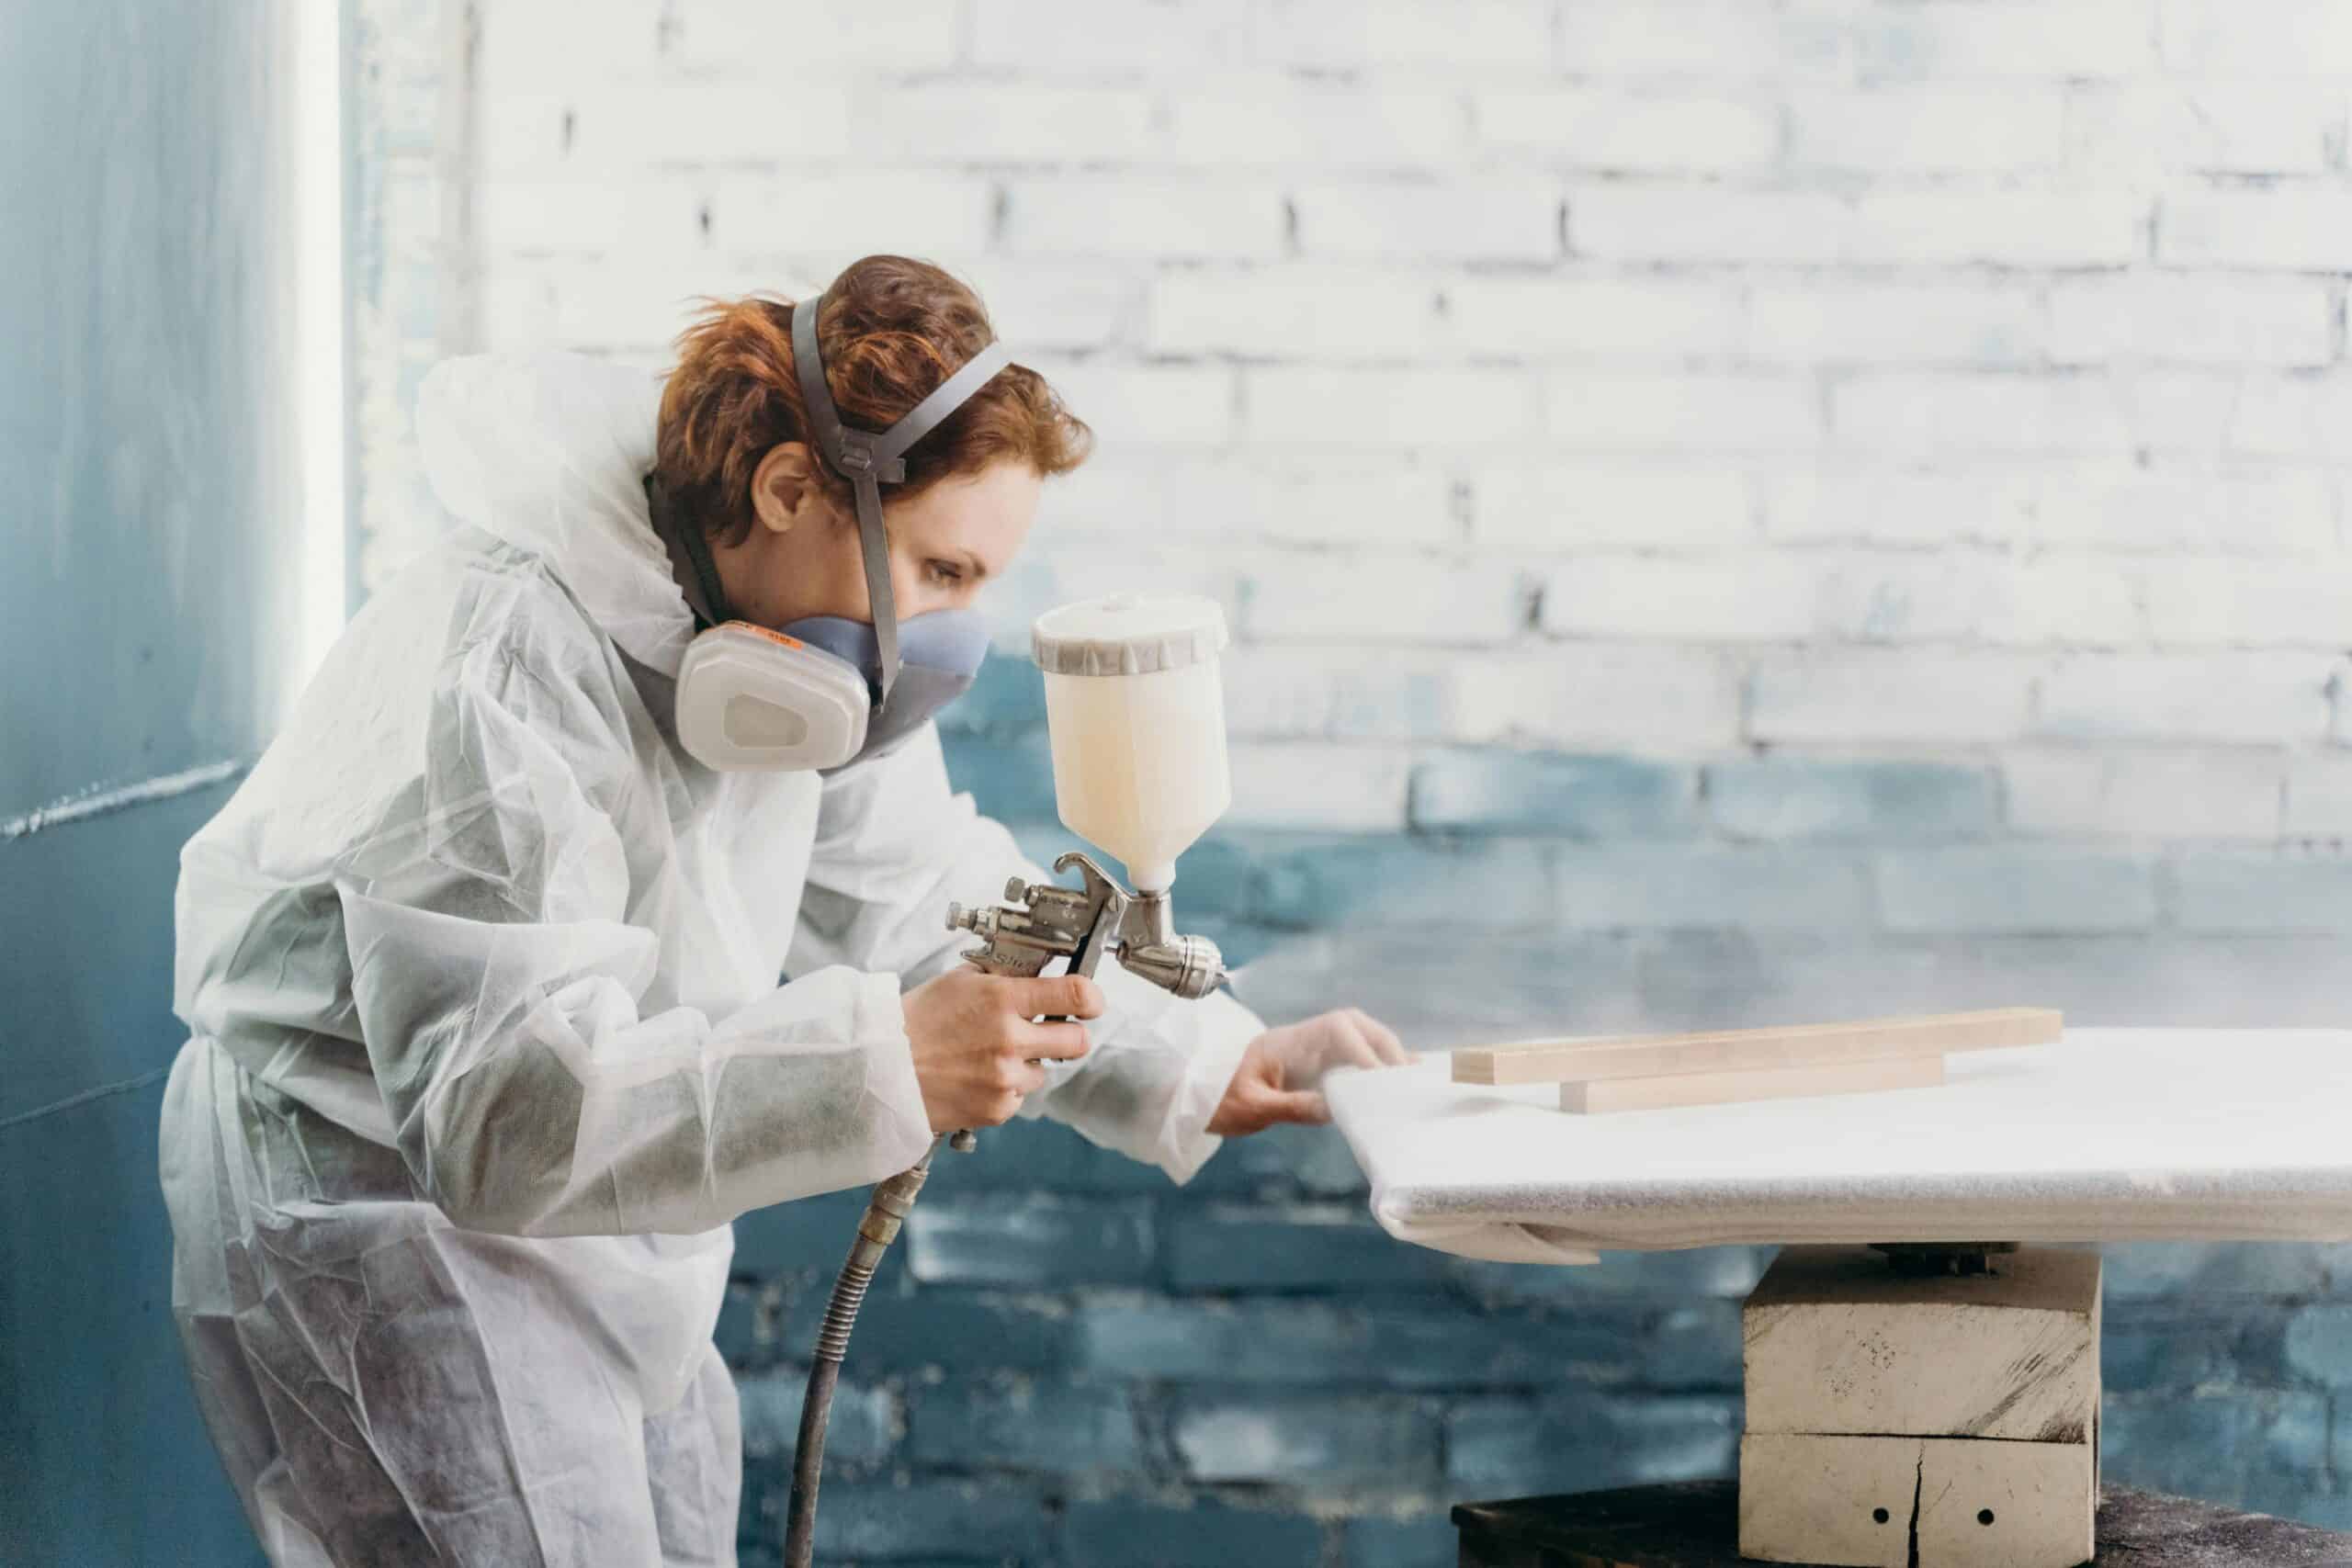
6. Wear Protective Gear
When using a Graco airless paint sprayer, it is essential to wear the proper protective gear to guarantee personal safety and avoid any health risks. Some paints include dangerous chemicals that are absorbed via the skin or inhaled, and the paint mist that the sprayer produces irritates the skin, eyes, and respiratory system.
Therefore, wearing protective gear such as gloves, goggles, respirators, and a long-sleeved shirt or coverall is recommended. Ensuring proper ventilation in the workspace is also crucial to lowering the risk of exposing yourself to paint fumes.
Frequently Asked Questions on How to Use Graco Airless Paint Sprayer
1. How do you use a Graco airless paint gun?
There are a few essential stages to using a Graco airless paint gun. First, make sure the pressure is set and the gun is correctly attached to a paint supply. After that, move the gun steadily in an overlapping motion while holding it perpendicular to the surface and pulling the trigger to release the paint. Keep a constant distance from the surface and follow all safety precautions, including wearing protective gear and making sure there is enough ventilation.
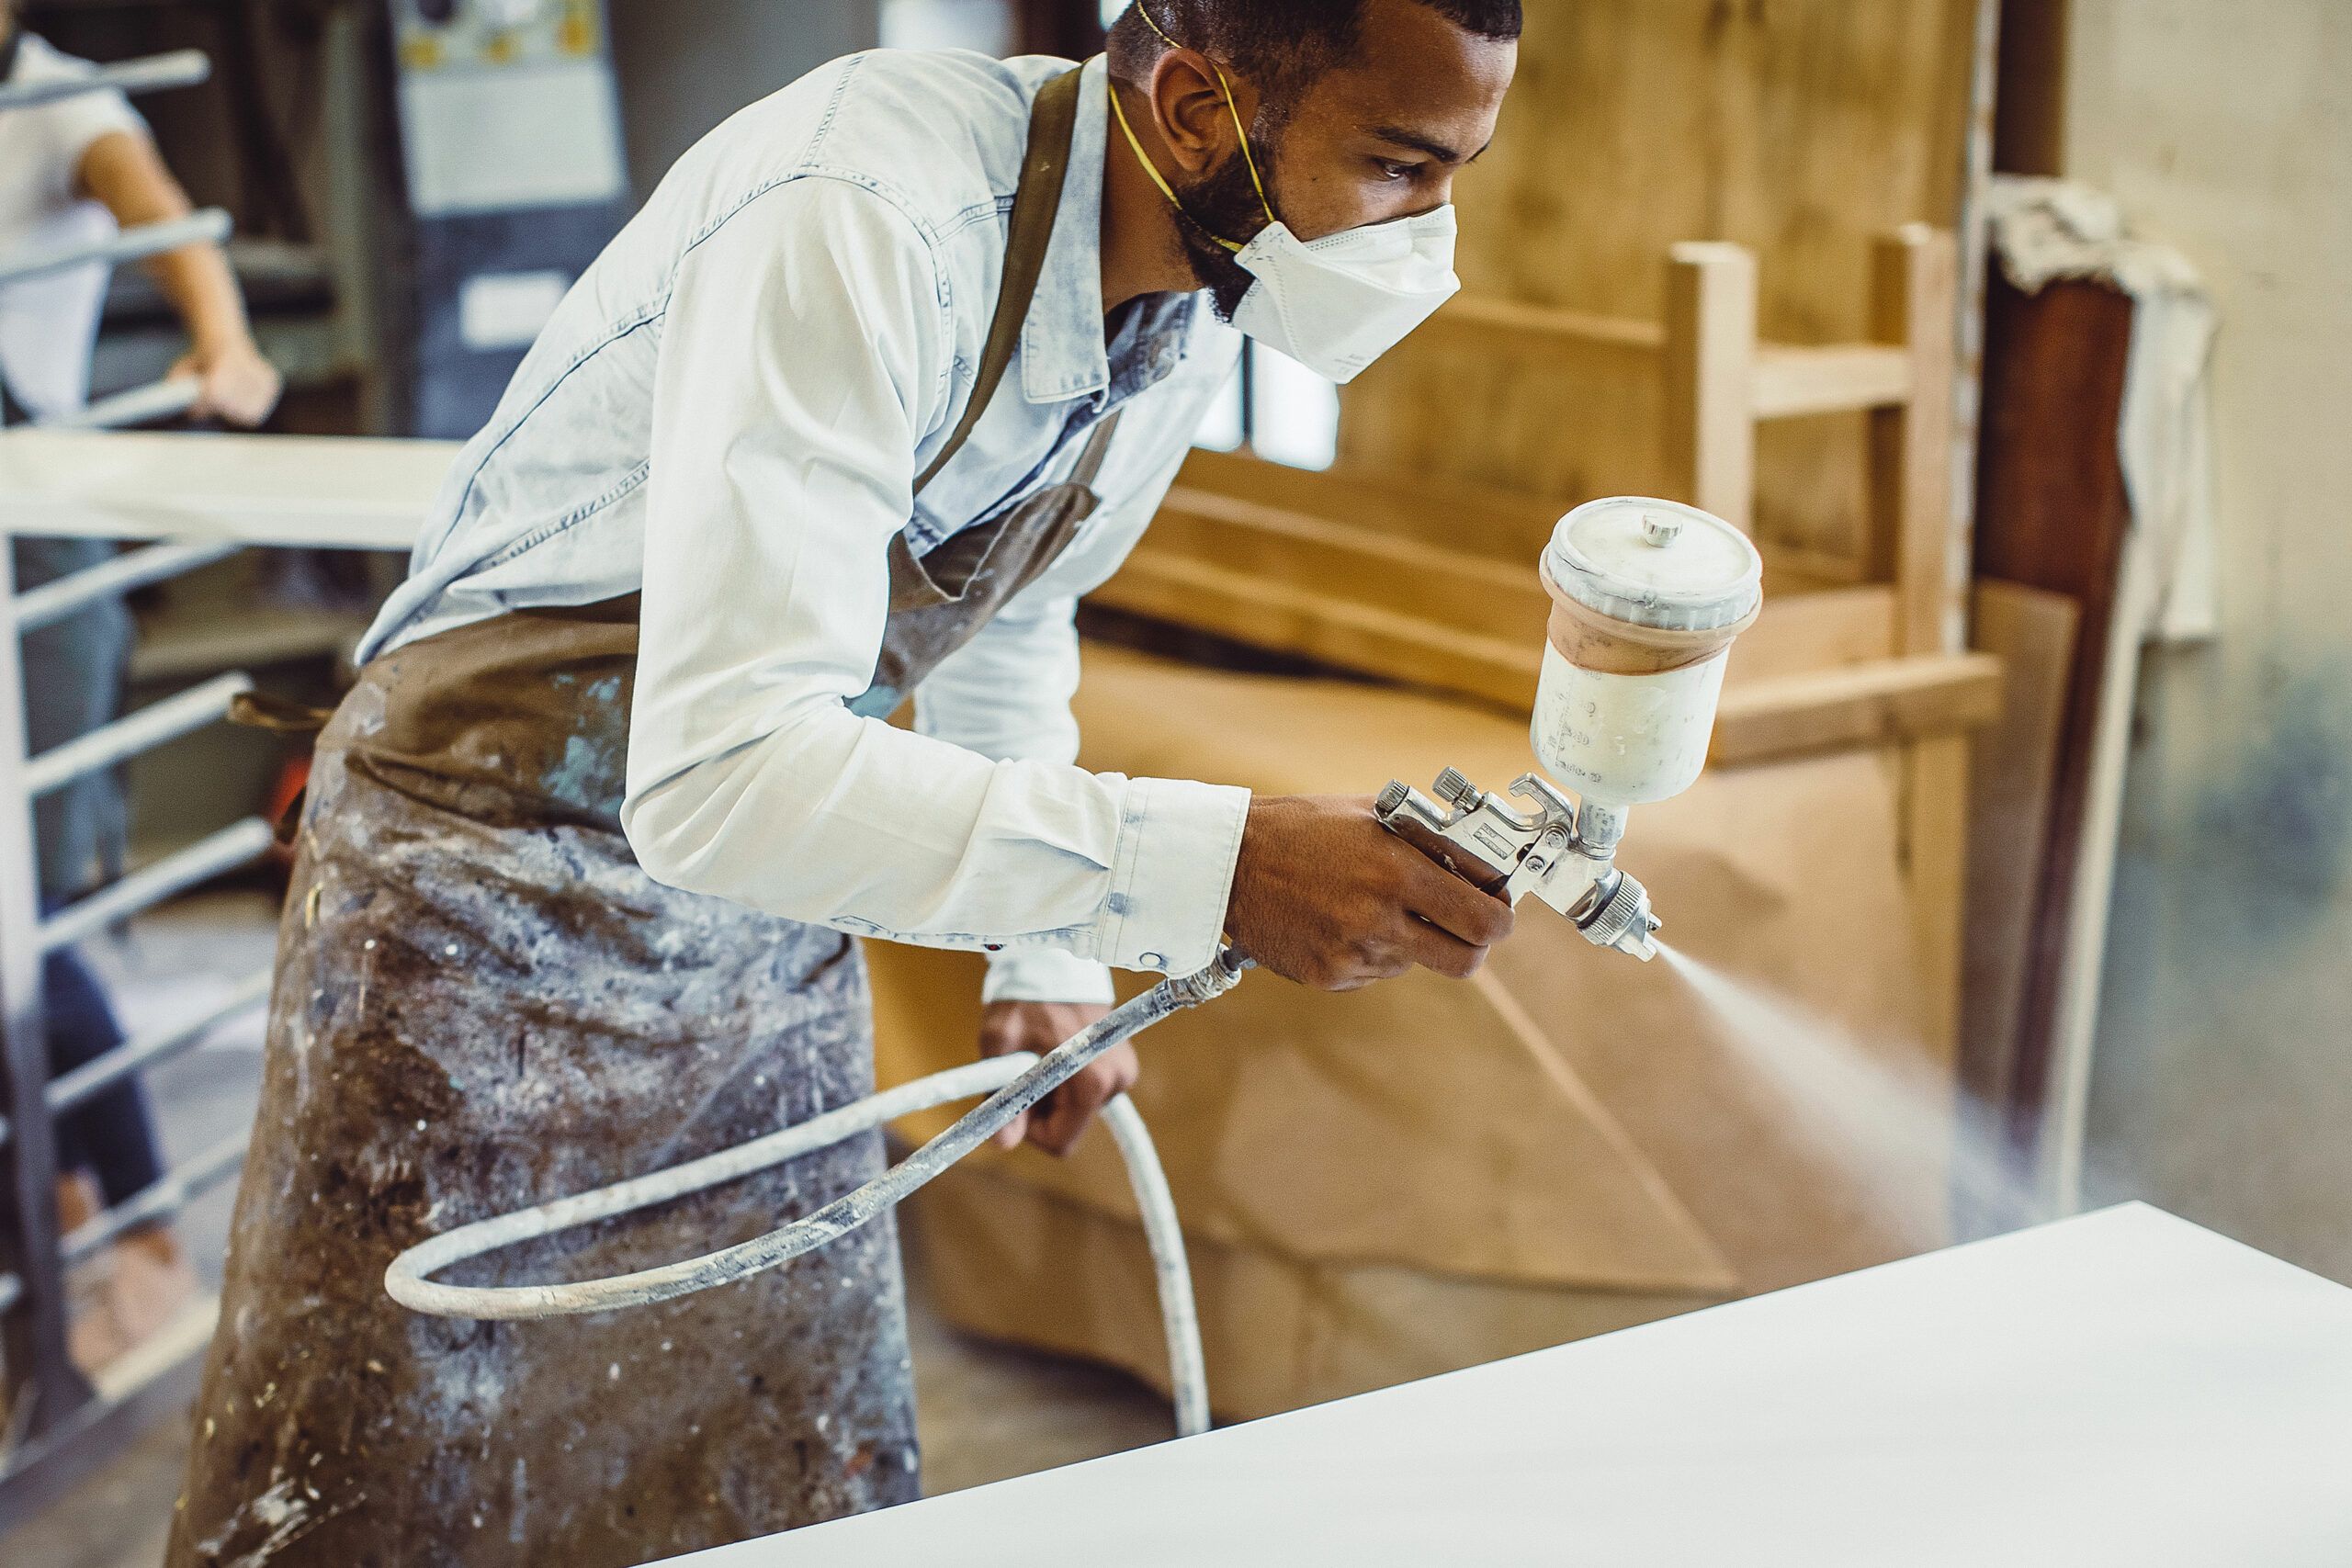
Image Credits: thisoldhouse.com
2. Do you need thin paint for Graco airless sprayer?
Generally, thinning paint is not necessary when using a Graco airless sprayer. These sprayers are designed to handle thick, high-viscosity paints without the need for thinning. However, if the paint is excessively thick or if you’re experiencing issues with the spray pattern or clogging, you may need to consult the paint manufacturer’s guidelines or the user manual of your specific Graco sprayer for recommendations on thinning the paint to achieve optimal spraying performance.
3. How do you start a Graco paint sprayer?
To start a Graco paint sprayer, ensure the sprayer is properly connected to a power source and the paint container is filled. Prime the pump by turning the prime valve to the “prime” position and running the sprayer for a few seconds. Then, switch the prime valve to the “spray” position, adjust the pressure, and pull the trigger to begin spraying. Follow the user manual for specific instructions based on your Graco model.
4. How do you use a Graco paint sprayer inside?
For a good application, adhere to these guidelines while using a Graco paint sprayer indoors. First, get the space ready by using drop cloths or plastic sheets to cover the flooring, furniture, and adjacent items. Make sure you have enough ventilation by utilizing fans or opening windows. For indoor use, fill the sprayer with the paint of your choice and set the pressure in accordance with the manufacturer’s instructions.
Begin spraying your uncovered areas by holding the gun perpendicular to the surface and using smooth, overlapping strokes. Maintain a consistent distance from the surface you are working on and work systematically. After spraying, allow sufficient drying time before removing protective coverings and ventilate the area to dissipate fumes.
5. How do I paint the exterior of a house using an airless sprayer?
Before painting a house’s exterior with an airless sprayer, clean the surface and fix any damaged areas. Cover any surfaces you don’t want to paint, such as doors and windows. Apply exterior paint to the sprayer and set the pressure in accordance with the manufacturer’s instructions.
Start at the top, hold the sprayer perpendicular to the surface, and apply even, overlapping strokes. Work in portions, keeping a constant distance and letting each coat dry completely.


