Your iPad screen may be too small to relay your presentation fully or to immerse yourself in the film playing, so you need a large screen. We show you how to connect an iPad to a projector for the best immersive viewing experience.
Studies have proven that screen size affects a viewer’s immersion, whether you want to watch a movie on a big screen or have a presentation at work—consequently, the bigger the screen, the better the viewing experience.
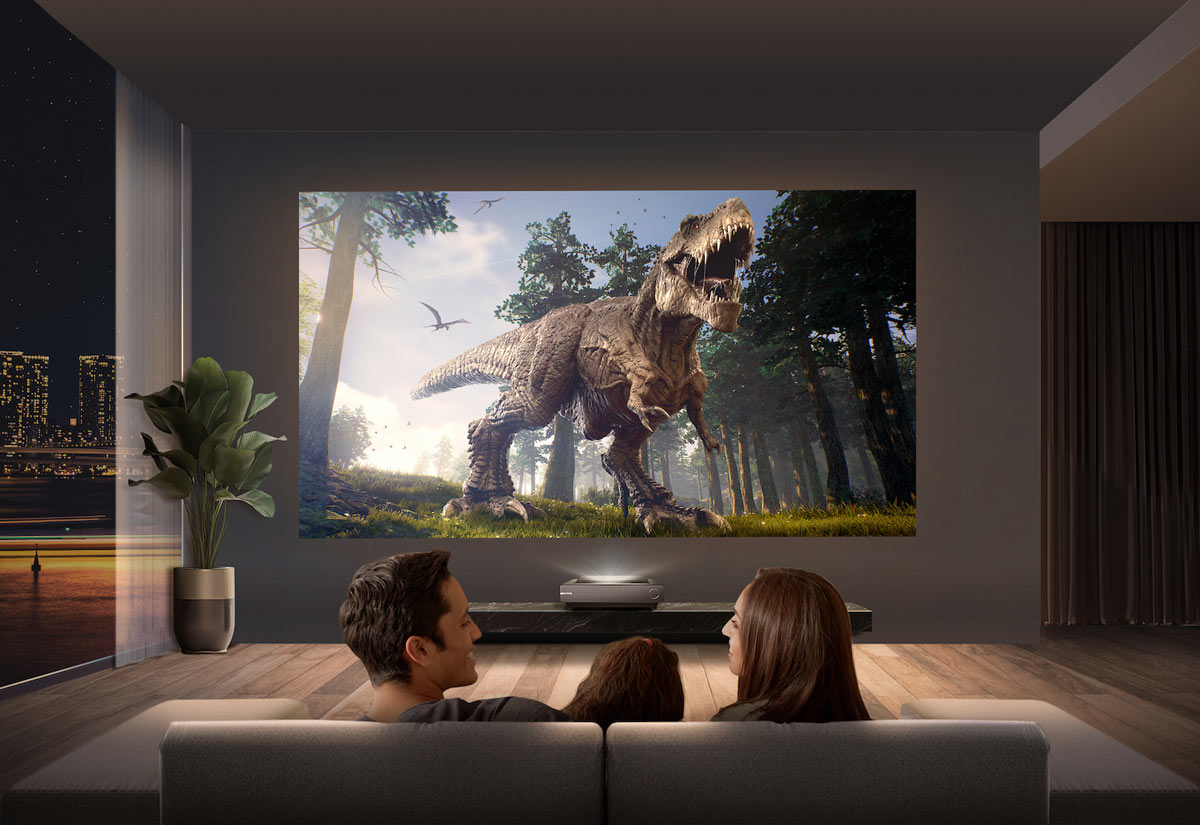
Image Credits: notebookcheck.com
There are two ways you can connect your iPad to a projector:
- Wired connection (Adapters)
- Wireless connection (Apple TV)
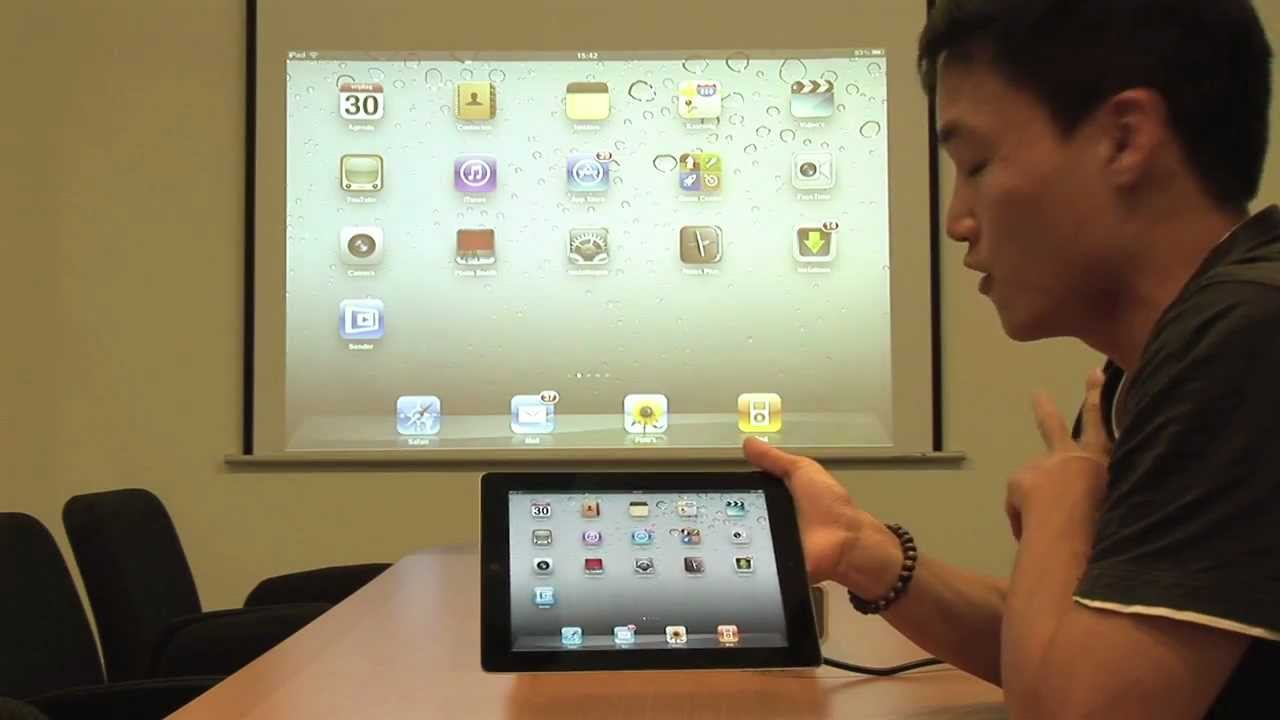 Image credit: youtube.com1. Wired Connection
What you’ll need:
- HDMI cable
- iPad or iPad Pro
- Lightning to HDMI adapter
- USB-C to HDMI adapter
- Projector
- Projector screen
Step 1: Turn on Your Projector
You have probably heard the joke: switching it on will address all its issues. The joke is an anecdote referring to when people don’t turn on their machines yet complain that they are not working.
So, turn on your projector. Check all the necessary items with the help of an expert opinion. Make sure you switch on your iPad and make sure that all the functions are working smoothly is also very important. Your iPad should be charged to totality or connected to a power source to avoid giving a low-battery notification mid-way the game.
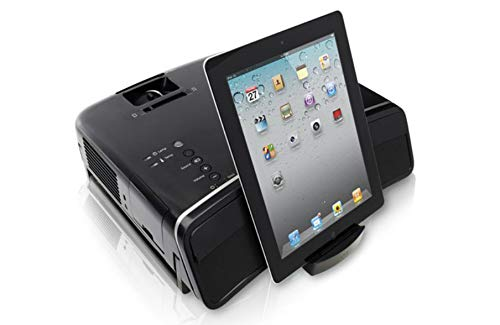
Image Credits: pointerclicker.com
Remove any obstacle that can hinder the flowing projection by the projector when the actual projection is in progress. Also, it is advisable to make sure that the lens cap is not on the device’s lens. Check whether your projector is in readiness after confirming the V1 video input source.
Step 2: Plug in HDMI Cable to Projector
At this point, you need to find out whether his / her projector belongs to the old generation or the new generation projector. The difference will be in the type of adapter which you will employ and this we will discuss it as from the next paragraph. But first, what is the big difference between an old-generation projector and a new-generation one?
The first and obvious difference is that older projectors have more technical issues. If that makes no sense to you, imagine your projector is working just fine, how would you determine that? More resolutions are a good place to start. Newer projectors start at 1080p, meaning improved picture quality, and even older ones will carry on with 480p or 720p.
Bigger projectors will most likely be older. This is due mainly to the fact that they are bulky in size and many a times consume a lot of power. The new ones have better performance and are four are portable projectors. HDMI is a Video and audio connection and VGA is only for video connection.
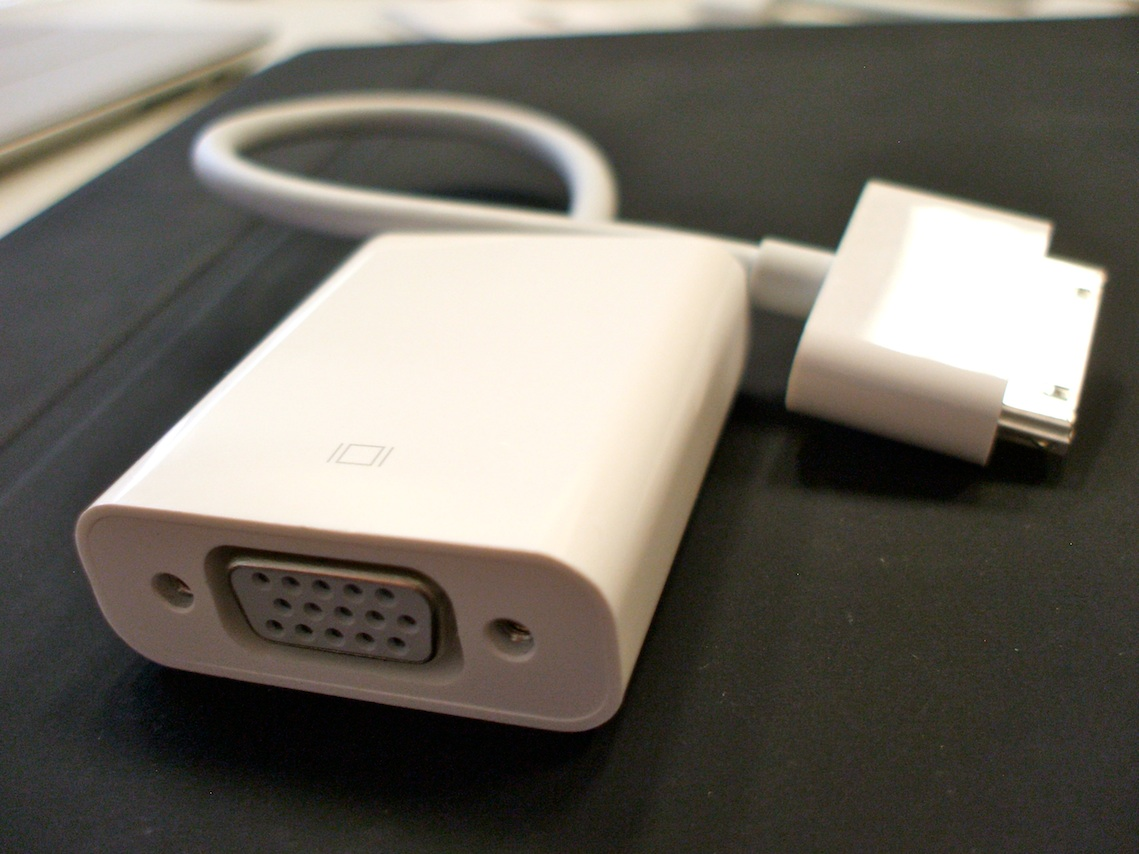
Image Credits: ipadacademy.com
But perhaps the greatest difference in design, and one relevant to connectivity, is replacing the VGA cable with an HDMI connection. You should notice this by checking the back of the projector; most will come with an inscription of what port that is. Most projectors nowadays come with HDMI ports.
Step 3: Connect Lightning to HDMI Cable (or Lightning to VGA Cable, or USB-C to HDMI Cable) to iPad and Projector
Once you have plugged the HDMI or VGA cable into the projector, you will need to somehow connect it to the iPad for the video signal to pass through. The reason for this uncertainty is that iPads do not have an HDMI or VGA port, and they probably never will.
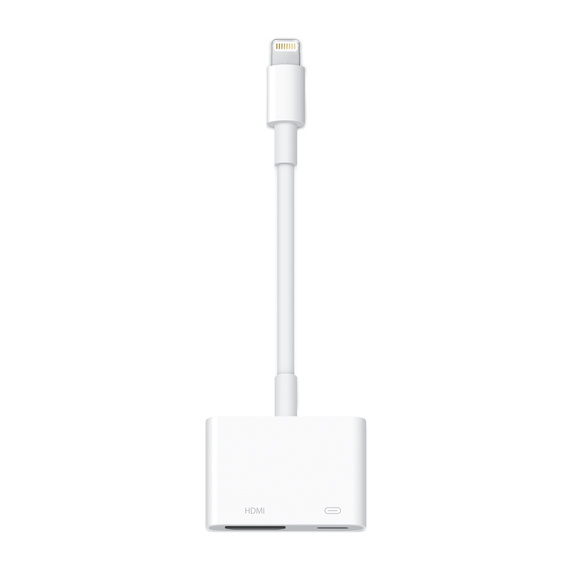
Image Credits: apple.com
An adapter does the trick. Now, Apple has lightning to HDMI cable that connects the projector to the iPad (you can purchase it from the Apple Store). The adapter is reversible, meaning you can connect on either side. Connect the lightning connector to the iPad on one side and the projector on the other.
The purpose of the adapter is to transmit the video signal from the iPad screen to the projector and then to the projector screen. Once connected, check that the input on the projector screen is set to HDMI. Some projectors have two HDMI inputs; check that the one displaying output is the one currently selected.
The length of your HDMI cable affects how far you place the iPad from the projector. The best strategy is to place the projector and iPad on the same table or surface.
You’ll use the typical lightning to HDMI adapter cable for an iPad. However, for an iPad Pro, you will need the USB-C to HDMI adapter. Always source your adapters from Apple; it guarantees efficiency and compatibility with most projectors.
Quick Takeaways
Consider this a cheat sheet of sorts. First, you will need to ensure that all your devices are working properly and that you know whether your projector uses HDMI or VGA. The following information is a summary of the above:
- iPad Pro (with a USB-C port) – use USB-C to HDMI cable
- iPad (with a lightning connector) – use lightning to HDMI cable or lightning to VGA cable
- Older projector – lightning to VGA cable
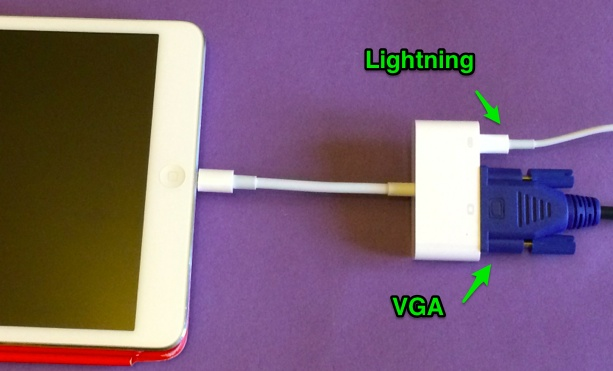
Image Credits: head4space.com
Newer iPad versions have updated the lightning port to USB-C. Moreover, most projectors come with HDMI or VGA connection cables.
2. Wireless Connection (Apple TV)
Imagine you are in a conference room, and it’s your turn to give your presentation. You have the PowerPoint slides masterfully crafted on your iPad, so you’ll need them projected on the projector screen for everyone to see. However, working around wires may be a hassle.
Luckily, there is a solution to this. You can wirelessly transmit pictures and videos from your iPad to your projector. The key benefit of this method is that more than one person can connect their devices to the projector. This ensures a seamless flow of presentation between speakers.
What you’ll need for a wireless connection:
- Apple TV
- HDMI or VGA cable
- WIFI network
- iPad
- Projector
- Projector screen
There are several ways to connect your Apple TV to the projector. This method connects your Apple TV to the projector using an HDMI cable. You can now find the iPad by searching for devices connected to the WIFI network. Your iPad and Apple TV are connected to the same WIFI network.
Image Credits: pixabay.com
Swipe down the upper right corner of your iPad, and open the Control Center on your iPad. Select ‘Screen Mirroring.’ To end the connection, tap on the ‘Stop Mirroring’ from the same Control Center.
Another feature offered by Apple TV is AirPlay. First, check whether AirPlay is compatible with your apps. The benefit of AirPlay is that you do not share everything on your screen; rather, what you want to be shared from your iPad.
YouTube supports AirPlay. Open the video you want to project on YouTube and press the AirPlay icon in the top right corner. Enable ‘AirPlay and Bluetooth devices,’ then connect to your Apple TV.
When using the wireless option, ensure that your internet connection is stable. Otherwise, you may experience lag issues. If you run into more trouble with Apple’s other devices required for the connection, contact Apple Support for troubleshooting.
Which Method is Better?
Deciding between having a wired connection to a device and have a wireless connection, may not be an issue of preference. Occasionally, you want to place on one rather than the other based on the factors that are exposed. However, it is important to understand that sometimes, a wireless connection is going to call for an HDMI adapter most of the time.
A wired connection means the projector will display everything done on the iPad. These wireless displays through iPhones may limit the viewer from some applications on your iPad. When you are filming, the viewer only gets to see what you want them to and nothing else. Therefore based on the kind of information you use on the iPad, you now know which method suit you best.
FAQs
Do you need an HDMI connection if you are connected via WIFI?
Yes. The WIFI network connects the iPad and the Apple TV. They include HDMI or VGA cable in order to connect the projector with the Apple TV. This mean that video signals from the Apple TV shall be transferred to the projector screen.
Why doesn’t the screen fit on the projector screen?
This is a typical issue. For example, when projecting images, videos, or presentation slides from iPad to large projectors, the screen may need to be resized to the projectors screen. This is because iPad resolution and actual size is not the same as the projector screen that you are using. The solution to this is to zoom out your screen all the way maximized on your computer.
Can you connect your iPad to a projector via Bluetooth?
A Bluetooth connection works almost similarly to a WIFI connection. The most useful form of wireless connection is via WIFI. It will be very useful you you are in a location where WIFI is not available since you can create your own Bluetooth network. As for the connection, some of the projectors enable students to connect iPad directly to the projector via Bluetooth.
Some of the brands of projector allows you to do this. Once you have established the Bluetooth connection to the projector you should open the corresponding app for the projector. However, the reach for most Bluetooth consistencies and devices is limited to only a range of 10 meters which may be quite uncomfortable when it comes to presenting.
Featured Image: pixabay.com