Cleaning your paint sprayer after each use is essential for keeping it in top condition and ensuring smooth performance for your next project. While the process might seem daunting, it’s actually pretty straightforward if you break it down into manageable steps. Taking the time to clean your sprayer and doing it properly not only adds life to your sprayer, but also helps to prevent clogs and guarantees that it will spray flawlessly next go around.
In this guide, we’ll walk you through six simple steps to clean your paint sprayer effectively. Whether you’re dealing with water-based or oil-based paints, we’ve got tips for both. By following these steps, you’ll be able to maintain your equipment easily and keep your sprayer in great shape for future use. Let’s get started!
Factors To Consider Before Cleaning A Paint Sprayer
Before you embark on paint sprayer cleaning, there are various aspects that you have to take into consideration. These aspects include :
- A cleaning set-up.
- Wearing protective clothing.
- Having an instruction manual at hand.
- Having the supplies needed for cleaning a spray gun.
1. A Cleaning Set-Up
With any cleaning procedure, it is important to have a set-up ahead of time. For example, it would be best if you had to organize some cleaning buckets and every essential tool that will be relevant in the cleaning process to avoid confusion on the due date.
2. Wear Protective Clothing

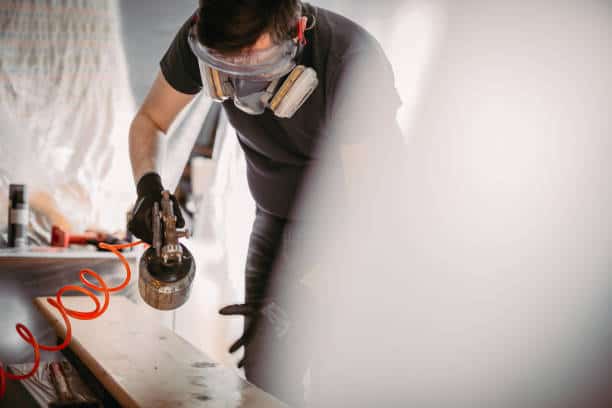
Since you will be in contact with paint, it is best to wear a protective garment during cleaning. The composition of paint can be toxic when it comes into contact with your skin or even your eyes. Wearing protective clothing will prevent you from getting health conditions related to painting contact.
Ensure you have your gas mask on when washing out paint from the paint sprayer; you risk getting eyes and lung diseases when you inhale paint fumes. Apart from the health factor, protective clothing is a barrier from spilled paint that may ruin your clothes during cleaning.
It would help if you practice caution when dealing with paint cleaning substances such as paint thinners and spirits that could harm your health.
3. Have An Instruction Manual

You will need an instruction manual to reference and ensure you are doing the right thing. In addition, a manual will help you stay on track if you divert from the main procedure. For example, most paint sprayers have an instruction manual on disassembling and cleaning different spray gun parts, making it easier to work around.
4. Know What You Are Doing
When you don't know what you are doing the instruction manual will not provide enough information. Follow each step keenly to ensure you are doing the right thing. For example, cleaning an airless paint sprayer may seem easy, but once you miss one step, you may ruin the paint gun and incur heavy charges on purchasing a new one.
5. Have The Supplies Needed In Cleaning An Airless Sprayer Gun
After reading and understanding the instruction manual, it is time to source the supplies you will need to clean the spray gun. The following supplies will help you finish the cleaning job:
- Water-for removing water-based paint.
- A few paint buckets
- Mineral spirits-for oil-based paints.
- Soft bristle toothbrushes
- Firm scrubbing brushes
- Shop rags
- Waste Bin
- Safety Gear like overalls, gas masks, and gloves.
- Plastic sheets or drop cloths
After considering the above, it is time to start cleaning your airless paint sprayer gun. However, before that, you need to do a pressure relief test to release any pressure in the gun.
How To Clean A Paint Sprayer In 6 Easy Steps
1. Perform A Pressure Relief Test

- Put the airless spray gun on active mode to avoid spraying yourself on accident.
- Turn off the gun by switching to the lowest pressure possible.
- Use the reverse pattern to disengage the trigger lock.
Point the spray tip to a paint bucket and pull the trigger. Hold the trigger down for some while until all the pressure is released. At this point, your spray gun is now ready and safe for the cleaning procedure.
Once you clean the paint sprayer, you can re-engage the trigger lock by turning the valve back in reverse mode or draining the paint sprayer. Then, allow the paint sprayer to air dry.
2. Flush Coatings
After performing a pressure relief test, it is essential to perform flush coatings. Start by removing the spray tips and guards of the paint sprayer, then disassemble the fluid intake and drain tubes.
From here, direct the fluid intake into your flushing fluid and turn the main valve to the sprayer gun's option. If you press the sprayer gun's trigger, you increase the pressure. When the paint flow ends, you should see the flushing fluid emerge, now you can let go of the trigger to turn off the spray gun.
3. Clean The Pump
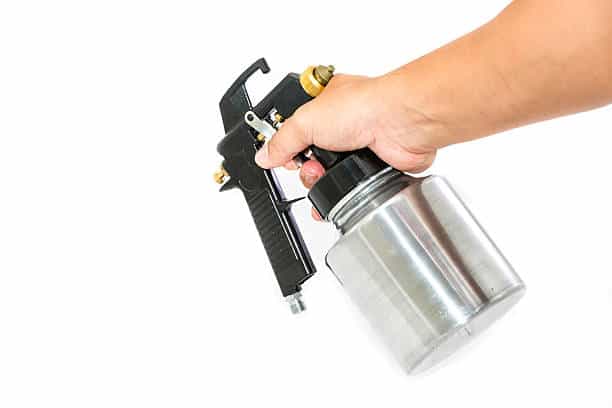
The second step to cleaning the paint sprayer is the sprayer pump. Move the spray gun to a flushing bucket, turn on the switch and cycle the pump until the flushing fluid is clear.
Releasing the trigger on the paint sprayer switch allows you to turn the switch off. And finish off by putting the prime valve in place, so that the flushing solution circulates. Make sure the fluid flushed out of it is completely clear, and then make sure it is completed.
4. Clean the Gun
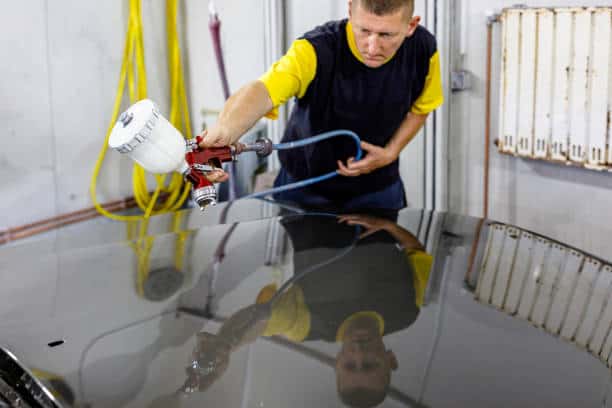
Cleaning a paint spray requires attention to detail as one wrong move can lead to a new purchase. Also, since the sprayer gun has a lot of paint inlets, you need to do deep cleaning to get rid of old paint.
If you deep clean, you will avoid future clogs through mixing dried paint with new paint. The end result is achieving clean paint applications. Clean your paint sprayer gun by turning the valve to the spraying position. Then engage the machine and use its trigger to flush out the hose. You can release the trigger, re-apply the trigger lock, and switch the pressure to the lowest setting.
Proceed to unplug the machine and remove all your filters for cleaning. Use a soft bristle brush to clean the filters.
5. Cleaning An Airless Spray Gun Filter
The best airless paint sprayers have either semi-pro or pro-sprayer filters. The semi-pro airless sprayers have two to three filters. To clean these filters, you need to know the exact location to find them. Below are the filters in an airless paint sprayer and their specific locations.
Manifold filter: The manifold filter is on either the right or left side of the sprayer's internal parts.
Pencil gun filter: The pencil gun filter is located at the handle of the airless paint sprayer.
Suction Filter: The suction filter is located at the end of the suction hose, with its last part submerged in the material.
After locating the above filters, it is time to start cleaning them. For health and cleanliness purposes, wear protective gear such as goggles, a mask, and gloves before cleaning them. If you encounter any leftover bits on your filters, you can use an old stiff brush to scrub them off.
6. Clean The Tips And Nozzle
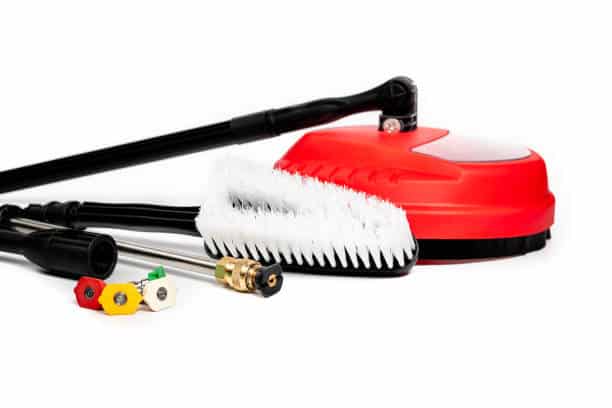
Use a flushing fluid to clean the spray tip and nozzle of your paint sprayer. Then, use a soft bristle brush for deep cleaning.
Flush all the parts with running water, but if need be, you can add a dose of mineral spirits or pump armor to remove dried paint from the tips and nozzle. Using the above-specified cleaners is beneficial because they leave behind protective coatings. On the other hand, flushing fluid is better since it lowers the risk of corrosion or freezing when you use it extensively.
Prepare to assemble back the parts of your paint sprayer and dry the exterior parts with a rag soaked in water or mineral spirits. Dispose of the waste in the cleaning process responsibly to conclude your cleaning process.
Now you know how to clean a paint sprayer, you will need to maintain it to ensure it lasts longer. Follow the above steps each time you clean your paint sprayer, and in no time, you will have mastered the cleaning process!
Use fresh paint each time you paint an area, for instance, if you are going to paint your deck you can use the best deck paint to achieve an advanced deckover.
Final Take
Now you know how to clean a paint sprayer, you will need to maintain it to ensure it lasts longer. Follow the above steps each time you clean your paint sprayer, and in no time, you will have mastered the cleaning process!
Use fresh paint each time you paint an area, for instance, if you are going to paint your deck you can use the best deck paint to achieve an advanced deckover.
