If you want to learn how to build a CNC machine, you're probably somewhat familiar with the term CNC. Ideally, the Do it yourself (DIY) CNC milling machine you build should be able to carve out objects in different dimensions from a solid block of material. It should also provide cuts that are more accurate and elaborate.
Read through this write-up and learn how to build a DIY CNC machine from scratch.
Why Build Your Own CNC Machine?
Building a DIY CNC router machine can be more beneficial than purchasing one. Let's run through some of the reasons:
1. Save Money
Buying ready-made CNC routers is quite expensive, and building a CNC router alone can save you thousands of dollars and still provide the same results.
For instance, buying a Three Axis CNC Machine costs between $60,000-$100,000. However, if you opt to create the same CNC machine from scratch, you will likely spend anywhere between $15,000 and $30,000.
Nevertheless, the total building cost can go higher depending on the parts you acquire. Regardless, this amount is always less than what you would have to spend to buy a CNC machine.
2. Customizability
If you purchase a CNC machine, you are only limited to the features the machine comes with. However, if you build your own CNC router, you can customize it.
3. Create amazing things
Building a CNC machine allows you to create your own amazing products. So, whether you want to establish your own business or create your own interior design ideas for your house, you can do it with the CNC machine.
How to Build Your Own CNC Machine From Scratch

Image Credits: buildyourcnc.com
When building your own CNC machine, you must first figure out what type of CNC machine you want to create. This way, picking the parts or pieces of equipment you need to get your machine running will be effortless.
Regardless of the custom option you choose or what you plan to make with your machine, there are essential steps to building your own CNC device:
What You Will Need
You might need to have CNC kits when building your own CNC route. This is because the CNC kits typically contain everything you need to assemble your machine and make your creations.
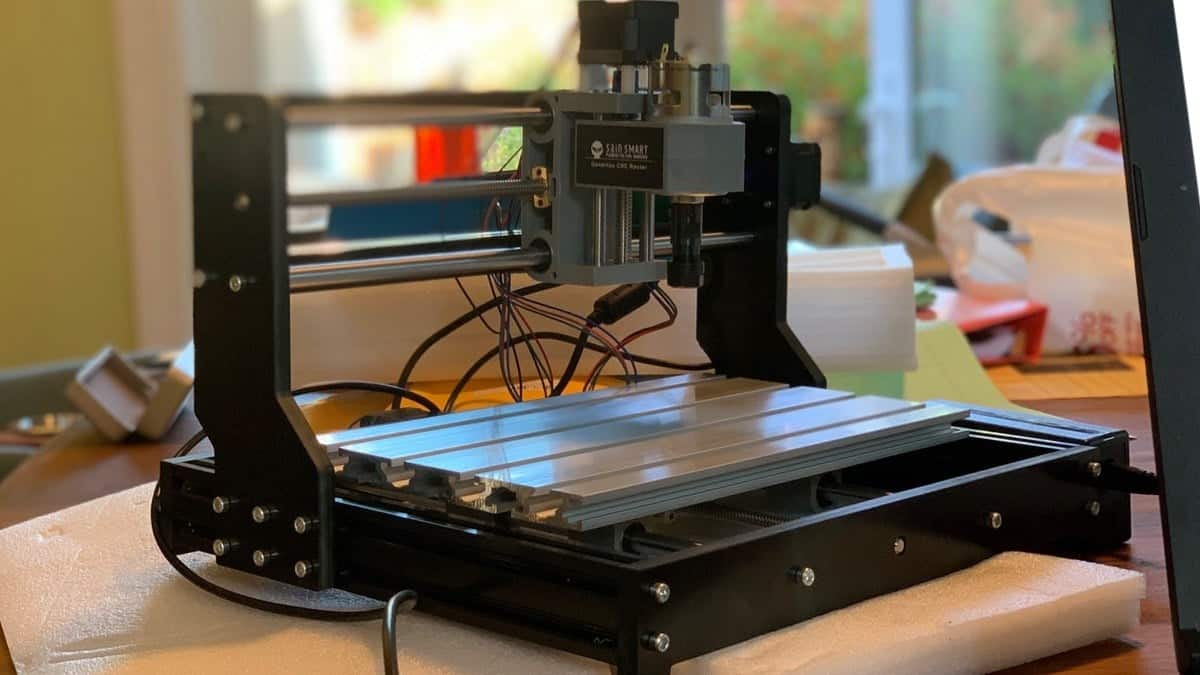
Image Credits: pressablecdn.com
Moreover, most manufacturers will offer different customization options for the kits. This way, you can pick a kit with the components you need to run your machine. So, if you are a beginner, you can pick the basic and most affordable kit.
Even though using the kits is the easiest way to get your CNC router running, it is not an option for everyone. So, if you would rather purchase your parts separately, here are the most important ones you might need.
For the mechanical parts, you will need the following:
- A frame
- Ball bearings
- Regular screwdrivers
- Mitre box
- Hand Tools such as a table saw, or a hack saw
- Guides and supports
- Spacers, washers, nuts, screws, and bolts
For the Electrical parts, you will need the following:
- Processor or control board.
- A computer
- Stepper motors
- Stepper drivers
- Stepper shield
- Power supply
Step-by-Step Guide to Making Your Own Machine
Step 1: Design Your CNC Machine
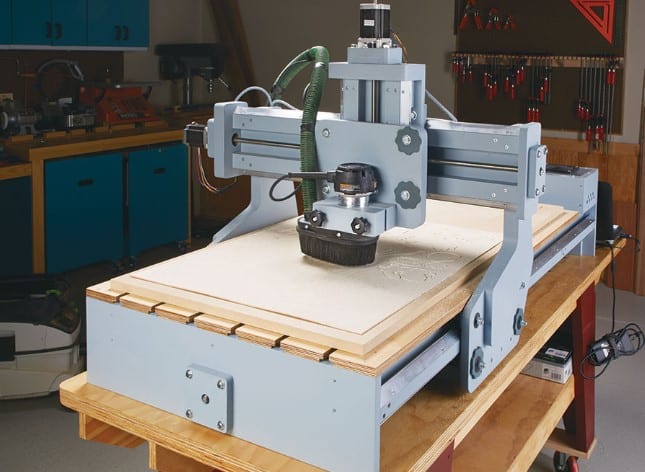
Image Credits: buildyourcnc.com
When building your own machine, you must create a design. This step is intended to provide a clear structural idea of the finished product.
You can start by sketching the design and then converting the paper drawing to a Computer-Aided Design(CAD) format using programs like Scan2CAD. After that, you can put your drawing into a 3D CAD model in programs like SolidWorks.
Step 2: Get the Parts and Build the Frame
You will assemble the needed parts once you finish your CNC machine's design. It is more convenient to purchase a CNC kit or buy each part separately.
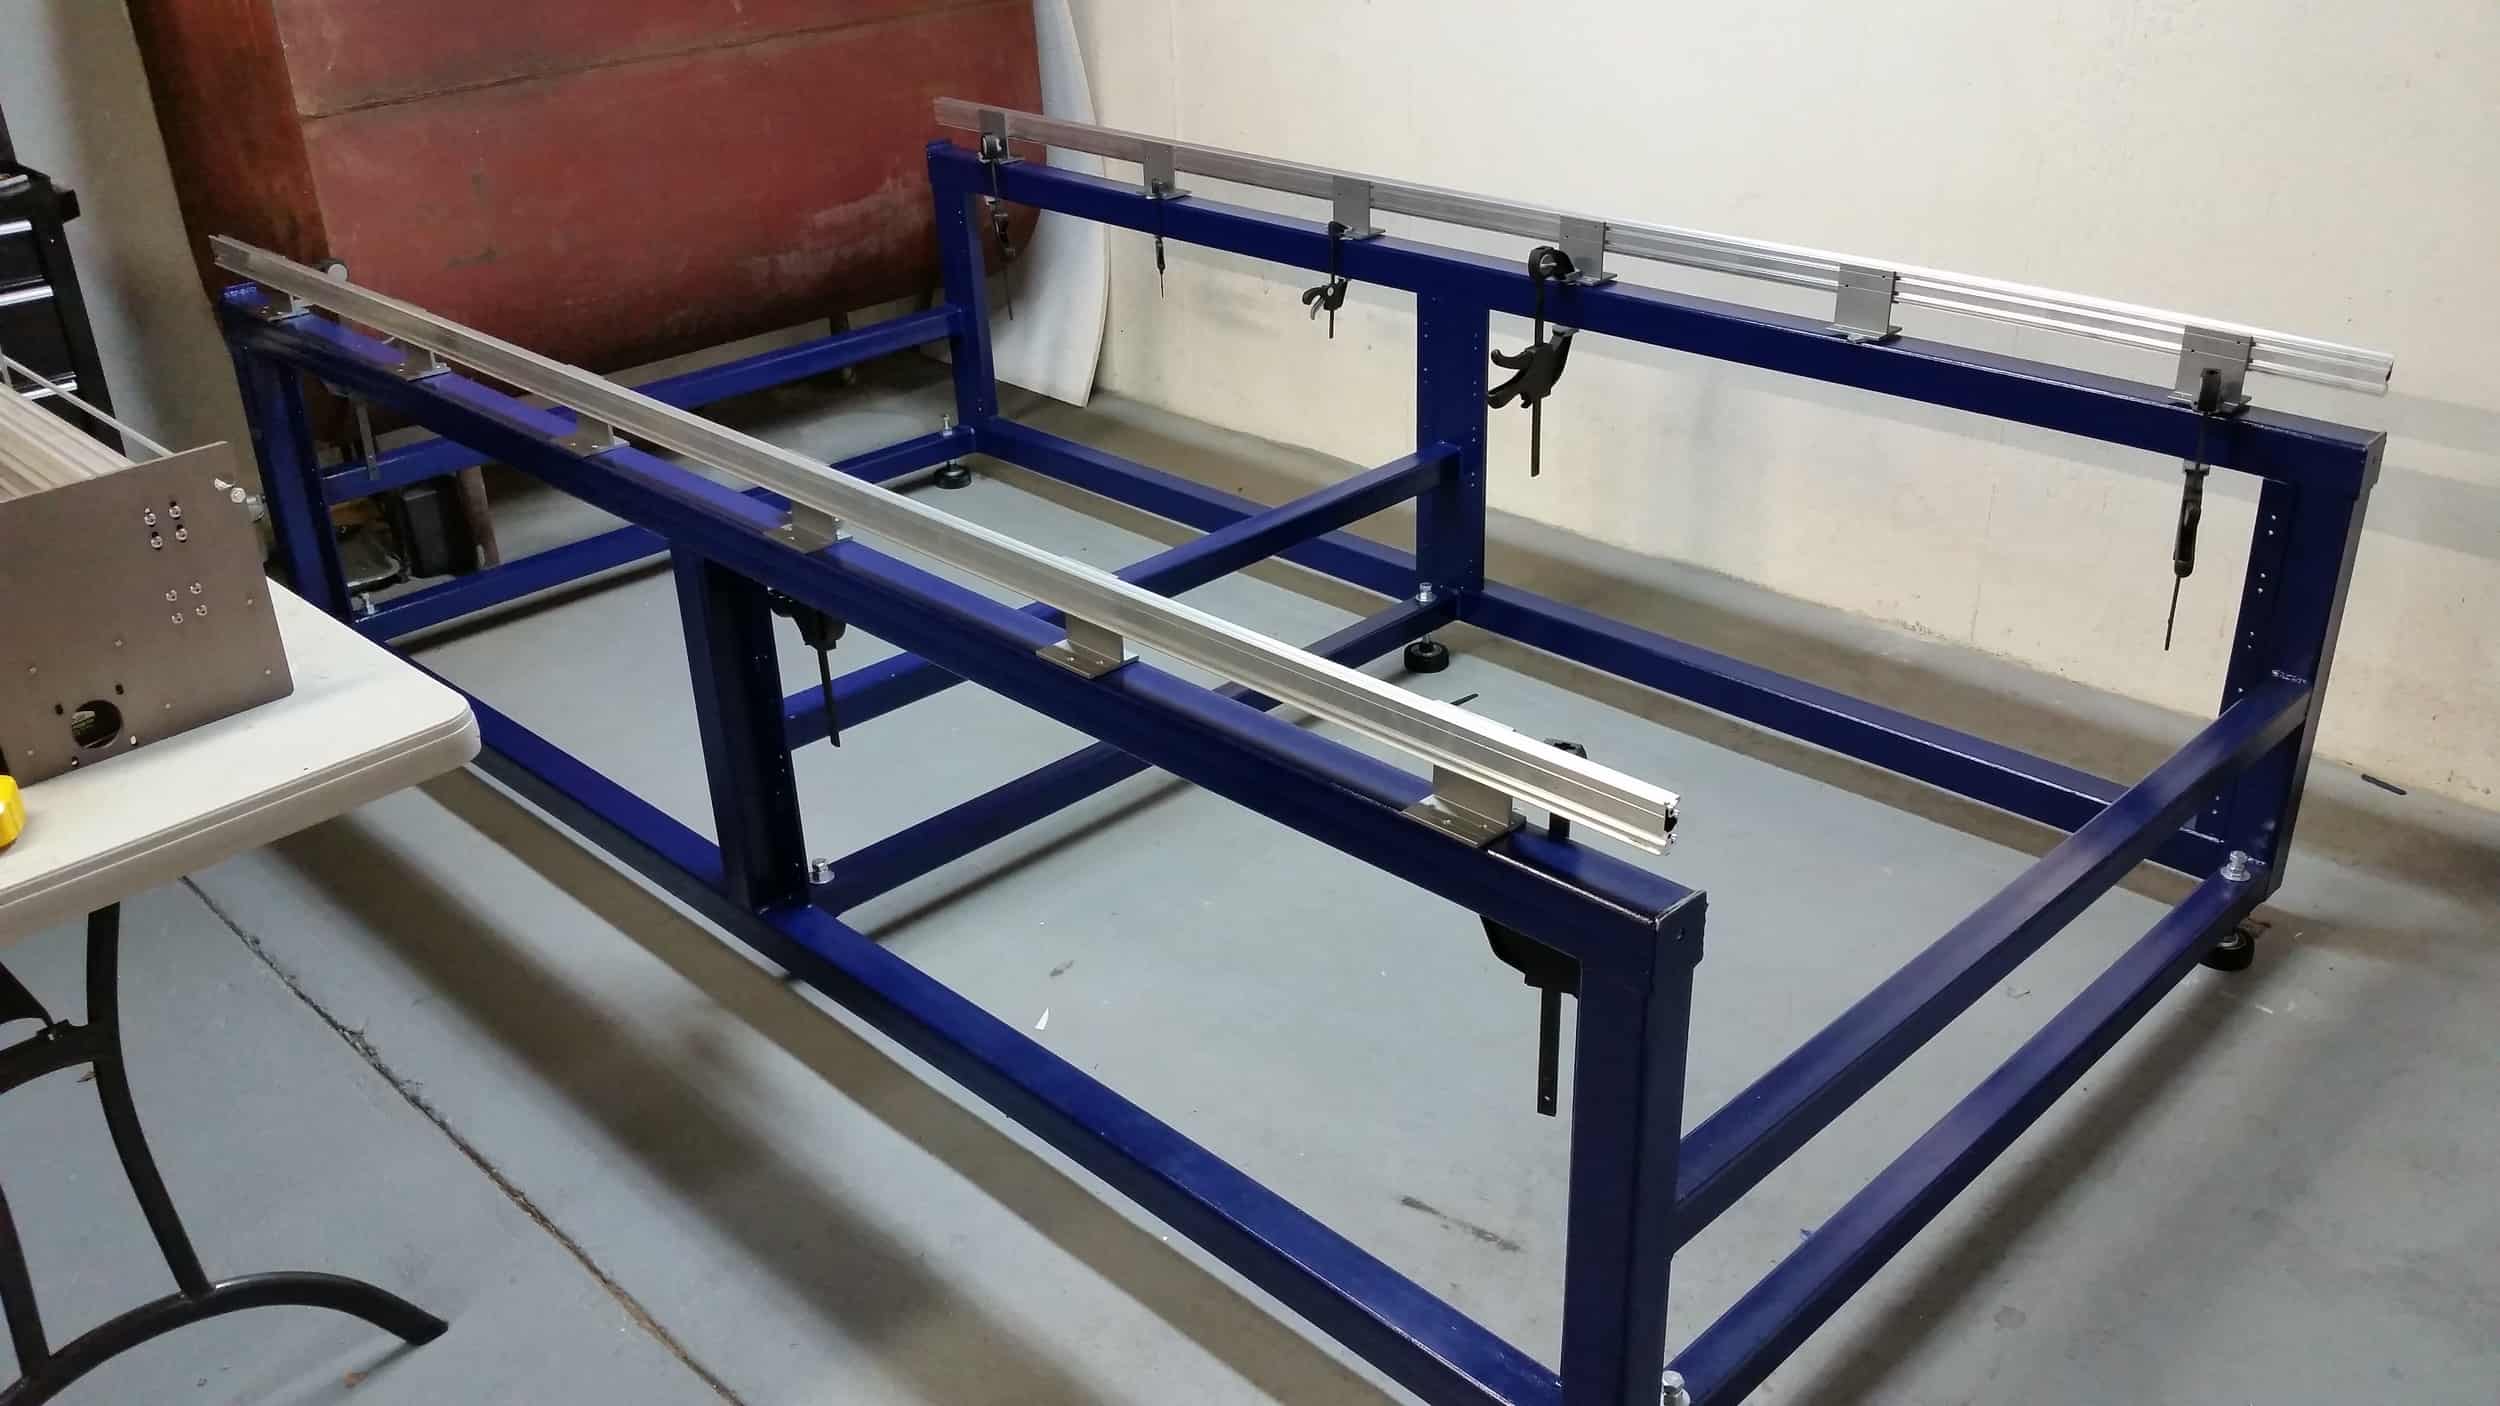
Image Credits: topsize20.com
From there, you can build the machine's frame. Typically, the frame will hold all the other parts of the device in place. Metals like aluminum are best since they allow for rigid construction and enough stability.
Step 3: Add the Gantry
Once the structure is up, you will need to add the gantry. Although this feature is not needed in all CNC machines, it is a common design option.
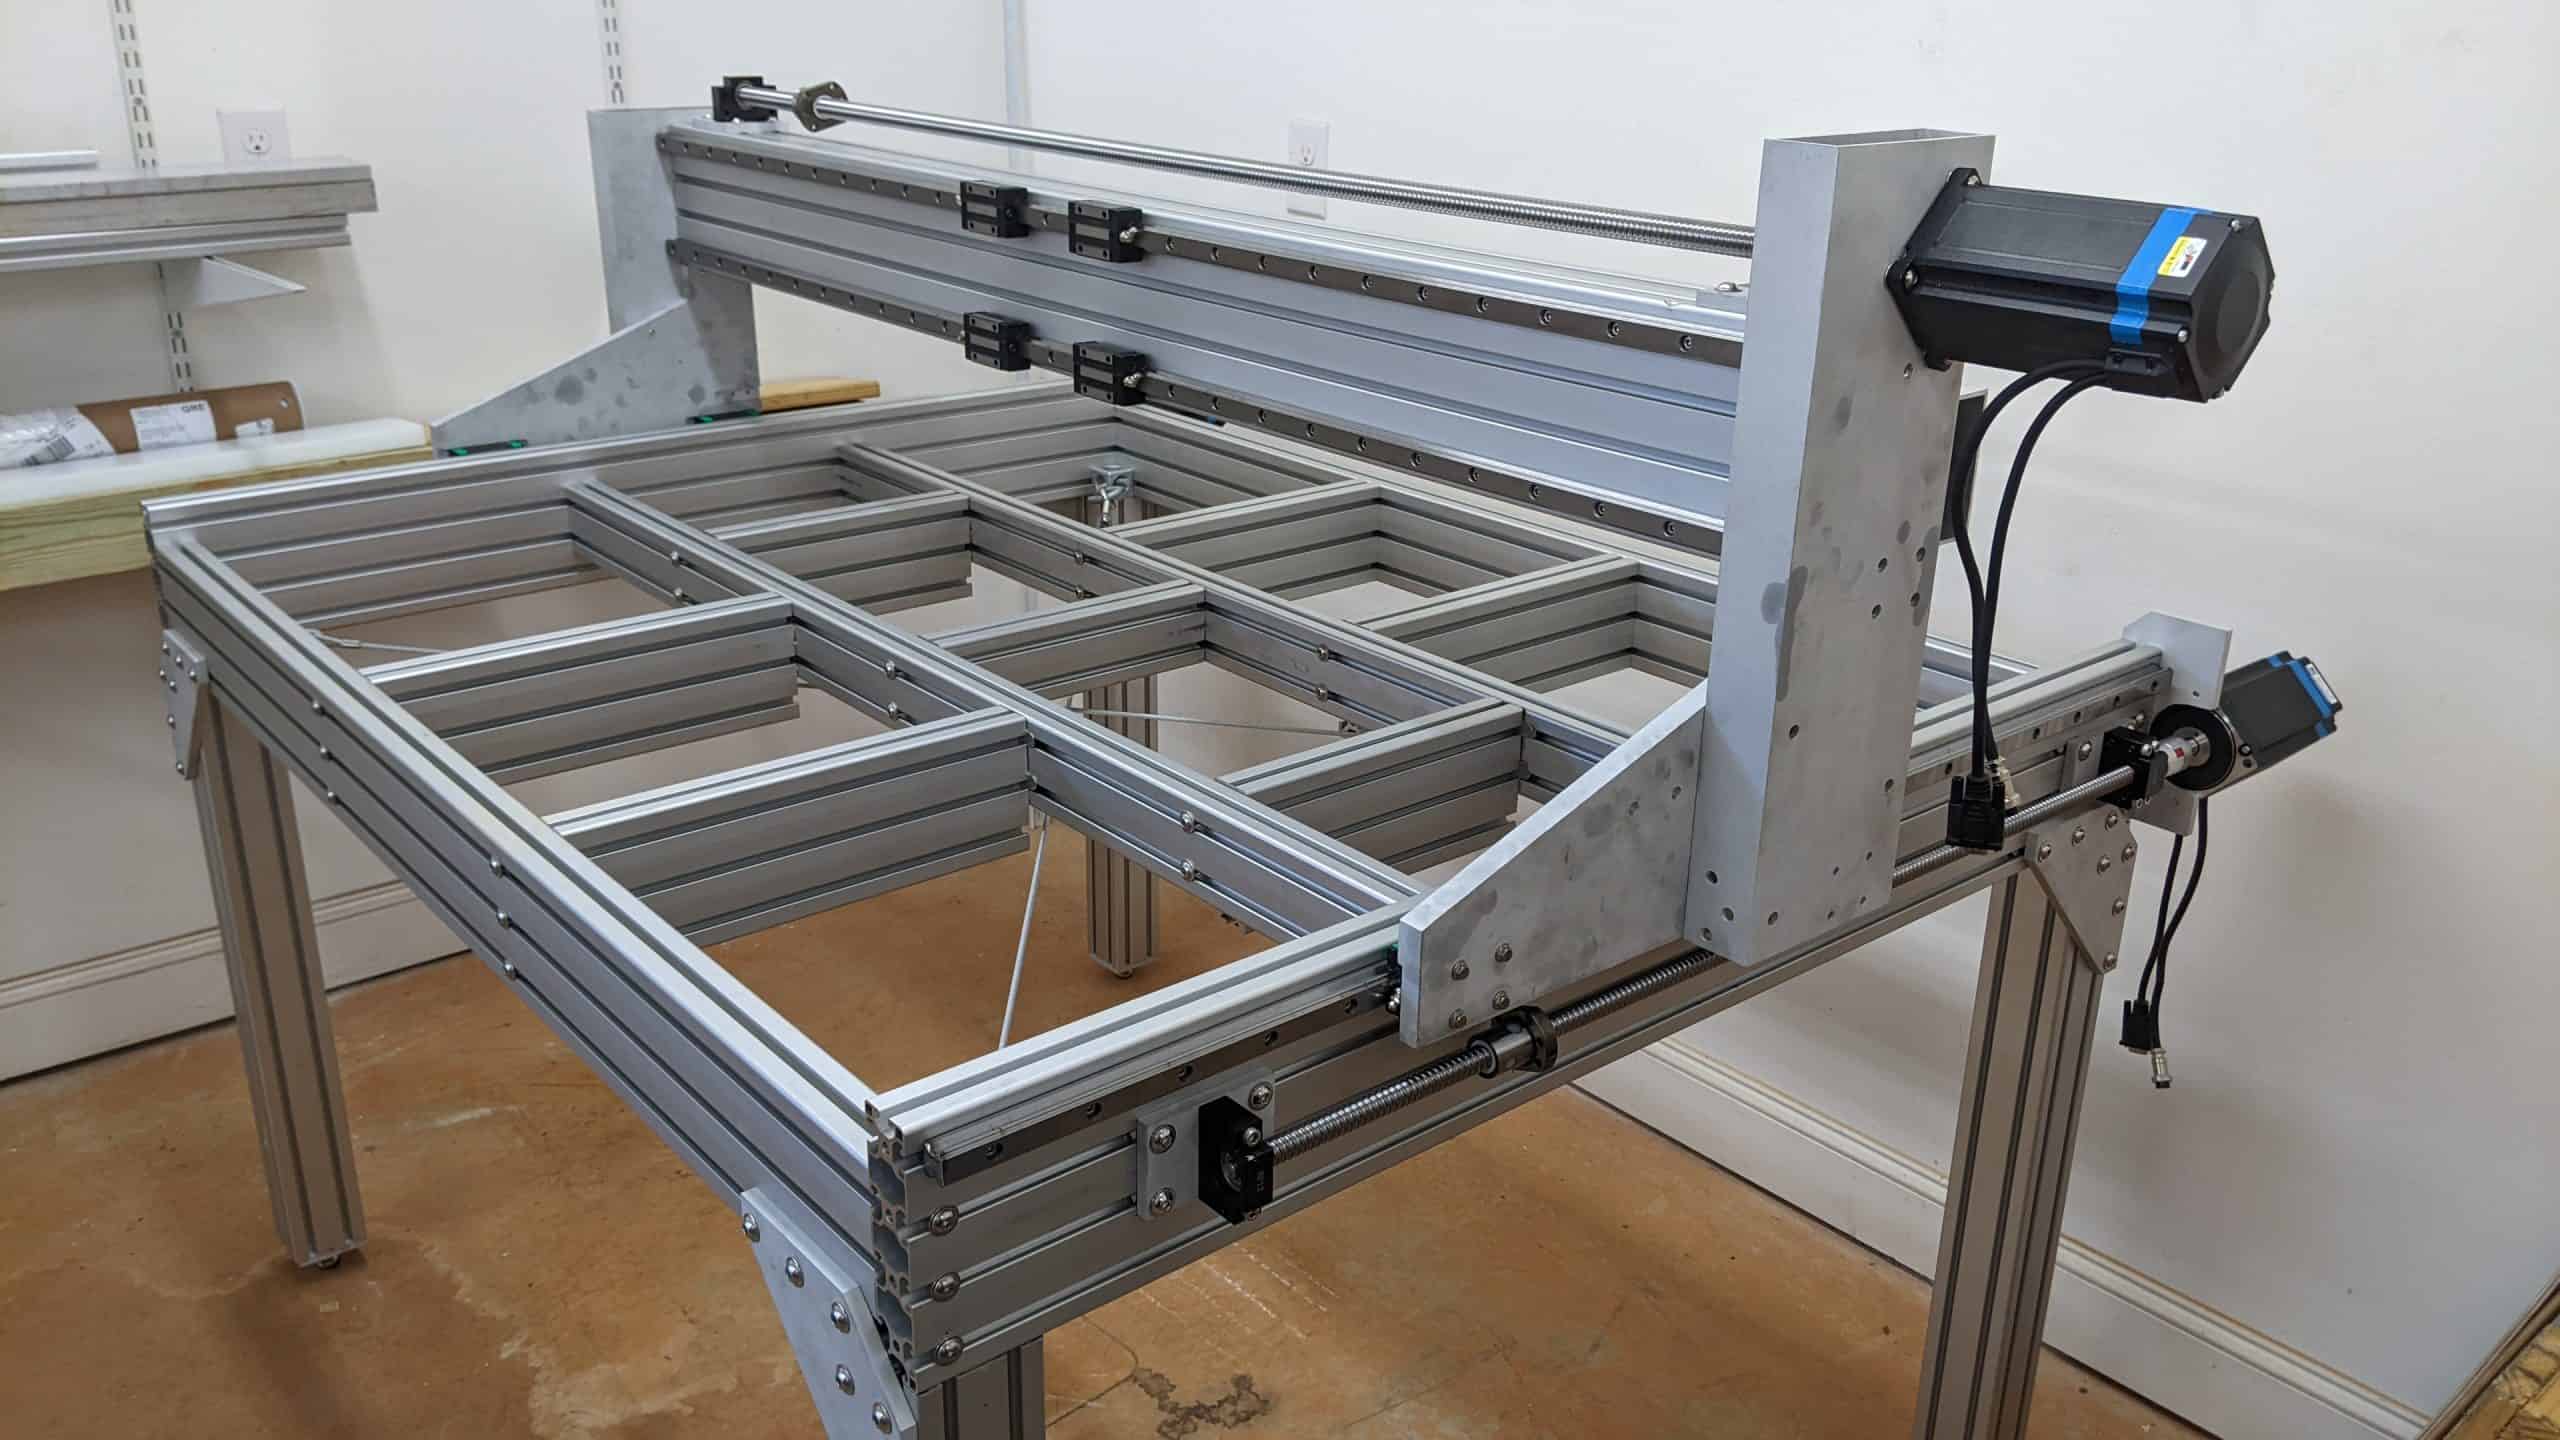
Image Credits: burksbuilds.com
Typically, the gantry lets your machining tool move along the Y-axis by holding the tool in place and supporting your milling motor above the workpiece. You will mount it between the side plate with the help of two mounting blocks. On the inside, the U-profile will house the y-axis spindle, supported by the same bearing blocks used for the x-axis.
While adding this part, balance the forces acting on your gantry to reduce the possibility of machine deformation or shaking. Remember, the higher you make your gantry, the thicker the workpiece becomes.
Step 4: Bring in the Z-Axis, Y-Axis, and the X-Axis
After you add the gantry, you will bring in the Z-axis, Y-axis, and X-axis to enable your machine to move up and down. To build the Z-axis, you will construct it from the front plate mounted on the y-axis linear guide rails, a motor mount, 2 reinforcement plates, and a backplate.
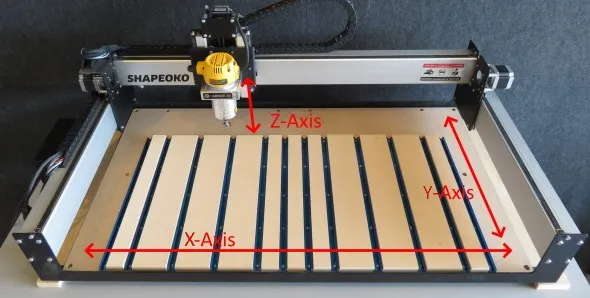
Image Credits: toolguyd.com
You will mount 2 linear guide rails for the z-axis on the front plate. Note that adding bearings and guide rails will help conserve your CNC machine's rigidity and enable your tool to move forward along the X-axis.
Step 5: Guide Rails
Now that you've added all the axis that will let your CNC machine move in 3 directions, it's time to add guide rails to support and guide any moving parts of the machine, such as the worktable.
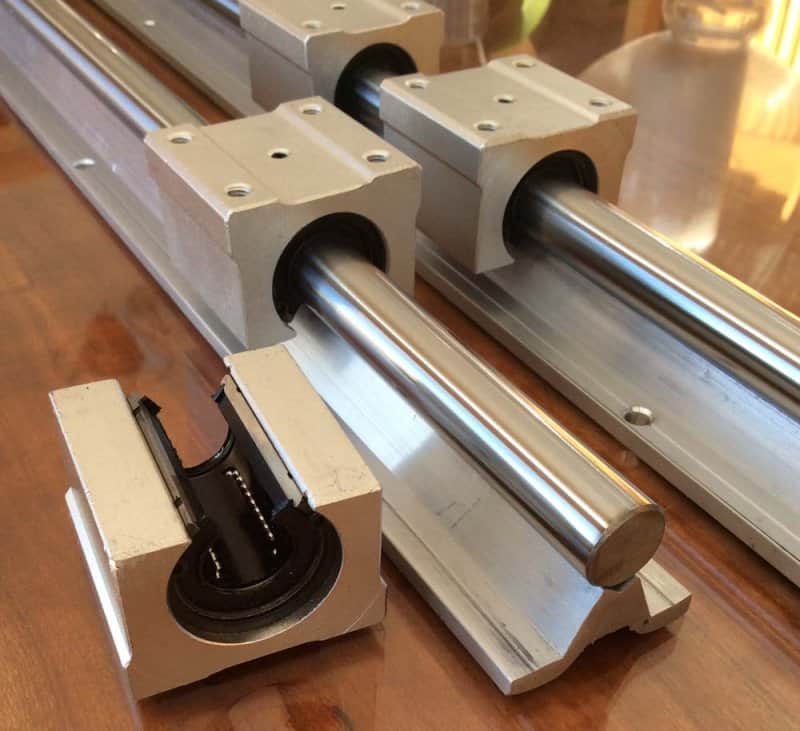
Image Credits: openbuilds.com
The guide rails allow the machine tool to run more smoothly and operate much faster with greater precision. They are particularly essential for accuracy if you are making machines with high vibration requirements, such as grinding machines.
To ensure that your guide rails are aligned, have them perpendicular and parallel to each other. You can use a dial indicator to ensure you get exact results.
Step 6: Introduce the Electronic System
With most of the mechanical parts done, you can now add electronic parts to your CNC machine. The key to this step is adding the motor, which ultimately drives the machining tool. In this case, you can use a servo or stepper motor.
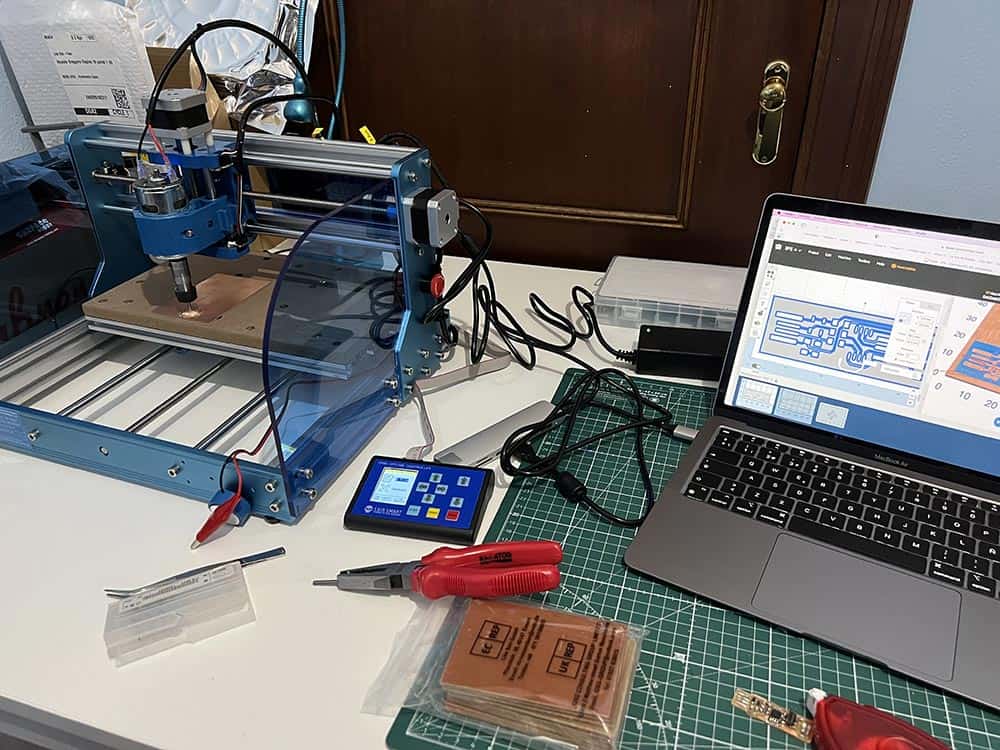
Image Credits: fabacademy.org
To complete this step, you will need a stepper motor or servo motor, suitable drivers, a breakout board, and a 36 V power supply. A step-down converter can then convert the 36-volt DC into a 5-volt DC.
Then, all the drivers and power supply will be temporarily mounted on an open board. Finally, to add the motor, you will place it in the front endplate mounting slots, and you will be good to go.
Step 7: From Rotational to Linear Movement
The motor you have installed will cause your machine to spin. Nevertheless, the CNC machine will require linear motion to function fully. So here, you will use a spindle to convert the rotational motion to a linear one. This way, your machining tool can move up and down easily.
Step 8: Choose Your Controller

Image Credits: cncmachines.com
When the motion is set, you will now need to choose and install a controller for the operation of your machine. The controller you install will help interplate signals sent from your processor or computer.
Step 9: Select Your Software
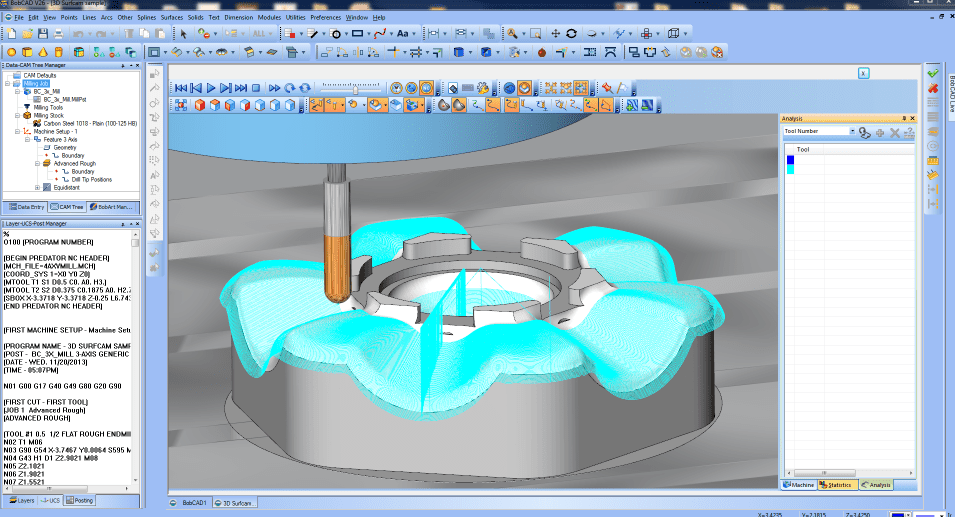
Image Credits: bobcad.com
At this point, your CNC machine is fully functional, but it needs software to control it and give a code that the machine will understand. Most of the software will use languages like G-code to control the movement of the machine along its three axes, allowing you to create your unique masterpieces.
When you create a project on your computer, either a flat or a 3D CAD model, you will need to convert it into something your machine will understand. With Computer Aided Machining (CAM), you can easily analyze the vectors and 3D models, enabling you to create an output suitable for the software which controls the machine.
Step 10. Start Making Things!
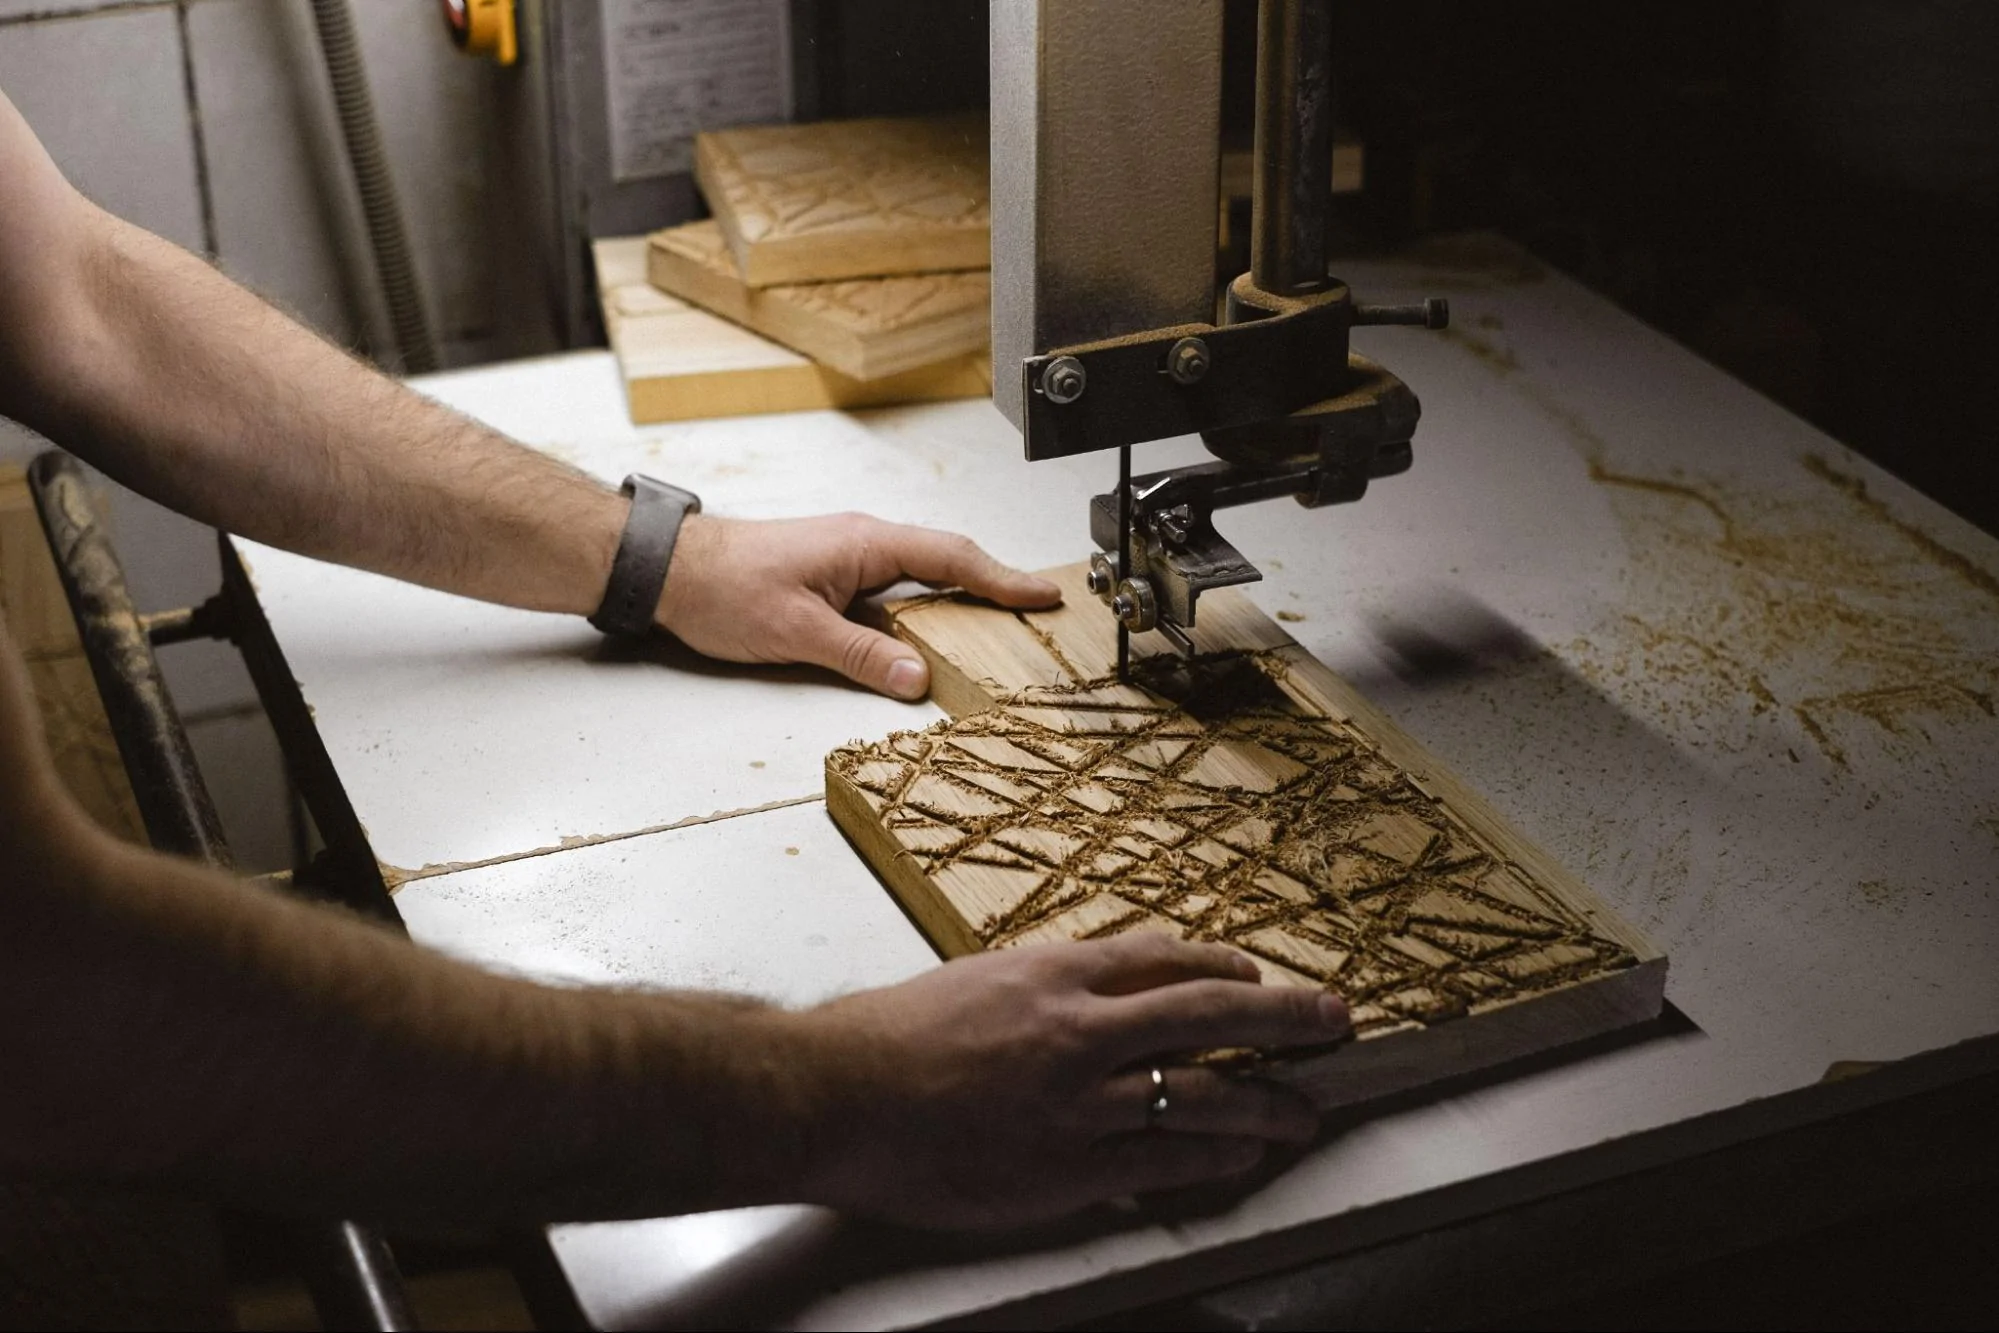
Image Credits: shopify.com
Once connected properly and hooked up to the power supply, your desktop-sized CNC machine is complete. You are now ready to begin doing your own projects! The best part is that you can create a wide range of products with these machines.
Frequently Asked Questions on Building CNC Machines
1. How long will it take me to build a CNC machine from scratch?
Building a custom CNC machine can be abit hard, especially if you are not familiar with the machine itself. But regardless, you will need to develop a well-thought-out design that needs proper planning. That said, building a custom CNC machine from scratch can thus take anywhere between a few weeks and several months, depending on the person creating it.
Additionally, other factors, such as the type of machine, will affect the duration of building a CNC machine. The size and weight of the parts or materials will also impact the time used. For example, heavy materials like the motor will normally require you to work with lifting equipment, which would require more time. While building your own CNC machine will allow you to avoid hiring the professional CNC machine movers that pre-built CNC options require, the chances are that even some of the "build-it-yourself" parts will still require professional help to ensure safe delivery and handling.
Again, the needed parts and equipment availability can affect the timeline set for building the machine. Let's say the parts are readily available; you will not have to wait for extended periods to start building the machines.
2. What skills should I have to build a CNC machine?
Building your own CNC machine can be hard, but it can be easy if you have the necessary skills. If you are experienced in metalworking or woodworking, it is much easier. However, if you are new to using CNC machines, It would be best to start by building simple ones. You should also get a CNC kit to make the process easier.


